Want to have a big impact on what you eat with only a little space in your garden? Grow herbs! Even just a few herb plants within your garden can deeply impact what you eat because of their distinct flavors. A simple pot can become a lush herb garden that can supply your homemade recipes.
Speaking of homemade recipes, let’s talk about bread. The recipe used today is for easy no knead skillet bread that is filled with fresh herbs from the garden. This bread is technically non-knead, so that means it does not need to be worked with your hands much.
It is also a skillet bread, meaning it does best when baked in a 10 – 12 inch cast iron skillet. Could you make it without the skillet? I’m sure you could, maybe in a small pan, but a skillet is best for this recipe.
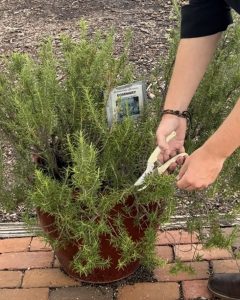
In this recipe, we will add two very easy-to-grow garden herbs: rosemary and thyme. These two herbs are savory superheroes when added to bread. But if you only have one or the other in your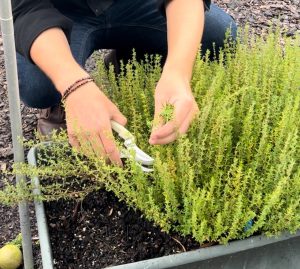 garden, it’ll taste great too. Let’s take a closer look at these two herbal powerhouses.
Rosemary – A great herb to start growing at home because it needs little maintenance. It grows best when bought as a plant instead of starting from seed. It prefers well-drained soil and does not like to be overwatered. It can grow about 2-3 feet tall.
Thyme – This shrubby little plant can either grow upright or creep depending on the variety. Speaking of variety, there is a popular form of thyme called “lemon thyme” that adds a little lemony flavor. It can be replanted every 3-4 years to avoid it getting too woody.
Both are drought-tolerant perennial plants. This means that, under the right conditions, they will stay alive season to season without needing to be replanted. Drought tolerance makes these plants a lot more forgiving if they are not regularly watered. Each of these herbs will also perform well in pots. Overall, both of these herbs are great additions to any garden.
If you want to learn more about growing herbs in your garden, check out our publication on growing herbs.
Baking the Bread
This recipe includes volume and weight measurements. When it comes to baking, going by weight helps get a much better final product. I went by volume measurement on the ingredients for this loaf and found I needed an extra half cup of water.
First, gather your ingredients:
520 grams or 4 1/3 cups of all-purpose flour
7 grams or one package (2 ¼ tsp) of active dry yeast
8 grams or ½ Tbsp of salt
450 grams or 2 cups of room temperature water
2 Tbsp of chopped rosemary and thyme
About 3 Tbsp of olive oil to coat skillet
Steps
- First add the dry ingredients to the bowl. This would include flour, yeast, salt, and chopped herbs.
- Using a fork or whisk, mix the dry ingredients until well blended.
- Then add the water and mix with a spoon or your hands. The dough should form after a few minutes of mixing and it should be very wet and sticky.
- Cover the bowl with plastic wrap and let rest for about an hour or until it has doubled in size.
- Once the dough has risen, you can place it into an olive oiled cast iron skillet to rise for another 30-40 minutes.
- Preheat oven to 400 degrees.
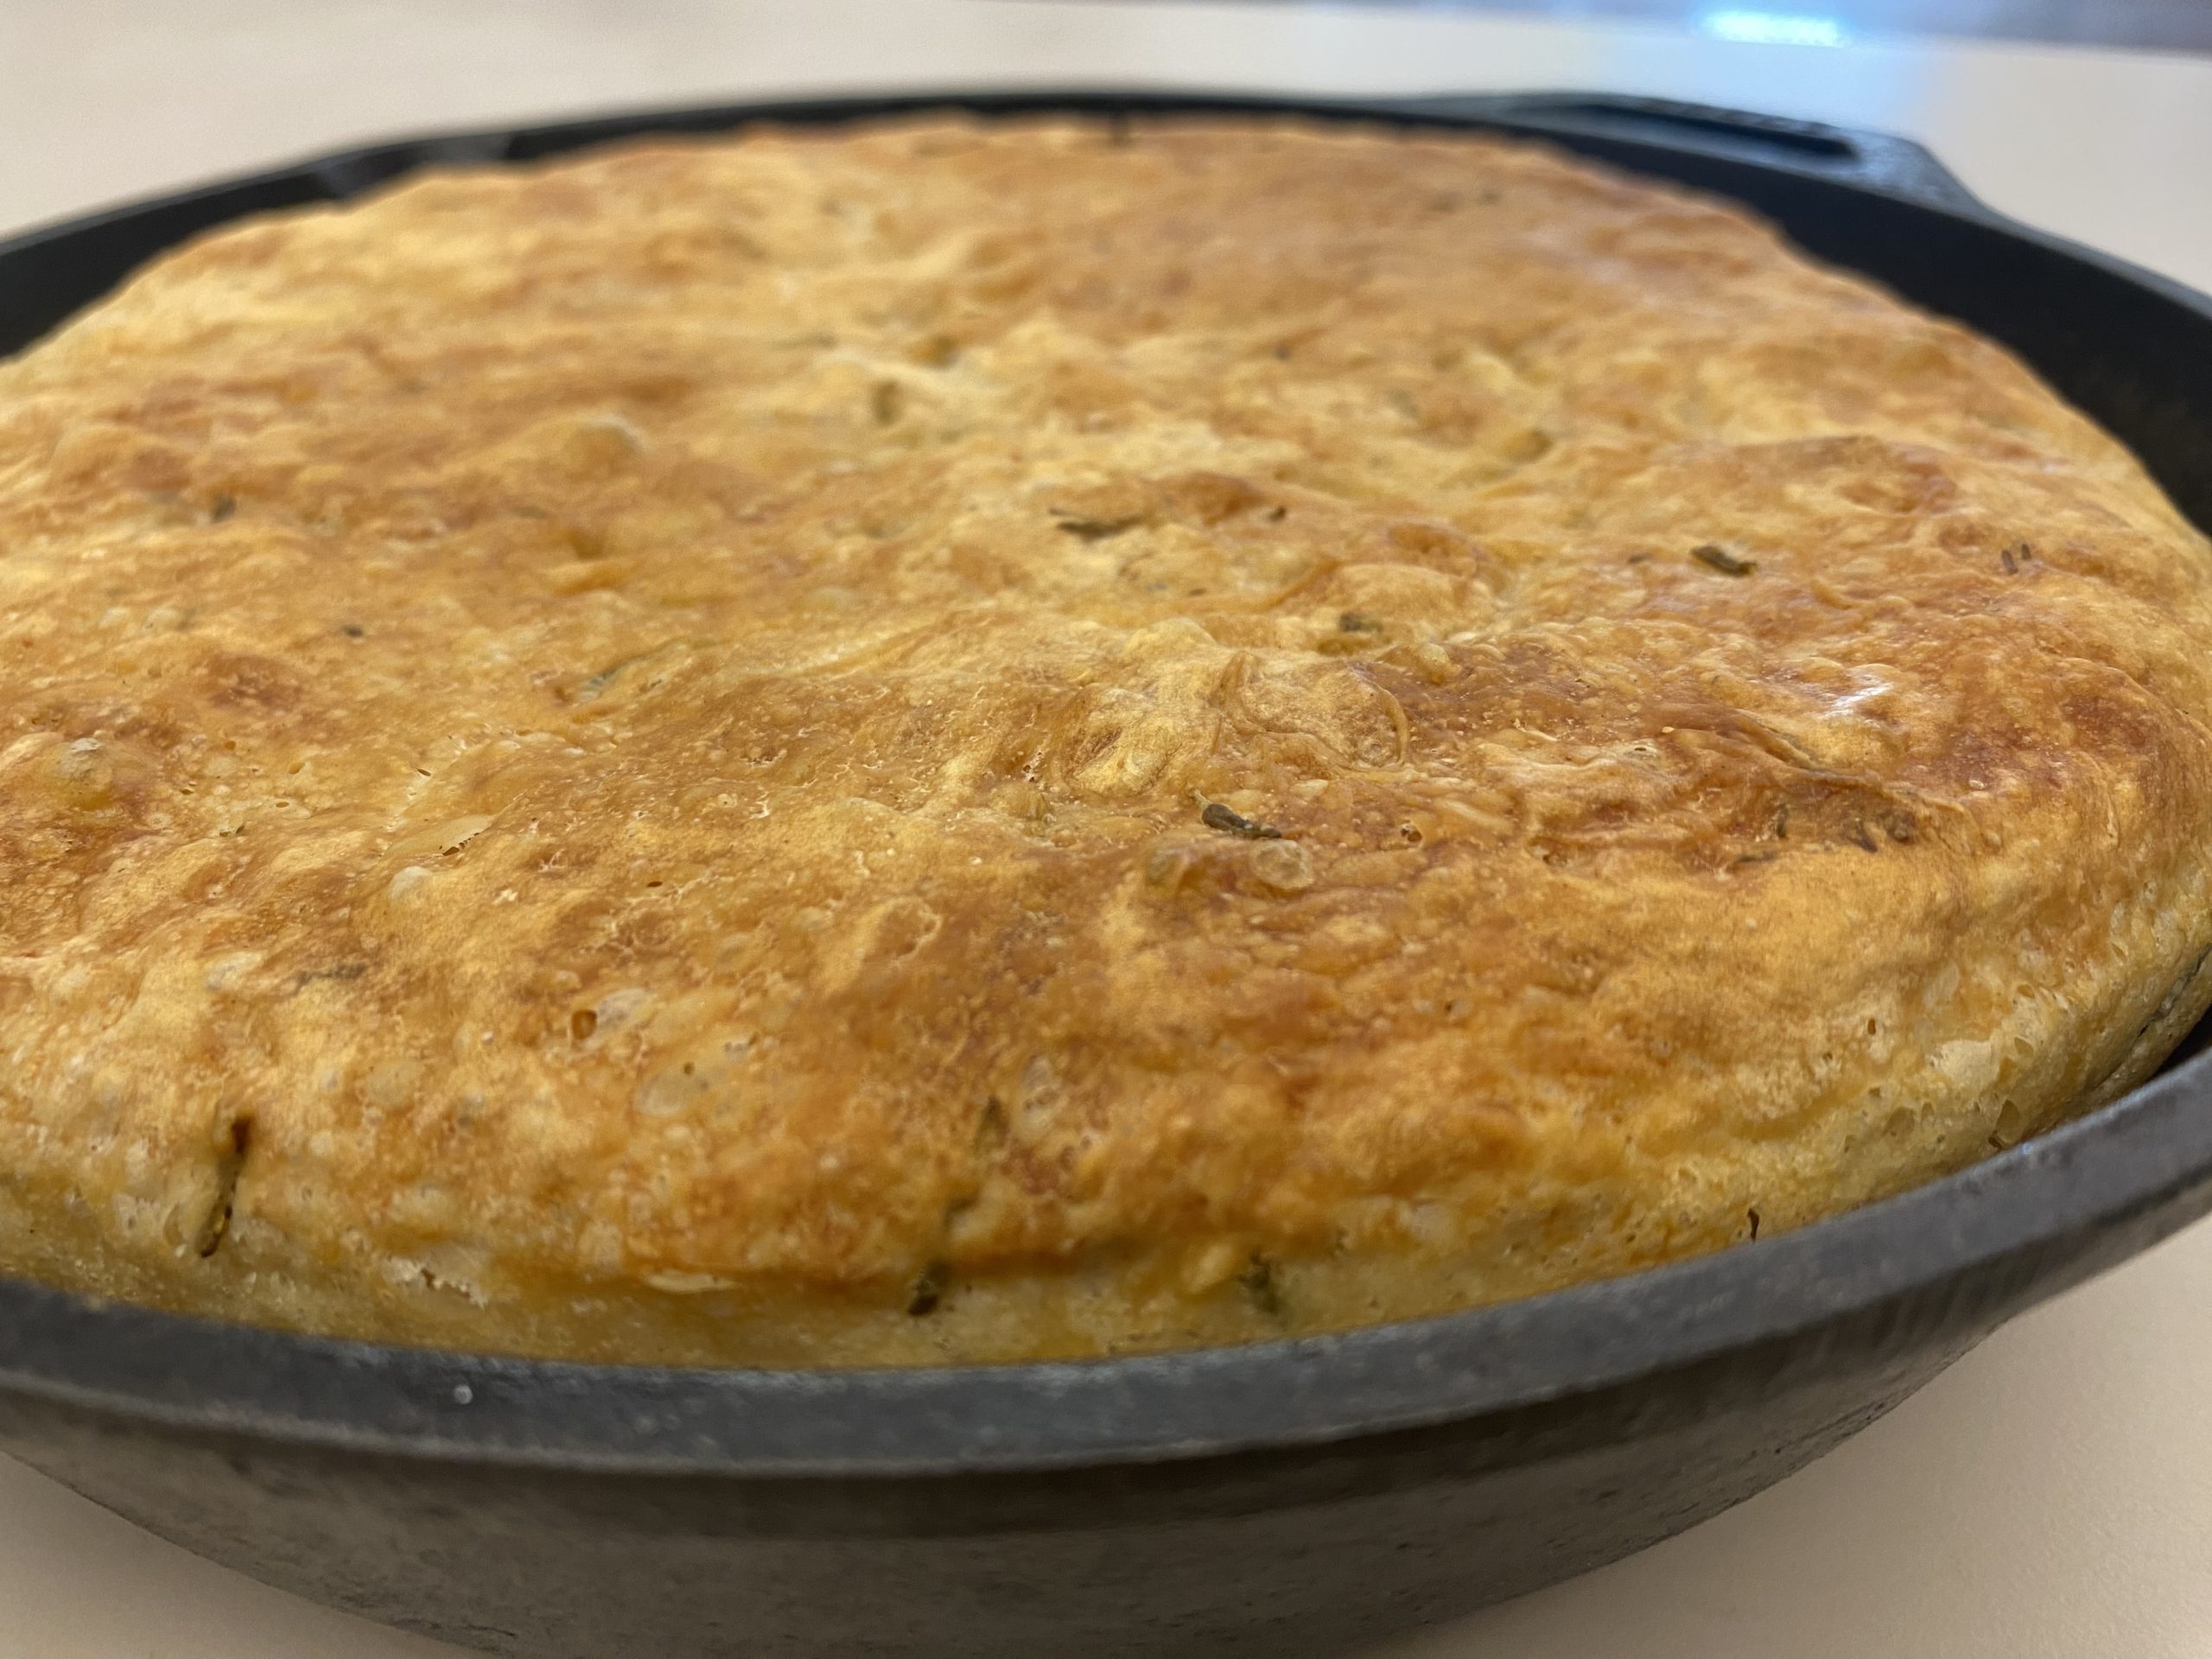
- Once the dough has risen in the cast iron skillet for 30-40 minutes, place it into the oven for 35-40 minutes or until the top is golden and beginning to brown slightly.
- Carefully remove the bread from the cast iron and put it on a wire rack to cool. If you have self-control, you can let the bread cool for 20 minutes, or you can crack into it as soon as you wish.
- Serve with butter and enjoy!
 1
1
