Drip, or micro-irrigation, is a great choice for landscape beds. It is up to 50% more water-efficient than a traditional sprinkler system, and it provides water directly to the plant instead of applying spray in a “one size fits all” pattern.
These systems are very customizable, and it is easy to fix or modify a system once it has been set up. Not to mention, micro-irrigation is fairly affordable to install, regardless of whether you are retrofitting an existing irrigation zone or adding it manually to an outdoor faucet. In fact, there are many kits available at local stores that already come with most of the components that you’d need to build a basic system.
That said, as with any irrigation systems, components can wear out over time or be damaged by certain environmental conditions or pests. So, don’t lose grip on your drip! Read on to learn more about how you can make simple repairs to your drip and how to keep your drip components working their best.
- Identifying Drip in the Landscape
- Finding Issues
- Fixing Broken Lines
- High Water Pressure
- Unclogging Emitters
- Reducing Irrigation
- Deterring Pests
- General Maintenance
Identifying Drip in the Landscape
Not sure if you even have a drip zone? If your irrigation system was installed before you moved into your home, you may not be aware of what features it has. Thankfully, these micro-irrigation systems are mostly found above ground, so they are relatively easy to spot. You can identify drip in the landscape by looking out for at least one of four basic drip emitters. These emitters are what apply water to your plants’ roots. See below for a basic summary of visual features:
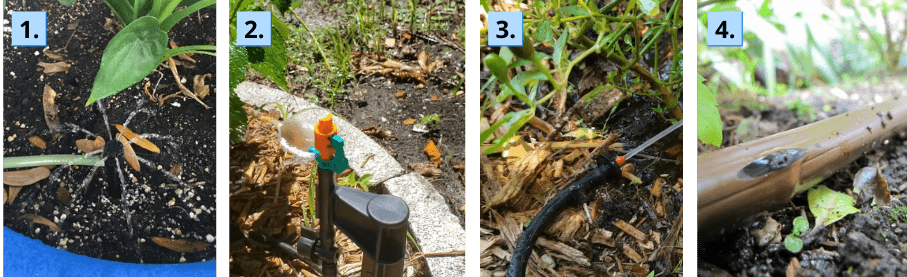
- Micro-bubblers: These emitters are usually black in color and have a rounded head with several holes around the circumference. They can either be directly attached to black distribution tubing or mounted on plastic stakes. They spray in a 360 degree pattern, covering the area around the head.
- Micro-sprays: Micro-sprays, or micro-sprinklers, are very similar in appearance and functionality to in-ground sprinklers. They are mounted on plastic stakes and often have colorful heads (orange, red, green) that determine the degree of spray.
- Basic drip emitters: These emitters are often red and black in color and let out a single stream of water at a rate of 1 – 3 gallons per minute. They can either be directly attached to black distribution tubing or to the end of smaller spaghetti tubing.
- In-line drip tubing: This tubing is often brown in color with equally spaced holes throughout its length. Each of these holes contains a built-in emitter.
Now, if you have seen at least one of these emitters located in your beds, you likely have an existing micro-irrigation system. That said, you will have to turn it on to see if it’s active. Locate your irrigation controller, which may either be on the side of your home or in the garage. Read the user guide for your model of controller to determine how to manually turn on a zone. Then, go through each of your zones until water is flowing from your emitters. If you have cycled through each of your zones, and none of your emitters have gone off, your system may be inactive or be tied to a separate timer. Keep in mind that some irrigation systems have multiple drip zones.
Finding Issues
While you have your drip zone running, now is the time to check for inefficiencies or other issues in the system. Common issues include breaks in the line, clogged heads, and areas in the landscape that no longer need irrigation. Walk around the perimeter of your home and look out for the following…
- Pooling or bubbling in areas of the landscape: This likely indicates a break in the line or a disconnected line.
- A strong spray coming from your drip line instead of a slow and steady drip: If this is happening in multiple points in the line, there may be an issue of high water pressure.
- Inefficient spray from your micro-sprinklers: This could be due to a clogged head or line.
- Areas of your landscape that no longer need irrigation: Landscapes change! Plant water needs change. It’s okay to change up your system to meet those needs.
Depending on the issue or issues present in your system, refer to the guide below to find the solution.
Fixing Broken Lines
A common problem that plagues drip systems is breaks in the line. Older systems often experience this problem due to worn out plastic, water pressure issues, or hungry animals in the landscape.
Before you go about fixing your line, measure the diameter of your tubing at the break site using a soft ruler. Most tubing will measure at 1/2 inch. Then, purchase or find black polyethylene tubing that matches the diameter. You will only need enough to cover any areas with broken lines. You will also need two barbed couplings for your tubing, which can be purchased at most home improvement stores. You can either get internal or external couplings, but both serve the same purpose. Be sure to match the diameter regardless of which you choose.
Follow the steps below:
- Use a pair of sharp scissors or plant shears to cut out the affected tubing.
- Cut out a piece of new drip tubing that is slightly longer on both ends.
- Connect your barbed couplings at the open ends of your main line and then attach them to your newly cut drip tubing.
- Turn on your system to make sure the connection is tight enough and that no water is leaking out at the site.
Note: If pooling is due to a disconnected line, you can shut off the water flow by installing an end piece, such as a figure 8 hose end fitting.
High Water Pressure
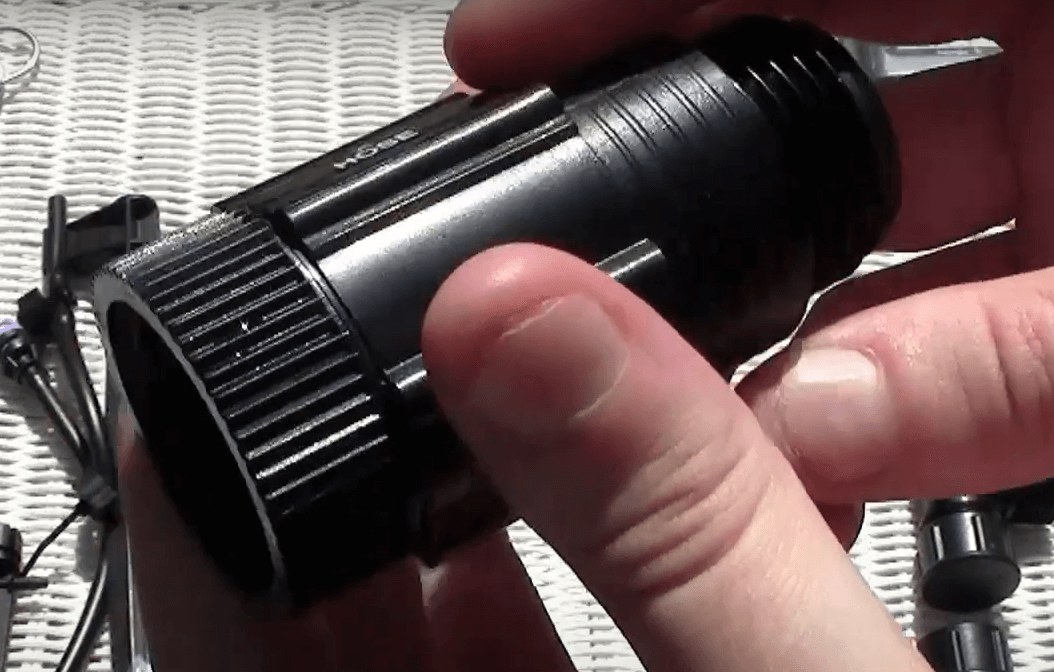
Pressure regulator
If you find that your tubing is frequently breaking or that there is too much spray coming out of your emitters, your water pressure may be too high. Drip irrigation systems use a combination of low flow and low pressure to deliver water to your plants, which is much different than the high water pressure coming from a sprinkler or outdoor faucet. Since drip components are developed to support a lower water pressure system, it is important to make sure a pressure regulator is installed at the water source. In most cases, it is a simple component that can be attached right after the backflow preventer and filter.
Unclogging Emitters
Just like regular sprinklers, micro-sprays and other emitters have a tendency to get clogged over time. Sometimes, a filter installed at the water source just isn’t enough. This is especially the case in systems that use well or reclaimed water. Both of these water sources have more minerals and nutrients, which can build up over time and clog emitters. Thankfully, unclogging them is an easy feat!
Follow the steps below:
- Detach the emitter from the main distribution tubing. There is no need to remove any smaller spaghetti tubing if present. Repeat for any other potentially clogged emitters.
• Tip: While you’re at it, consider removing the end piece to help flush out your entire system. - Turn on the system manually for a couple minutes to allow any mineral build-up to flush out.
- Wash the removed components and clear them of any internal debris.
- Reattach the emitter(s) at their initial location and turn on the system to see if the clog is gone. (If you are still experiencing issues with inefficient spray, you may need to replace your emitters.
Reducing Irrigation
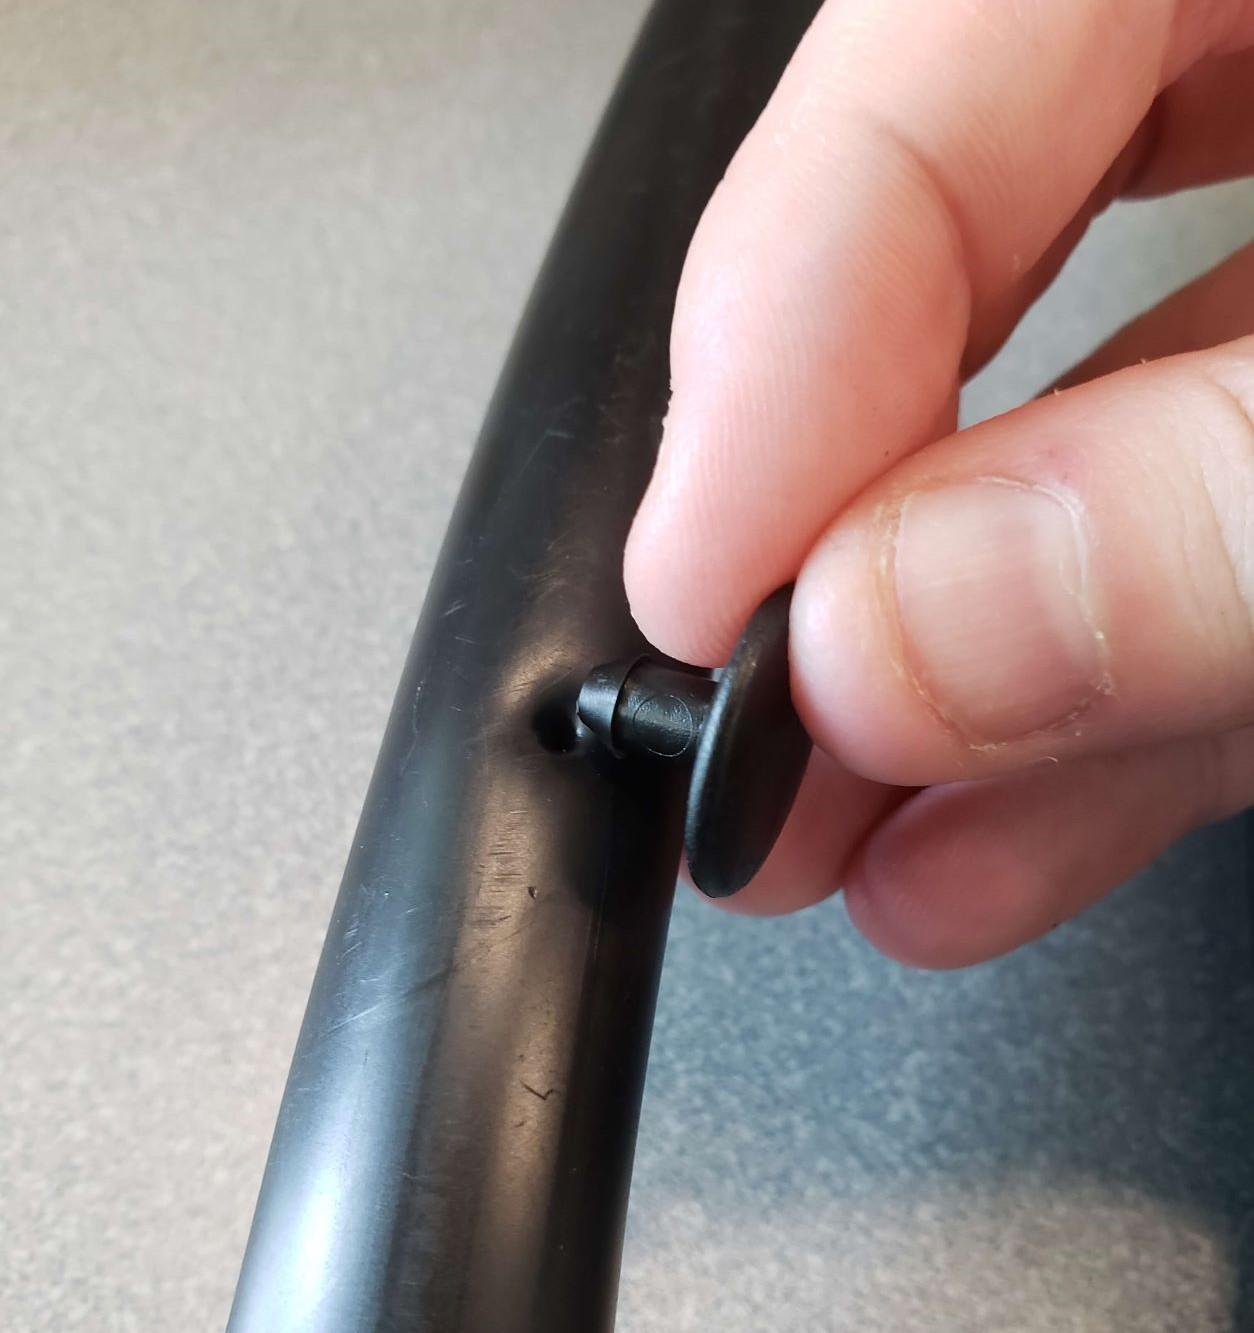
Goof plug
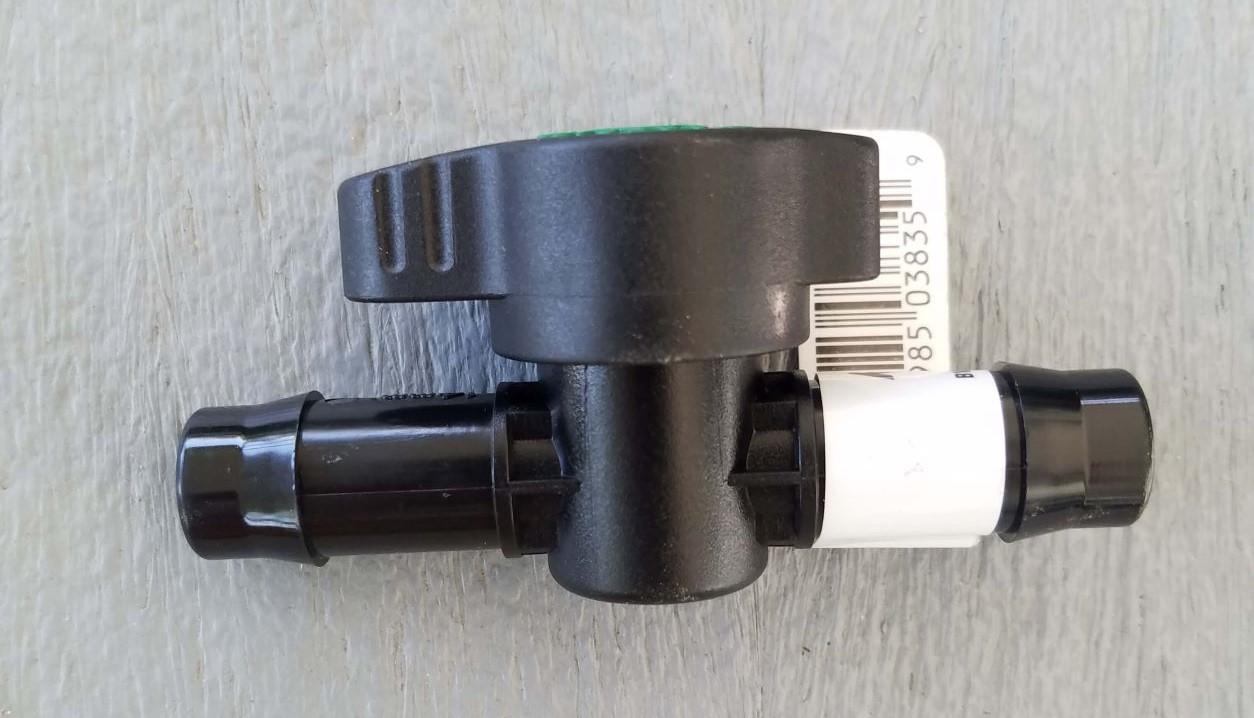
Shut-off valve
You may find that over time, as your landscape changes, so, too, do the water needs of your plants. Their roots may have established in the soil, leaving them mature and ready to tackle the fickle Florida weather. If this only applies to a few plants throughout the landscape, you can reduce irrigation by plugging up unused holes in your distribution tubing with goof plugs. These plugs are easy to remove and replace if the time comes where you might need to use the hole again.
If there is an entire area of your landscape on drip irrigation that no longer needs it, or only needs it situationally, consider installing a shut-off valve in the line. This allows you to turn on the irrigation in that area on an as-needed basis.
Deterring Pests
One issue that some homeowners report is holes chewed through the distribution line, leading to breaks, leaks, and other issues in the micro-irrigation system.
Consider the following ways to deter pests from your drip system:
Tip: Since mice and other small rodents can fit through tiny openings, consider a sheet metal fence to stop them from entering your plant beds.
- Place physical barriers in front of your landscape beds, such as chicken wire, garden fencing, or sheet metal.
- Install aluminum foil or mylar tape close to your drip system. These are reflective and noisy and may scare off unwanted company.
- The presence and scent of household pets, such as dogs or cats, may deter certain prey animals.
- Use chemical repellents.
- Contact repellents can be applied directly to your tubing and make it less palatable to pests. Tip: Try cayenne pepper powder!
- Area repellents induce fear through scent (e.g. predator urine) and can be applied to your tubing or to the larger surrounding area.
- Cover your drip tubing in mulch to serve as a protective layer.
- Remove ripe fruit from trees, uneaten pet food, and other tasty treats that may encourage the presence of animals.
- Secure garbage can lids to prevent entry.
- Remove any litter or unnecessary structures that may provide refuge for pests.
- Keep surrounding area clear of still or standing water.
General Maintenance
Be sure to flush out your lines regularly to keep a regular flow of water to your plants. To do this, remove the end piece from your main distribution line or drip tubing. Then turn on the system manually and let it run for a few minutes. To prevent your tubing from flying around, consider recruiting a friend to hold down the end during the flushing process. Other ways to help maintain your system are to turn it on for yearly checks, replace parts as needed, or switch out emitters if you find that the ones you have installed are not distributing water efficiently to your plants.
Resources
For more on drip, visit:
- DIY Irrigation online course
- Maximize Your Water Use with Micro-Irrigation webinar recording
- Guide to Micro-Irrigation in West Central Florida by Tampa Bay Water
 0
0
