Rain Sensors
Anyone living in Florida who uses an automatic irrigation system is required by law to have a fully operational rain shut-off device. These devices are crucial in preventing overwatering, which can lead to a number of issues in the landscape, cause high water bills, and waste a precious potable resource. If you recently acquired a rain sensor and would like to learn how to install it, this blog will explain how your sensor works as well as how to install and maintain it.
How Do They Work?
Although there are several varieties of sensor available on the market, the most common kind you will find are cork-disc sensors, which have a set of cork discs inside that expand when in contact with water. You can set your rain sensor to a number of thresholds, but we recommend keeping it at 1/8 inch, which is the lowest setting, to save the most water.
Once your discs have received that set amount of rainfall, it will send a signal to your controller to temporarily turn off programming until the discs are dry again. Be sure to keep your vent ring closed, as the hot Florida sun can often dry out your discs prematurely. Be sure to mount your sensor in an open area that is fully exposed – trees or other structures that could obstruct rainfall will make it less effective.
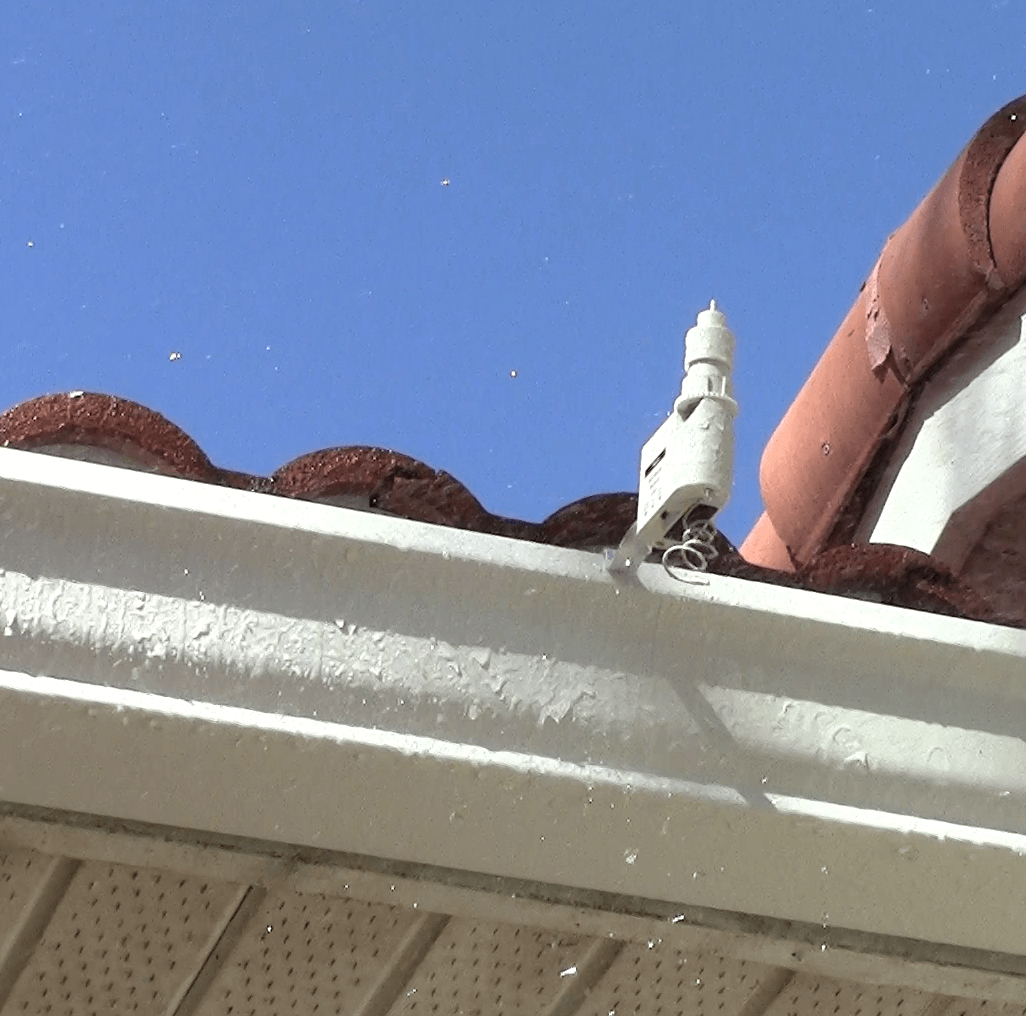
Oftentimes, rain sensors are mounted to the gutter close by the controller. There are both wired and wireless cork disc rain sensors you can install in your landscape. Wired rain sensors connect directly to the controller and have a more limited range of distance. In the case of wireless rain sensors, there are two components, a wireless sensor and wired receiver, that allow for greater range of distance when installing. The instructions below are for installing a wireless rain sensor.
Installing Your Sensor
Follow the steps below to install your new wireless rain sensor. Note that some controller models may use different instructions. Always consult the user handbook for your controller and sensor before installation.
- Locate your irrigation controller.
- Be sure to unplug your controller from its power source before continuing.
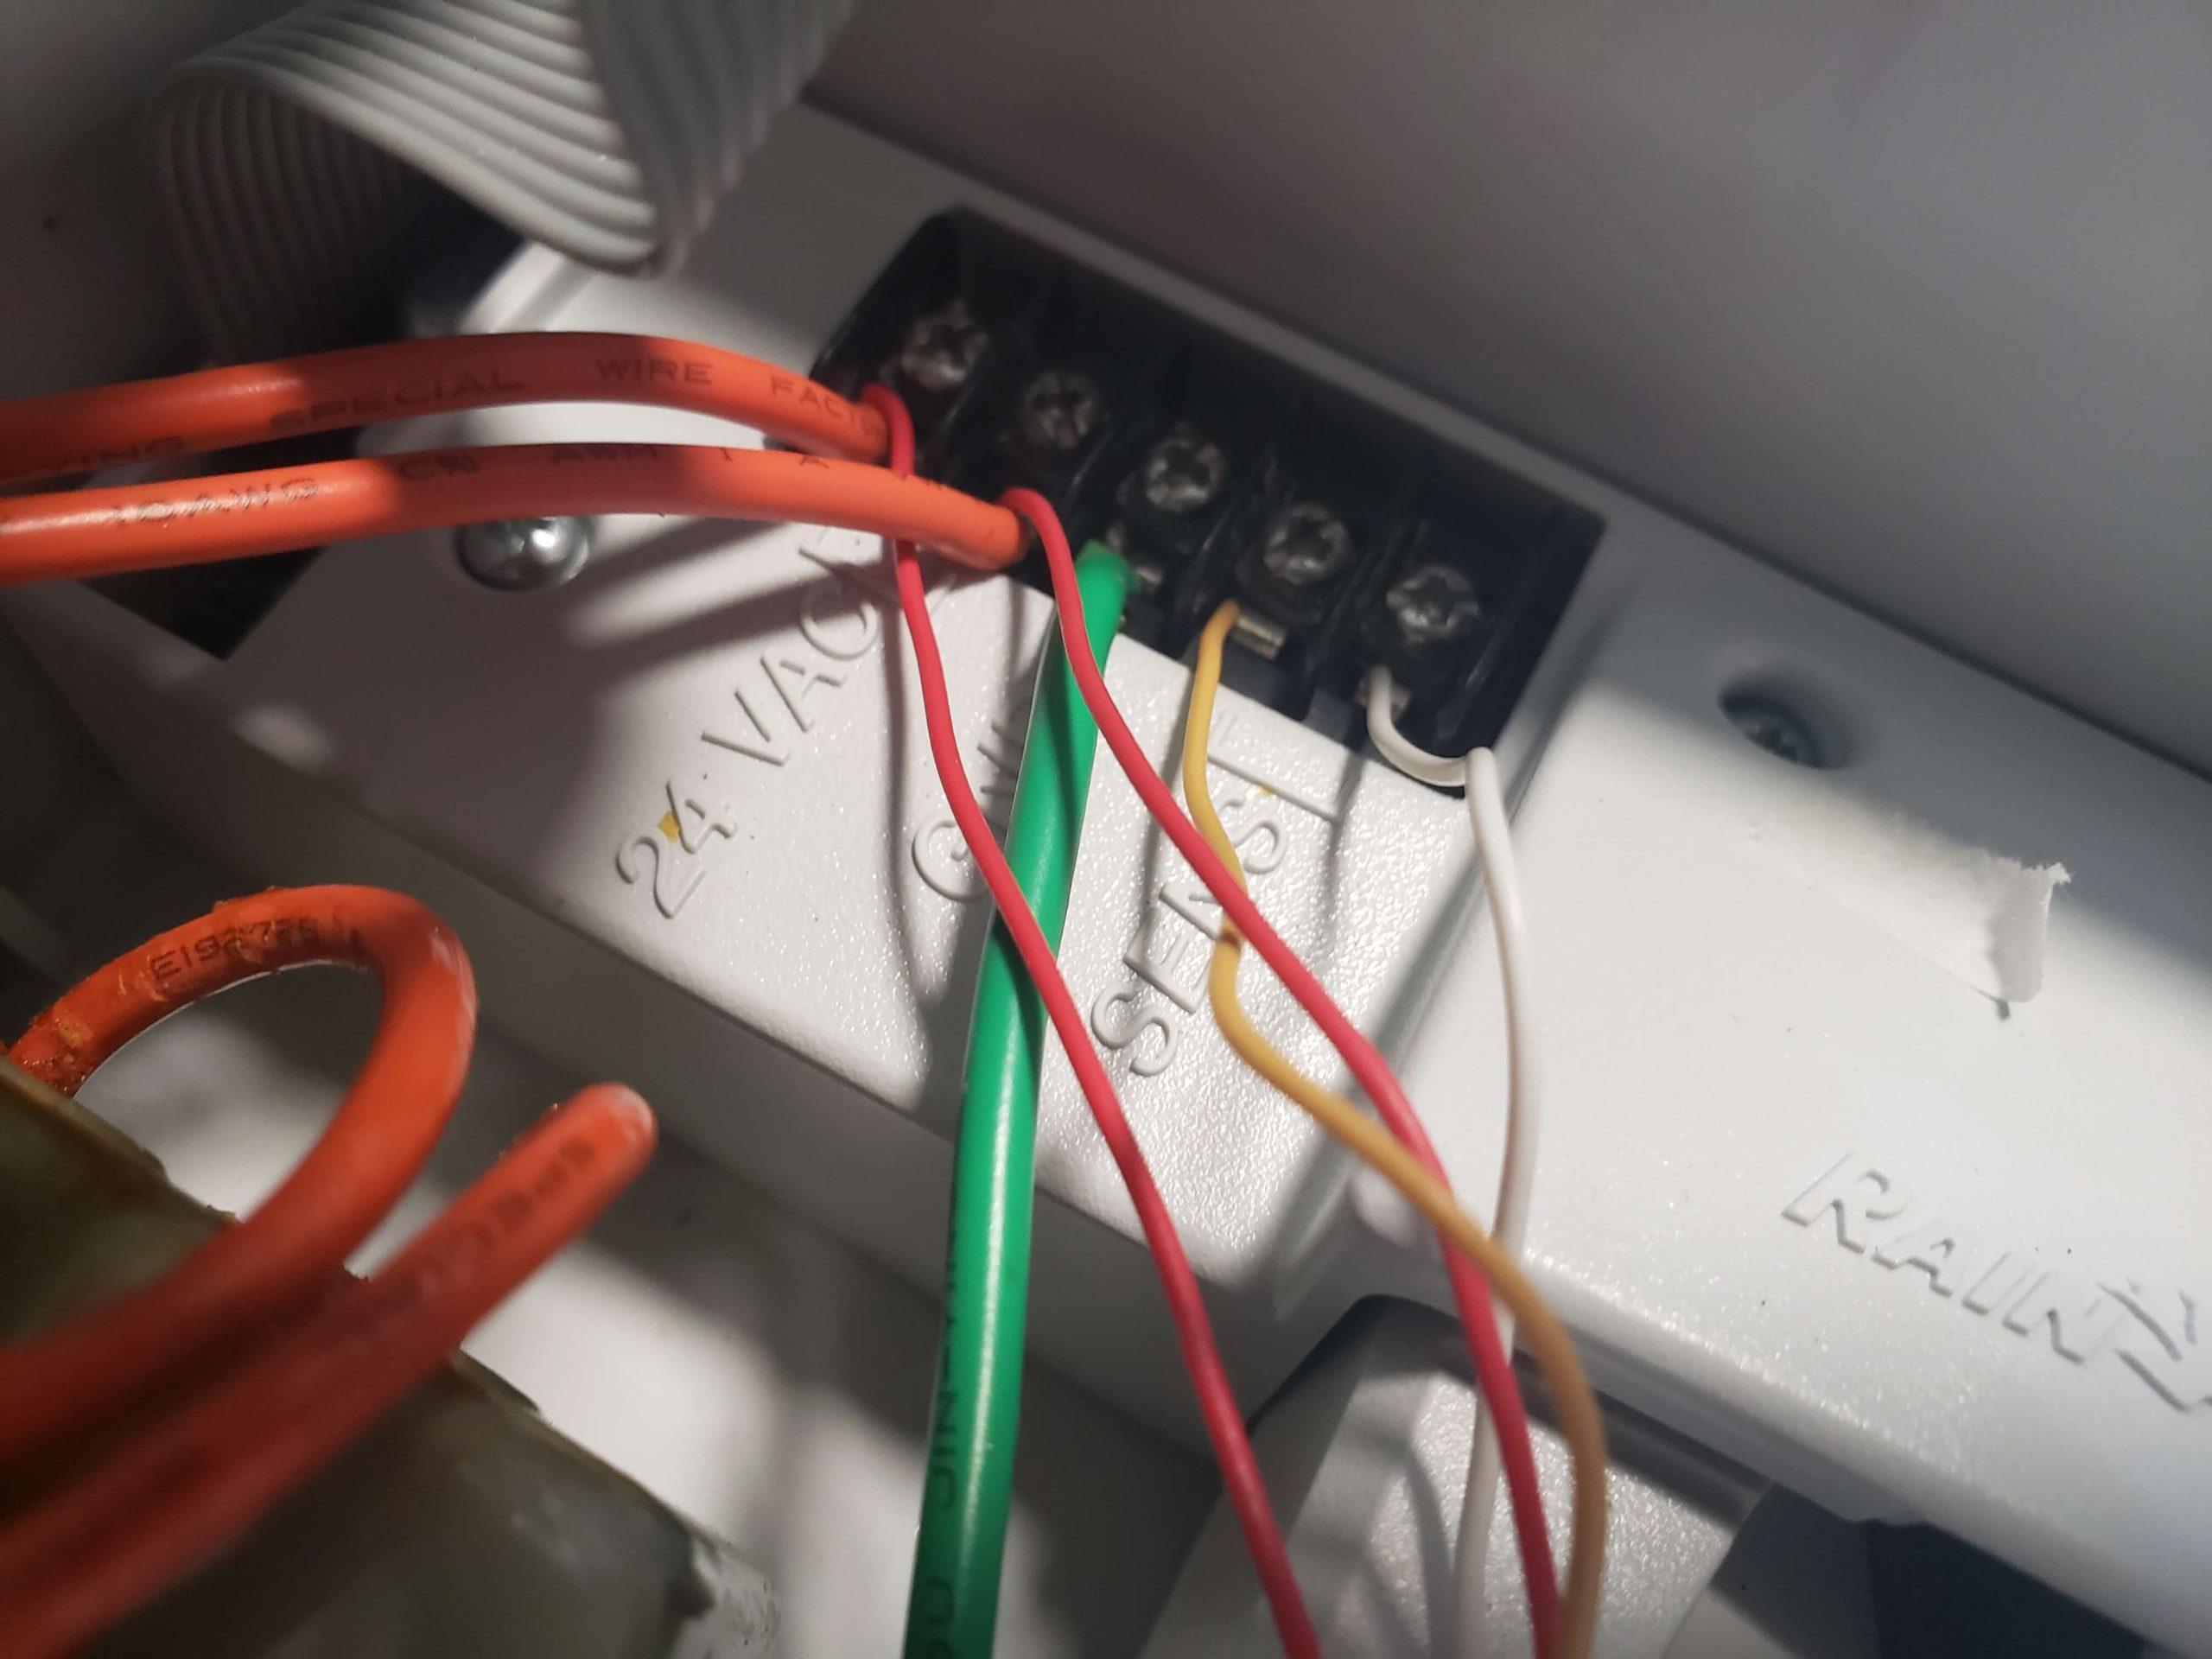
- Open up the interface to reveal your wiring.
- Look for the “SENS” port. Loosen the clamps and remove any preexisting wires.
- Be sure to keep them in a secure drawer or bin in case you need them later!
- Loosen the clamps on your two “VAC” ports. Place the sensor wires along with the existing controller wires into each respective port. Tighten the clamps.
- Repeat Step 6. for your white and yellow sensor wires. Tighten each clamp.
- Close the interface.
- Plug your controller back into its power source.
- Do a quick test to see if it’s working by pressing the “Manual Override” button on your receiver. If it lights up on both the receiver and controller, it should be ready to use!
Mounting Your Sensor
- Use the plastic anchors and screws to secure your receiver next to your irrigation controller.
- Find an open area where you can mount the sensor itself.
- If you plan on mounting it to your gutter, extend the metal portion of the sensor out and use the specialized screw in your kit to tighten the connection.
- If you do not have a gutter available, you can also mount your sensor to a fence or wall using the mounting bracket.
Testing Your Sensor
You should try to test your sensor at least once a year.
- Manually run a nearby irrigation zone.
- Spray water on your sensor until it switches off your irrigation.
- If your system does not turn off, you may need to check your wiring, cork discs, or sensor batteries.
Watch the video below to learn how to install a wireless rain sensor.
Free Rain Sensors!
Certain customers of Sarasota County Utilities may be eligible for a free wireless rain sensor with a completed irrigation system evaluation. If you have recently received a mail piece regarding your household’s water use, fill out this form to request a free evaluation with us.
Resources
- Rain shut-off devices
- Rain sensors
- Want a healthy yard? Water less!
- FREE water! Tips for reducing irrigation during rainy season
- Learn more about irrigation by signing up for our free, online courses
- Check out more water-saving tips on our Water Resources webpage
 0
0
