You may be spending more time creating and experimenting in your kitchen these days. But are you taking the time to clean and enjoy the beauty of the kitchen when you’re not making those new culinary masterpieces? Here are 11 super simple kitchen cleanups that can take away the stresses caused by kitchen grime, stink, and clutter.
That’s Dirty!
- Dust and Cover
For space between upper cabinets and the ceiling, begin by using a duster (and soapy sponge if needed) to get rid of all those dust bunnies. Then lay down wax paper (which holds the dust) or newspaper, paper grocery bags, or parchment paper. Then you can just lift the old paper and put down new a few times of year without having to clean years of dust and grime by hand. You may want to start with this because dust may fall from the top. Then work your way down to the rest of the kitchen.
- Clean the Microwave
Add about one cup of water to a large microwave-safe bowl. Cut a lemon in half. Squeeze the lemon juice into the bowl then add the lemon halves too. Microwave on high for about 2 minutes until the liquid boils and the window steams up. Don’t open the door yet; let the bowl sit for about 5-10 minutes. The steam loosens the gunk. Then it’s just an easy wipe down with a sponge inside and out.
- Wipe Down Surfaces
Wipe cabinet shelves and doors, counter tops, and trashcans with warm soapy water. Use the rough side of a double-sided non-scratch sponge for stuck-on areas and the softer side for crumbs and easier messes. You can also disinfect these surfaces with a spray bottle filled with a solution of one tablespoon bleach to one quart water, using paper towels to wipe dry.
- Scrub a Stove-top

Ever Cleaned?
Photo: AHinkle

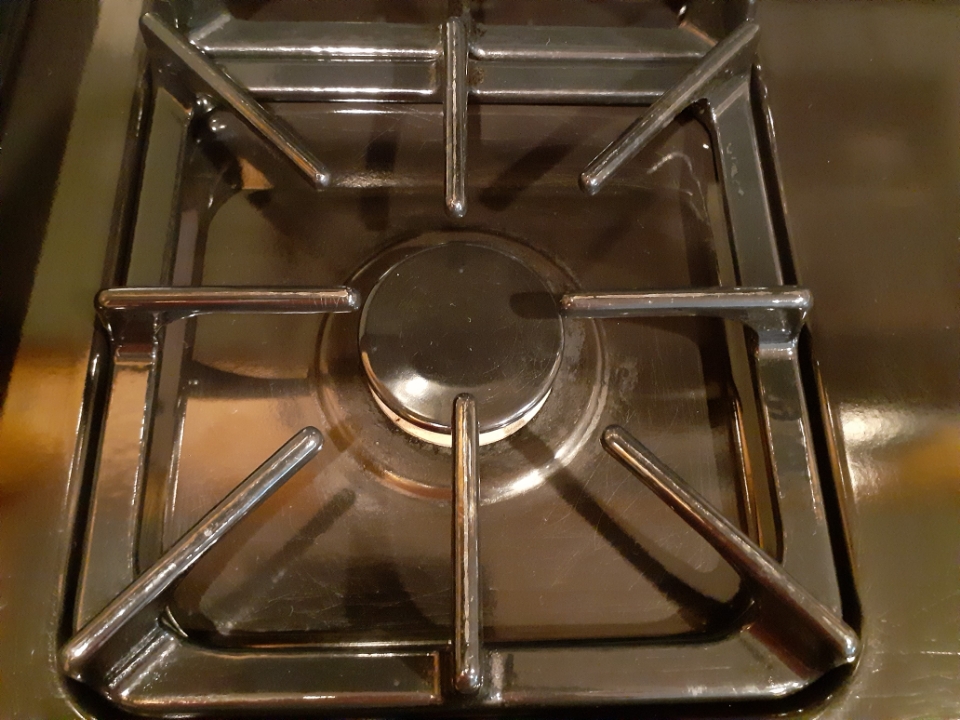
Photo: AHinkle
First, wipe down with warm soapy water. Put half a cup of baking soda in a bowl. Then slowly pour in hydrogen peroxide, mixing until it becomes a thin paste. Pour a little paste on the stubborn spots and rub with a heavy-duty paper towel or rag. The stains should come right off. For stubborn stains, pour a bit more of the paste onto the stuck-on stain and let it soak for about 10 minutes. Then scrub, scrub, scrub some more until the stove-top is completely clean.
(Check manufacturer’s directions for smooth top stoves.)
- Wash the Refrigerator
Take out shelves, drawers, and other removable parts of your refrigerator and freezer and wash with hot water and dish soap – just as if they were dishes. Wash the inside walls and door compartments of the refrigerator and freezer with a solution of 2 tablespoons baking soda and 4 cups warm water to clean and reduce any strong odors. Rinse with clear warm water and dry with a soft cloth. Wipe off all jars and dishes as you replace them in the refrigerator.
Wash the outside of the refrigerator and freezer with hot soapy water, rinse, and dry. Don’t forget the door gaskets – sticky gaskets can cause air leaks, using more energy over time.
That Stinks!
- The Garbage Can
Sprinkle baking soda into the bottom of the trash bag to help keep the shudder-inducing smellies away and/or add a cotton ball soaked in essential oils to add a nice scent.
- The Stinky Sink
First, run hot water down the drain. Follow that with a cup of baking soda. Finish off with a cup of lemon juice. And this fizzy reaction is fun to do with the kids.
- That Refrigerator Smell
Placing an open box of baking soda on a shelf in the refrigerator gets rid of most smells. If your unit has a pan or plastic tray on the very bottom to collect the condensation or defrost water, remove and clean it once or twice a year. Dust and moisture in this pan can lead to mold growth and cause health problems for persons with allergies. It also can develop an unpleasant odor. Check your care manual for the location of the pan.
That’s Got to Go!
- Food – Organize, Keep, Toss
Go through your refrigerator, freezer, and pantry and throw away anything that is expired, moldy, or you have no idea what it is. (To learn more about Use-By, Sell-By, and Best-By dates on food packages, check out Understanding Date Labels.) FIFO (First In First Out) your pantry foods by placing the older foods at the front and newer foods in the back. This way, you use up the foods that will expire first. Then throw away any foods with freezer burn.
- Herbalicious…or Not
Toss out any herb or spice containers that are past their best-if-used-by date. Herbs and spices begin to quickly lose their wonderful tastes and aromas after this date. If it has no date and you have no idea how long you’ve had it, best bet is to throw it away.
- That Drawer
That Kitchen Drawer
Photo Source: AHinkle
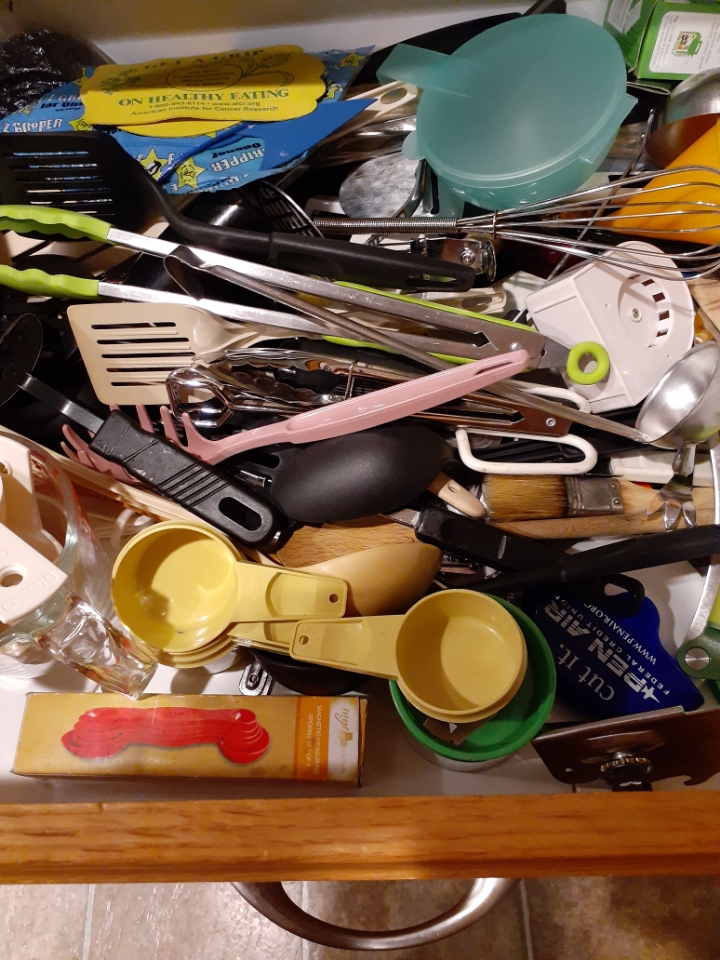
Where is that ladle? I know I put it in this drawer. Why is the kitchen tool I want to use always at the bottom of the utensil (or junk) drawer? And why do I have five corkscrews when I don’t even drink wine? Help beat these frustrating dilemmas. De-clutter and organize this drawer.
Start by taking everything out – yes, everything. Pick out things you never use. If you’ve had a melon baller for 10 years and used it once nine years ago, put it in a giveaway pile. Put four of the five corkscrews in that pile too. Throw away anything that’s broken or unusable. Wipe out the drawer using a sponge and warm soapy water or disinfectant wipes. Refill the drawer starting in the bottom/back with those tools you don’t use as often. Work your way forward and up with the tools you use most often. Ah, so much better now, and from now on.
Try tackling two or three of these tips a week. You can complete the whole list in one month. As a result, your kitchen will be cleaner and more comfortable, and you can be less stressed and happier.
 0
0
