Will my worms eat that?
Many people, myself included, look for every opportunity to skip a trip to the dumpster and instead, retain value.
Several weeds in the garden are picked throughout the year, and you may be wondering: “do I really have to throw this in the dumpster?” Bags with fresh weeds and moist soil are not fun to carry and surely are not fun to hoist into the can, but what are our other options?
Enter composting worms!
Red wiggler worms (Eisenia fetida) are a great way to decompose weeds in your garden. They have a voracious appetite for dead plants, including those that are freshly plucked. Many of our most annoying garden weeds can be eaten by composting worms.
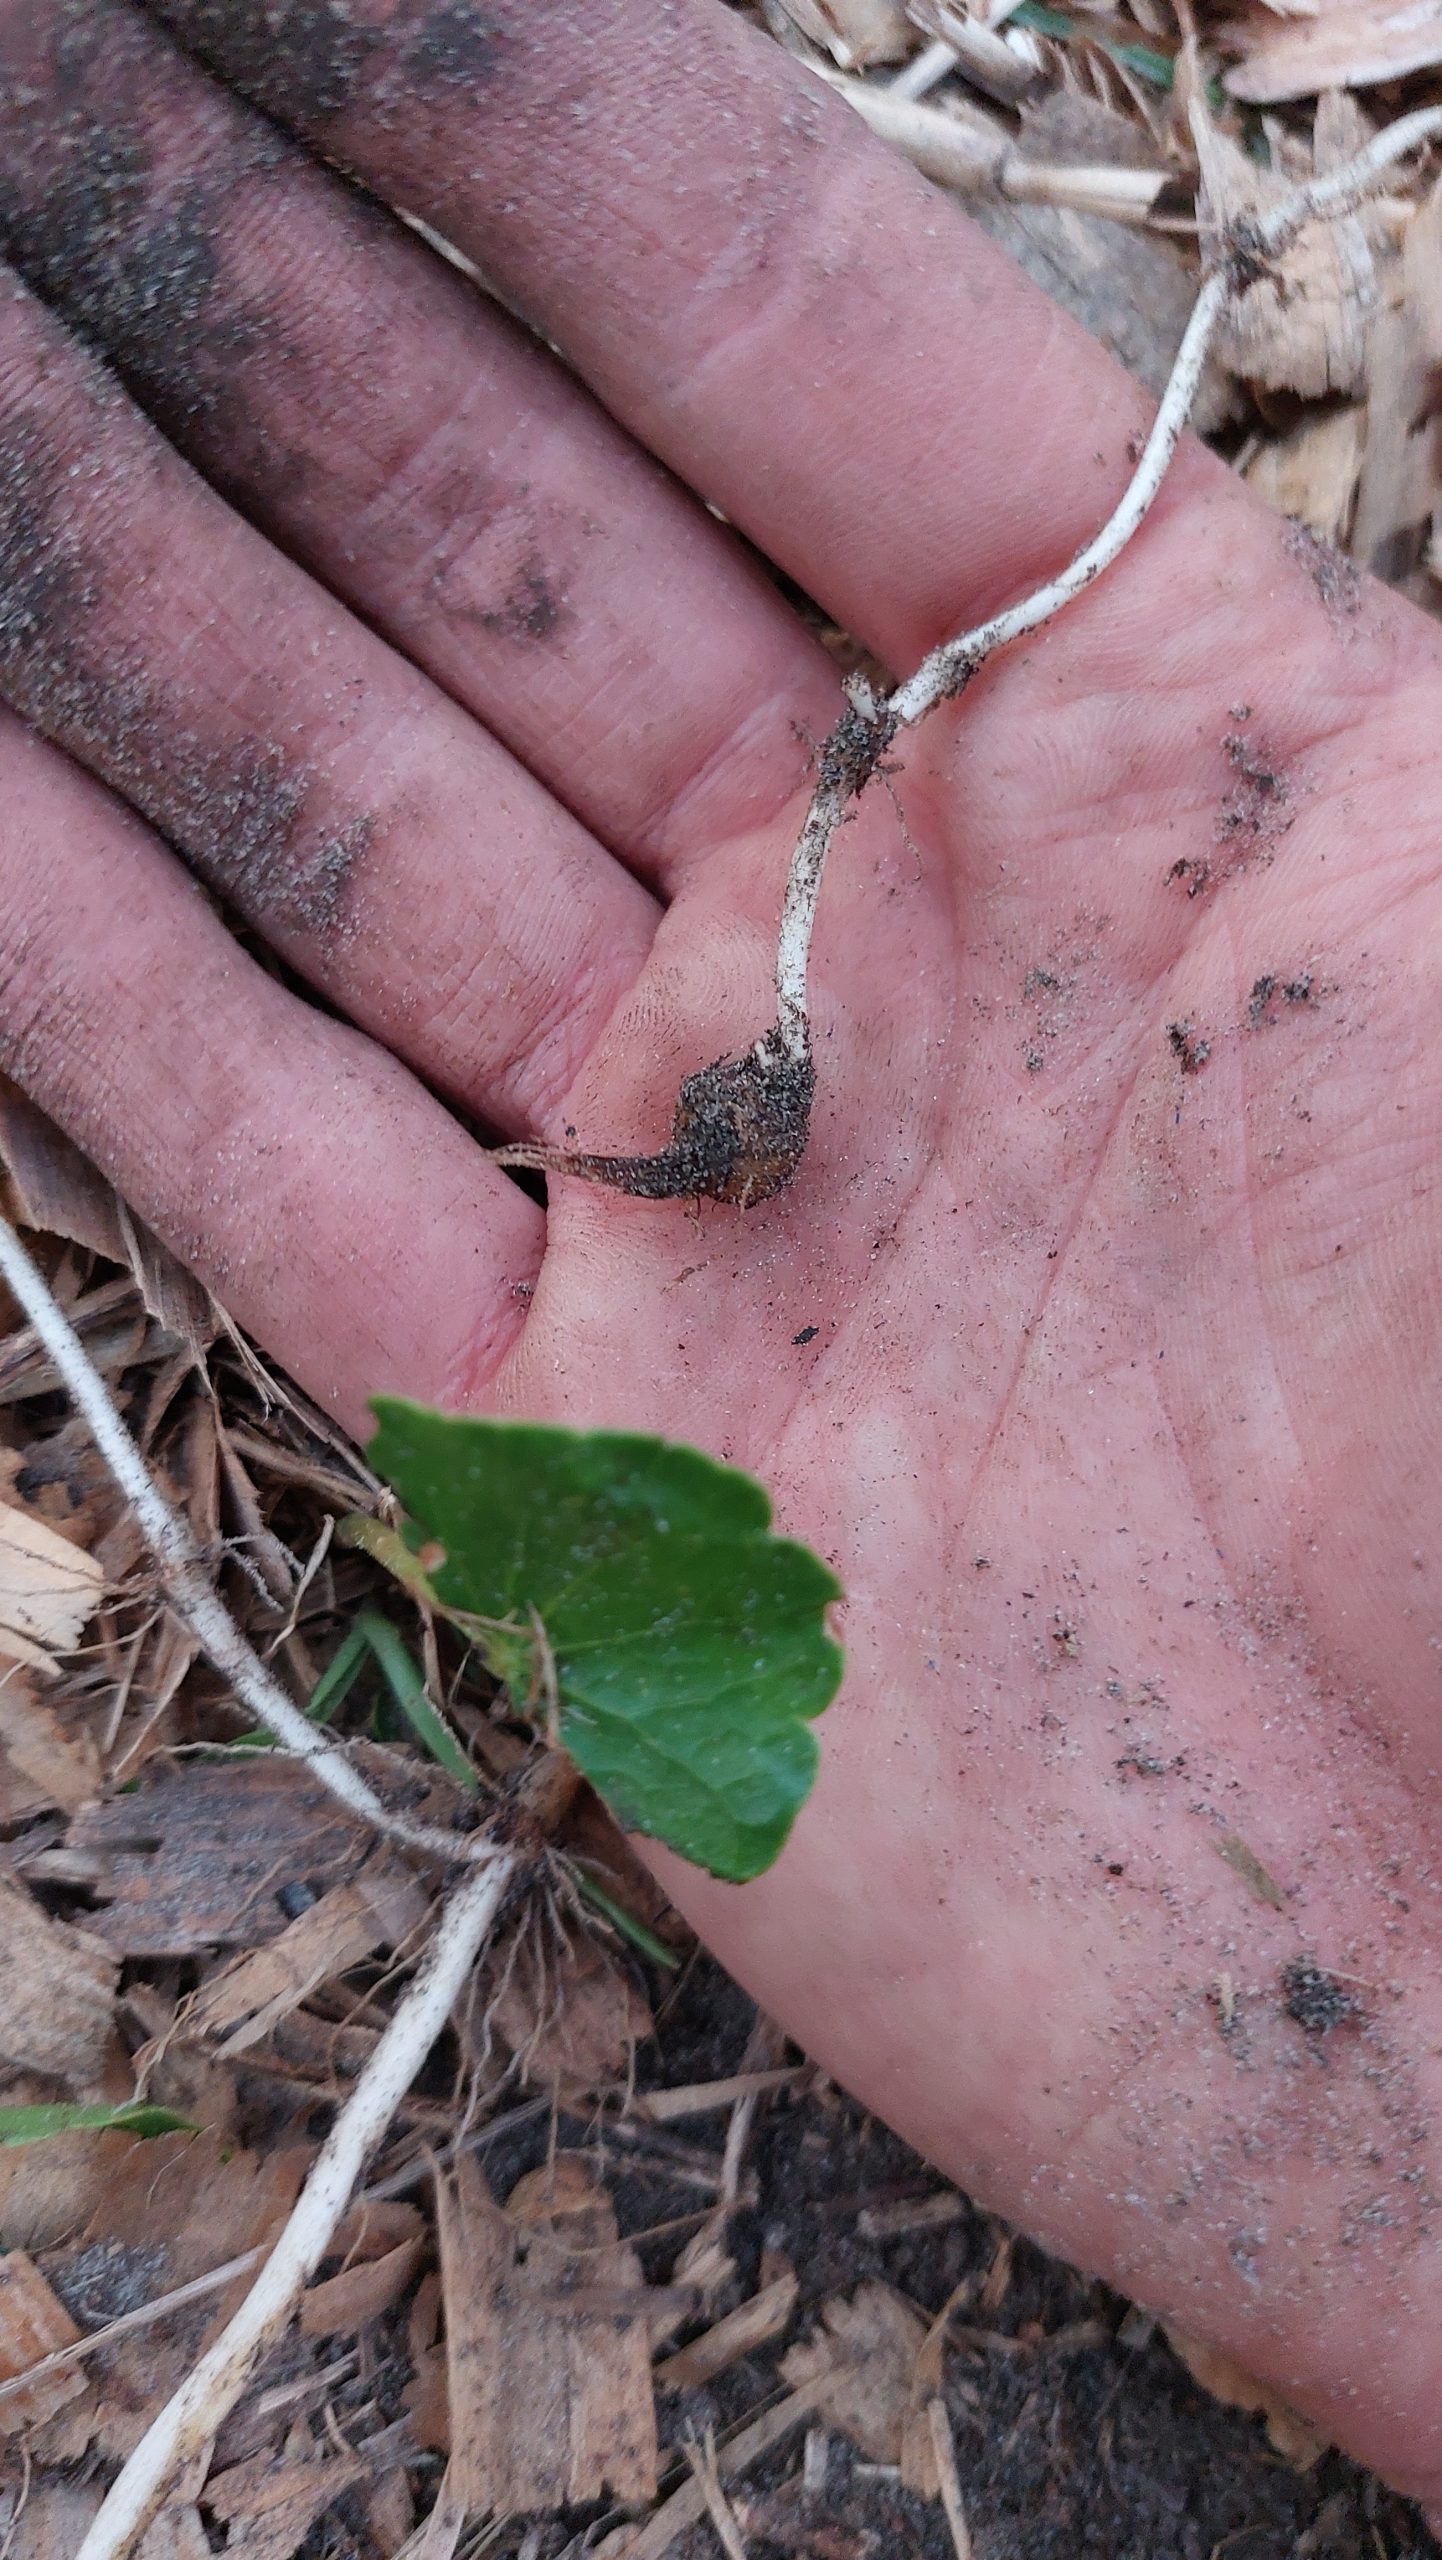
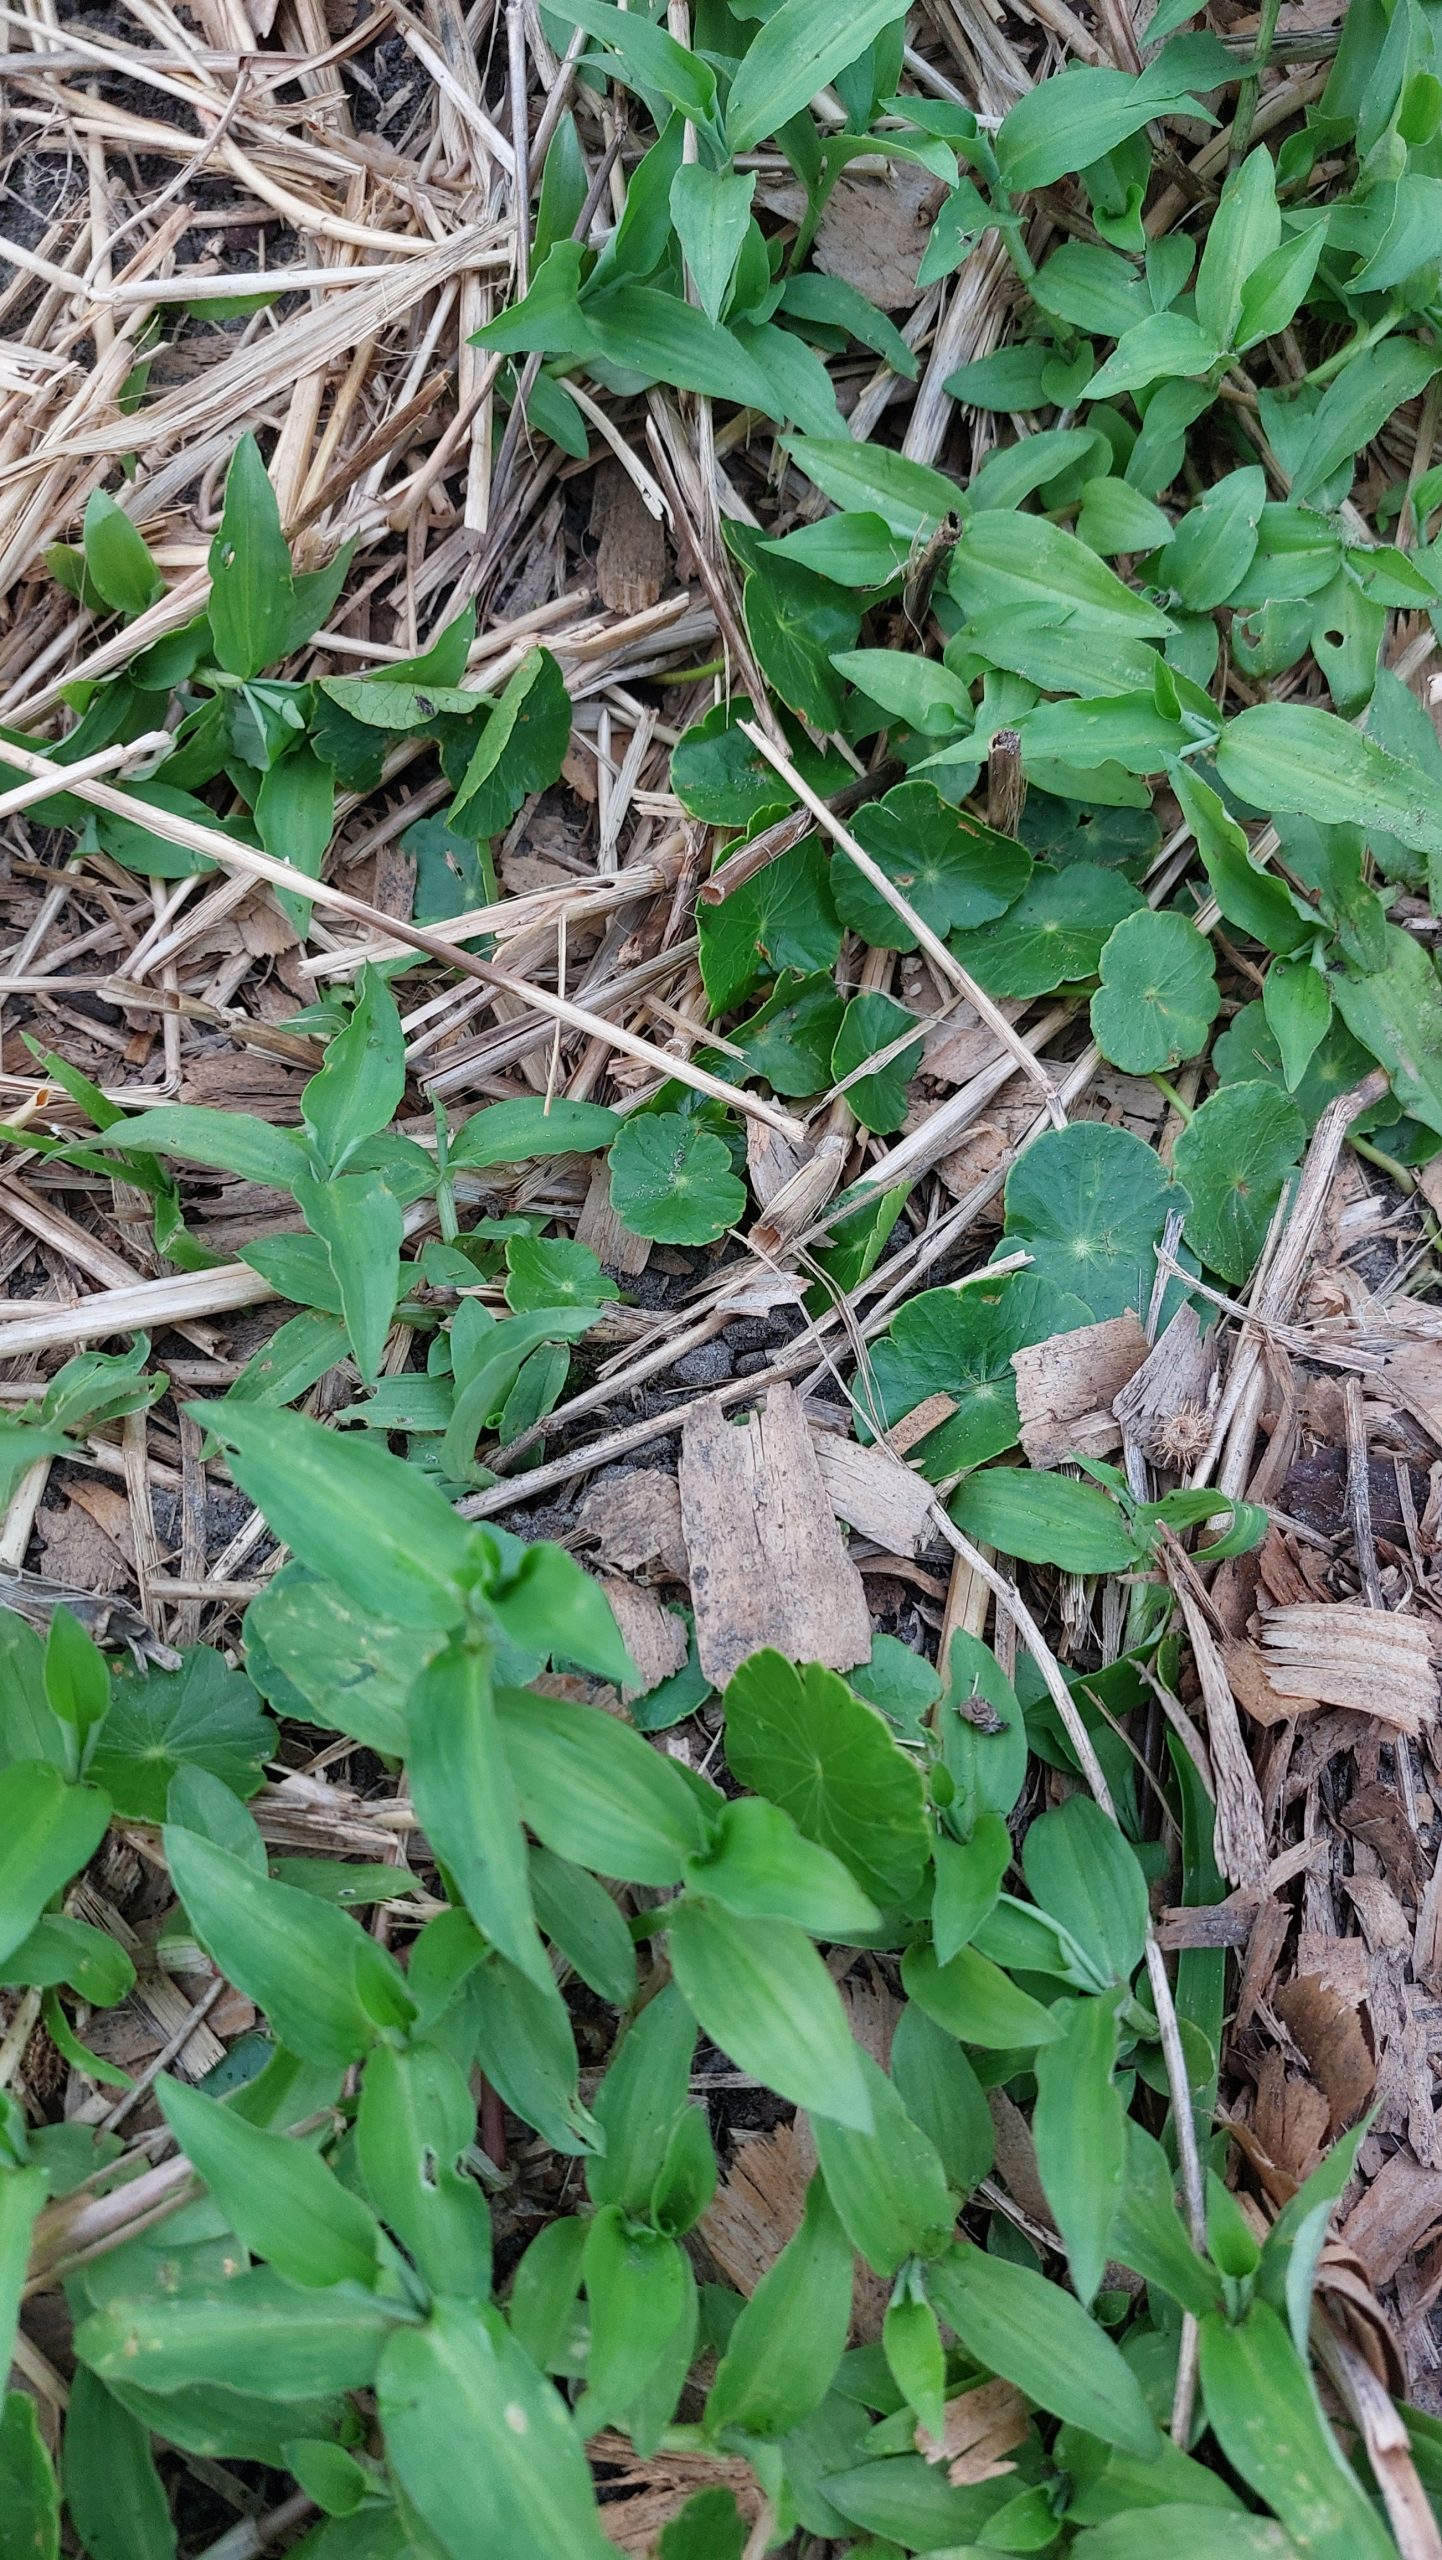
Pennywort and Creeping Dayflower
Pennywort (dollarweed) and creeping dayflower (common dayflower) are common weeds in Northeast Florida (Figures 1 and 2).
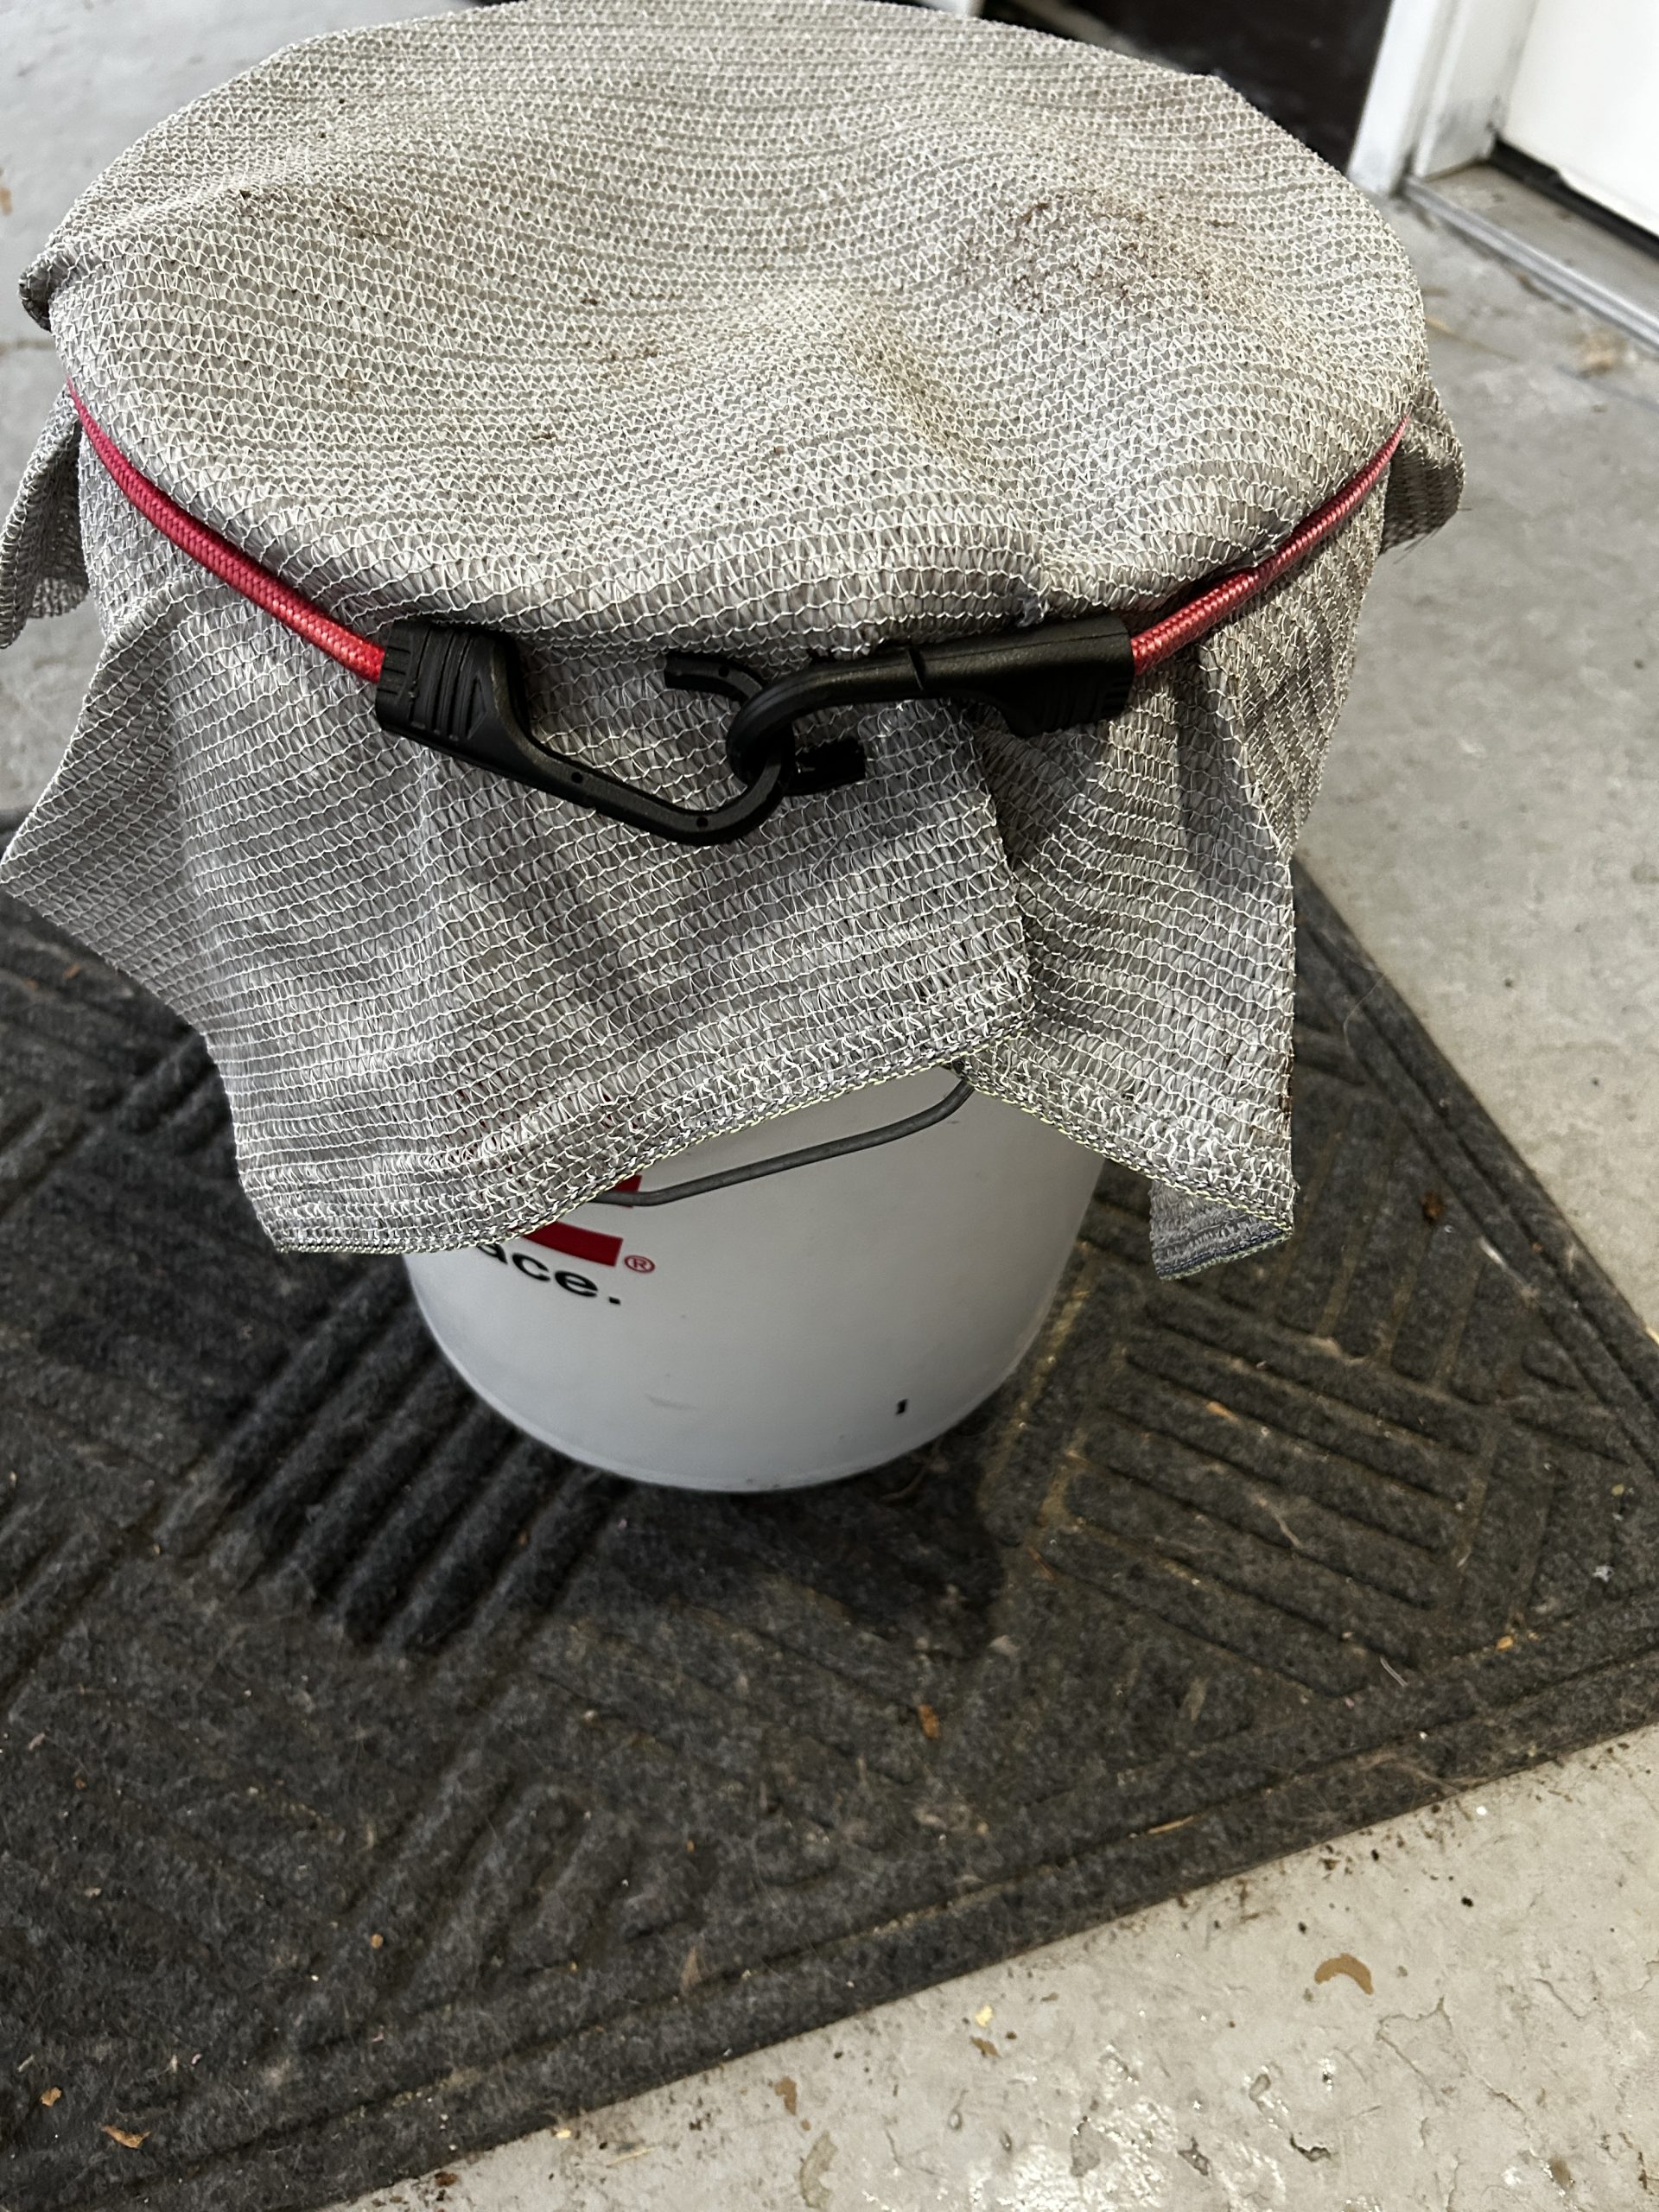
Your Home Worm Bin
After pulling out those pesky pennyworts and depressing dayflowers – carefully, by the root, you can feed them to your red wigger worms! Using a 5-gallon bucket and a square of landscape fabric over the top, fill the bucket halfway with pulled plants, cover with mature vermicompost, and secure landscape fabric top or No See-um mesh with a bungee cord (Figure 3). Be sure to check it weekly and troubleshoot if your bin gets too wet.
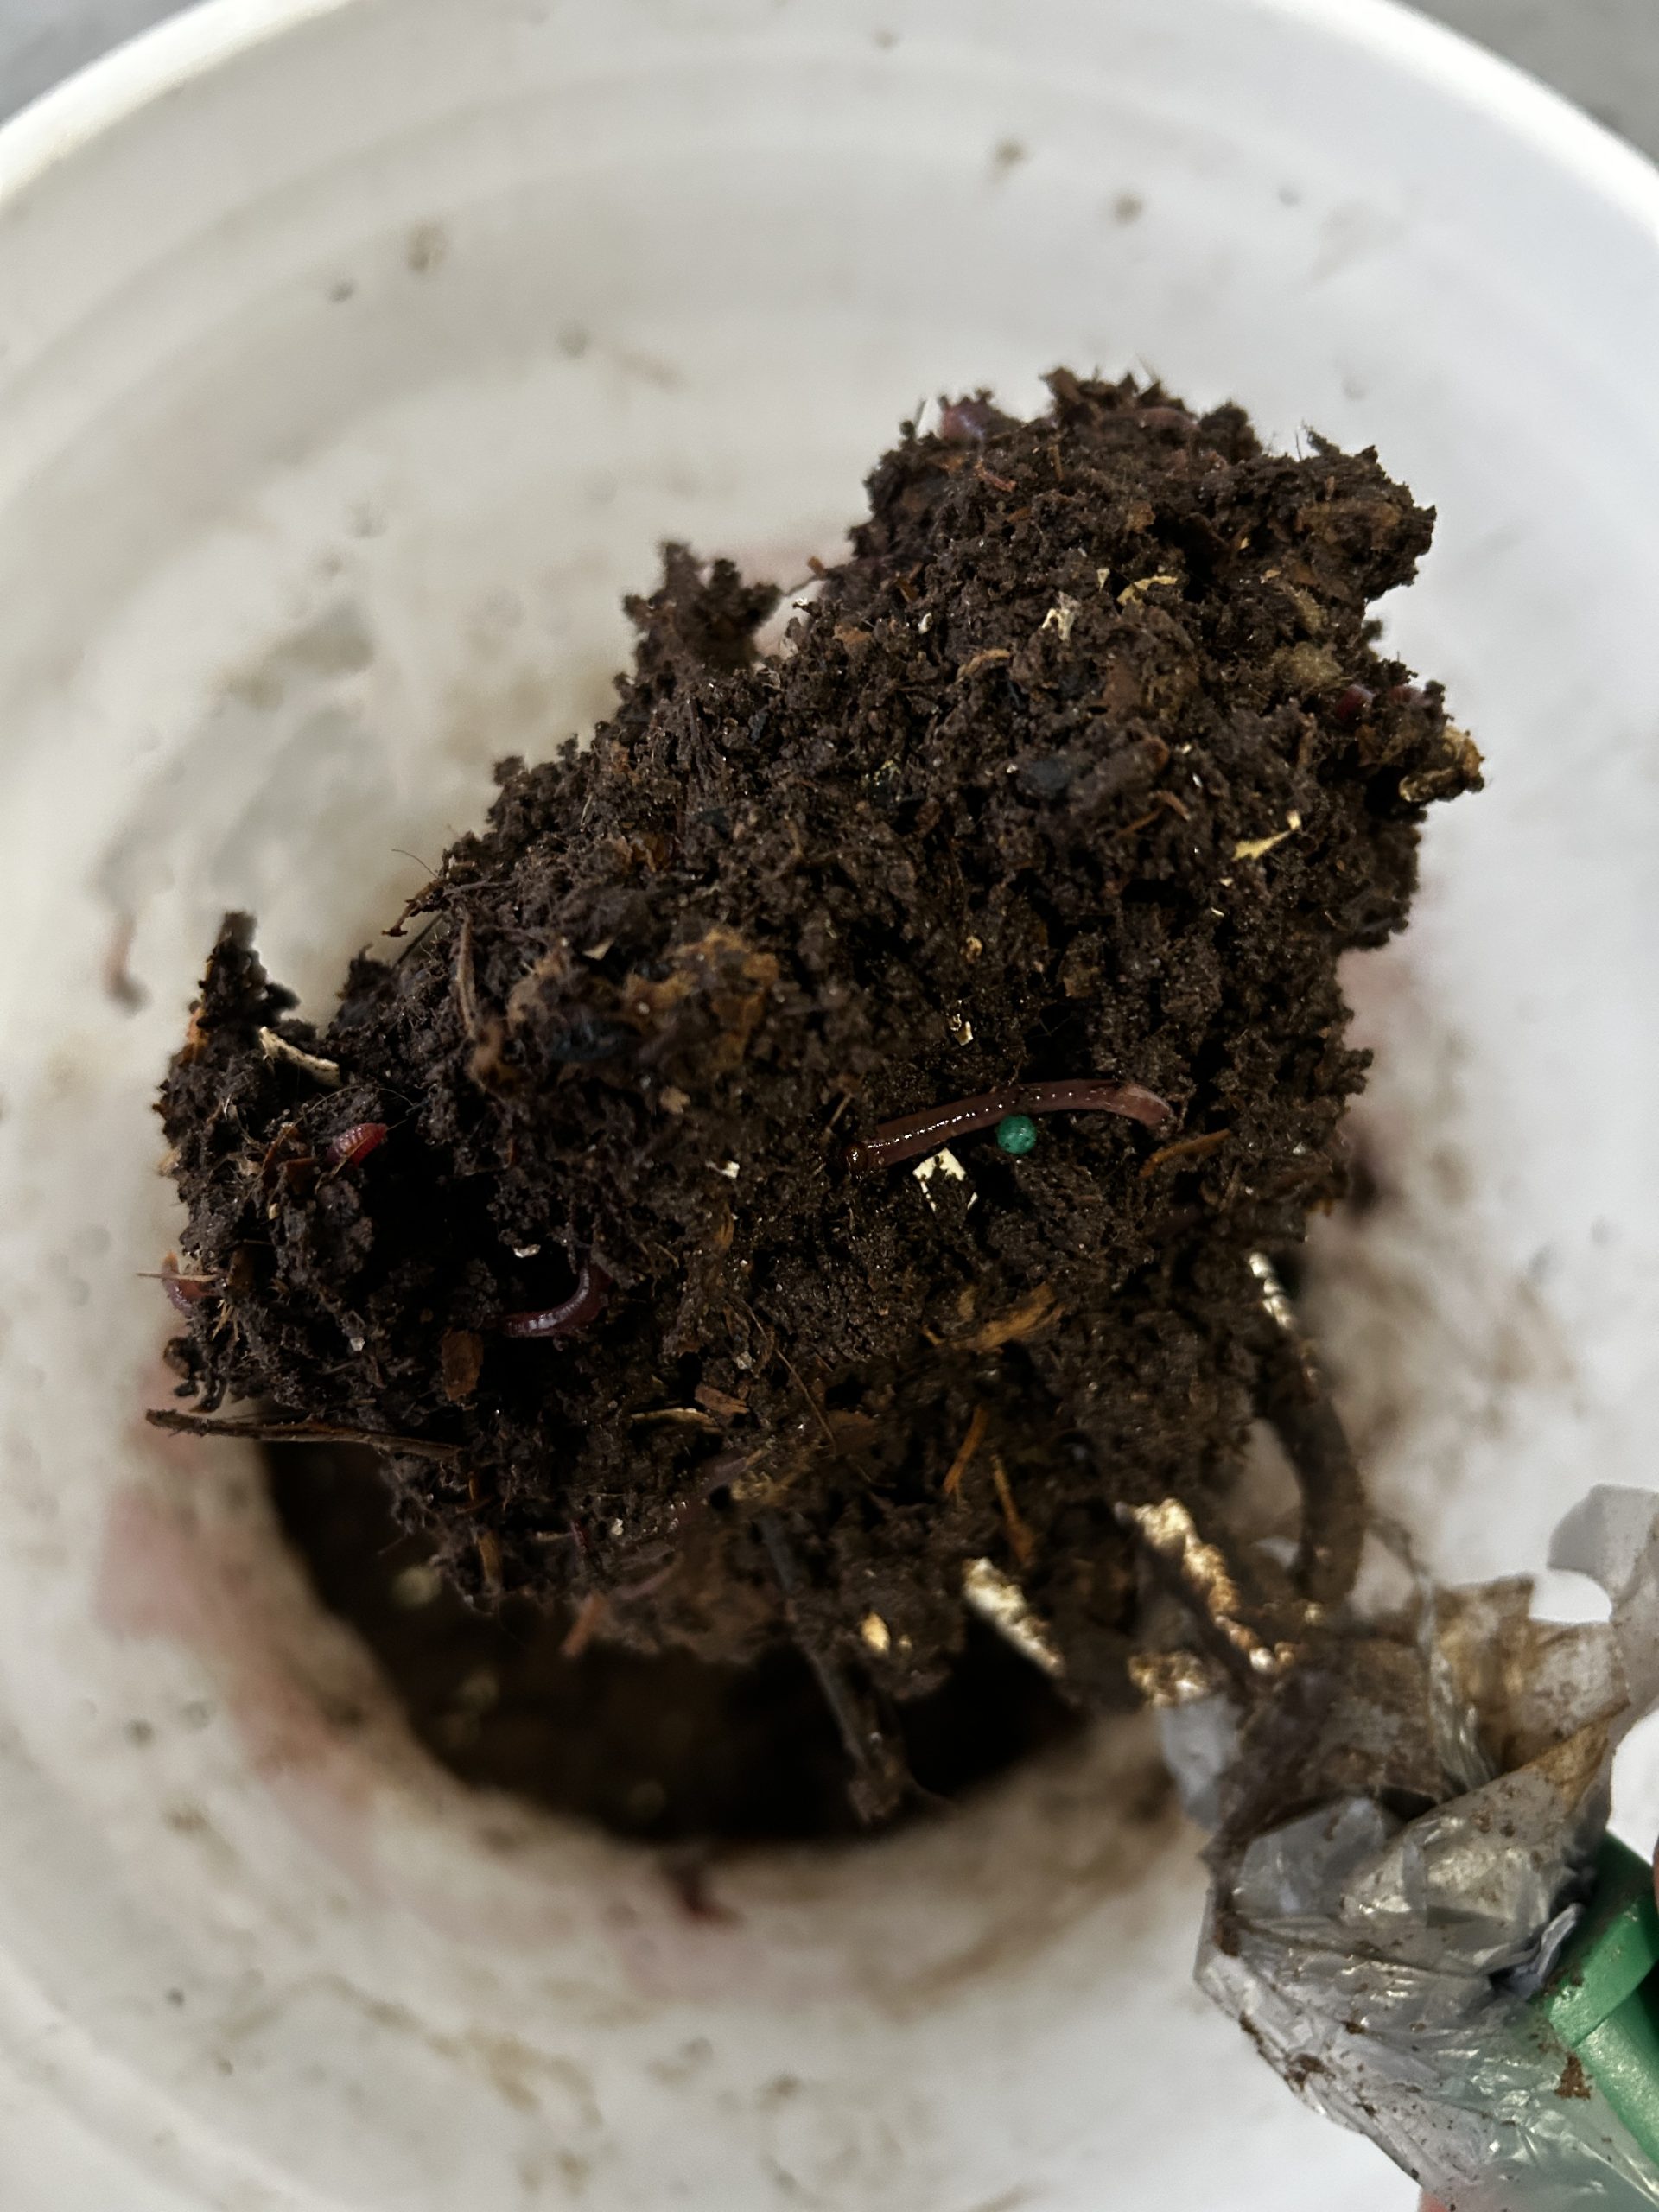
Where can I get free composting worms?
Need some free composting worms? The University of Florida not only teaches classes that include a beginner’s kit to start your own worm bin, but at the Nassau County branch in Callahan we give out worms for free! Just send an email to david.hebert@ufl.edu or call our main office at (904) 530-6356 and ask for red wiggler worms from Dave! Below is a handful of composting worms one month after placing a batch of freshly plucked dollarweed and creeping dayflower from the garden into the worm bin (Figure 4).
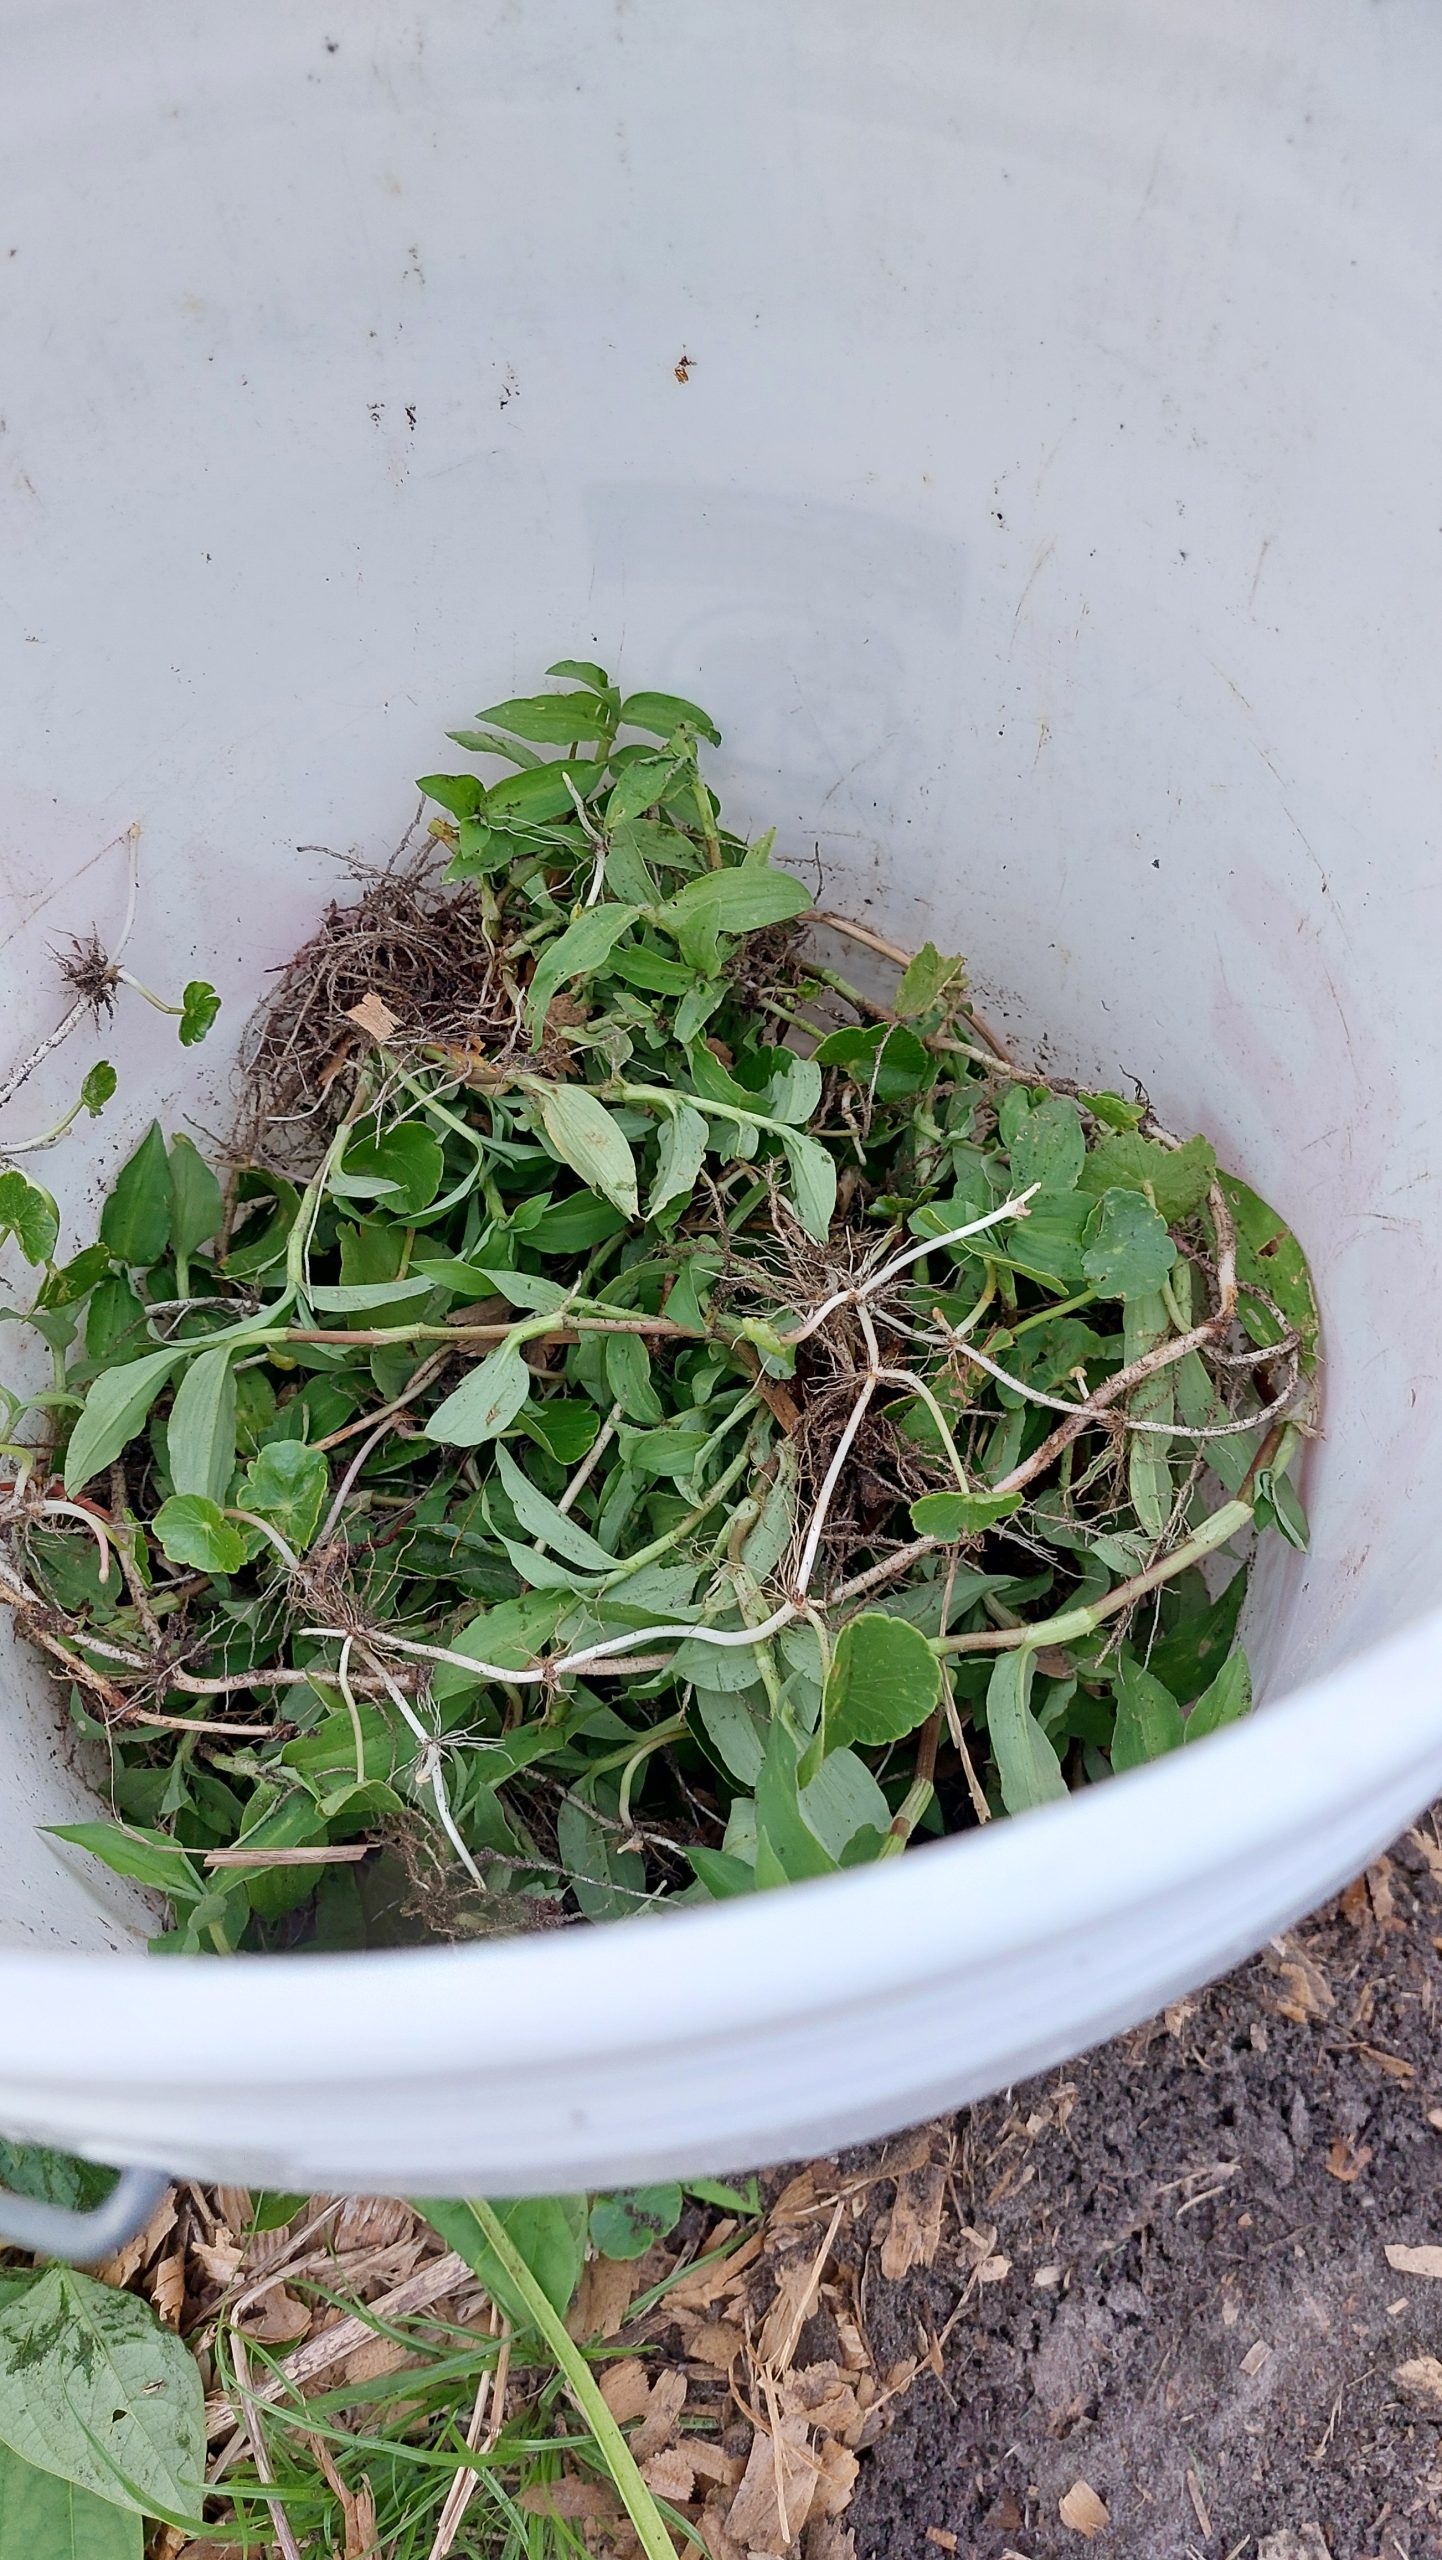
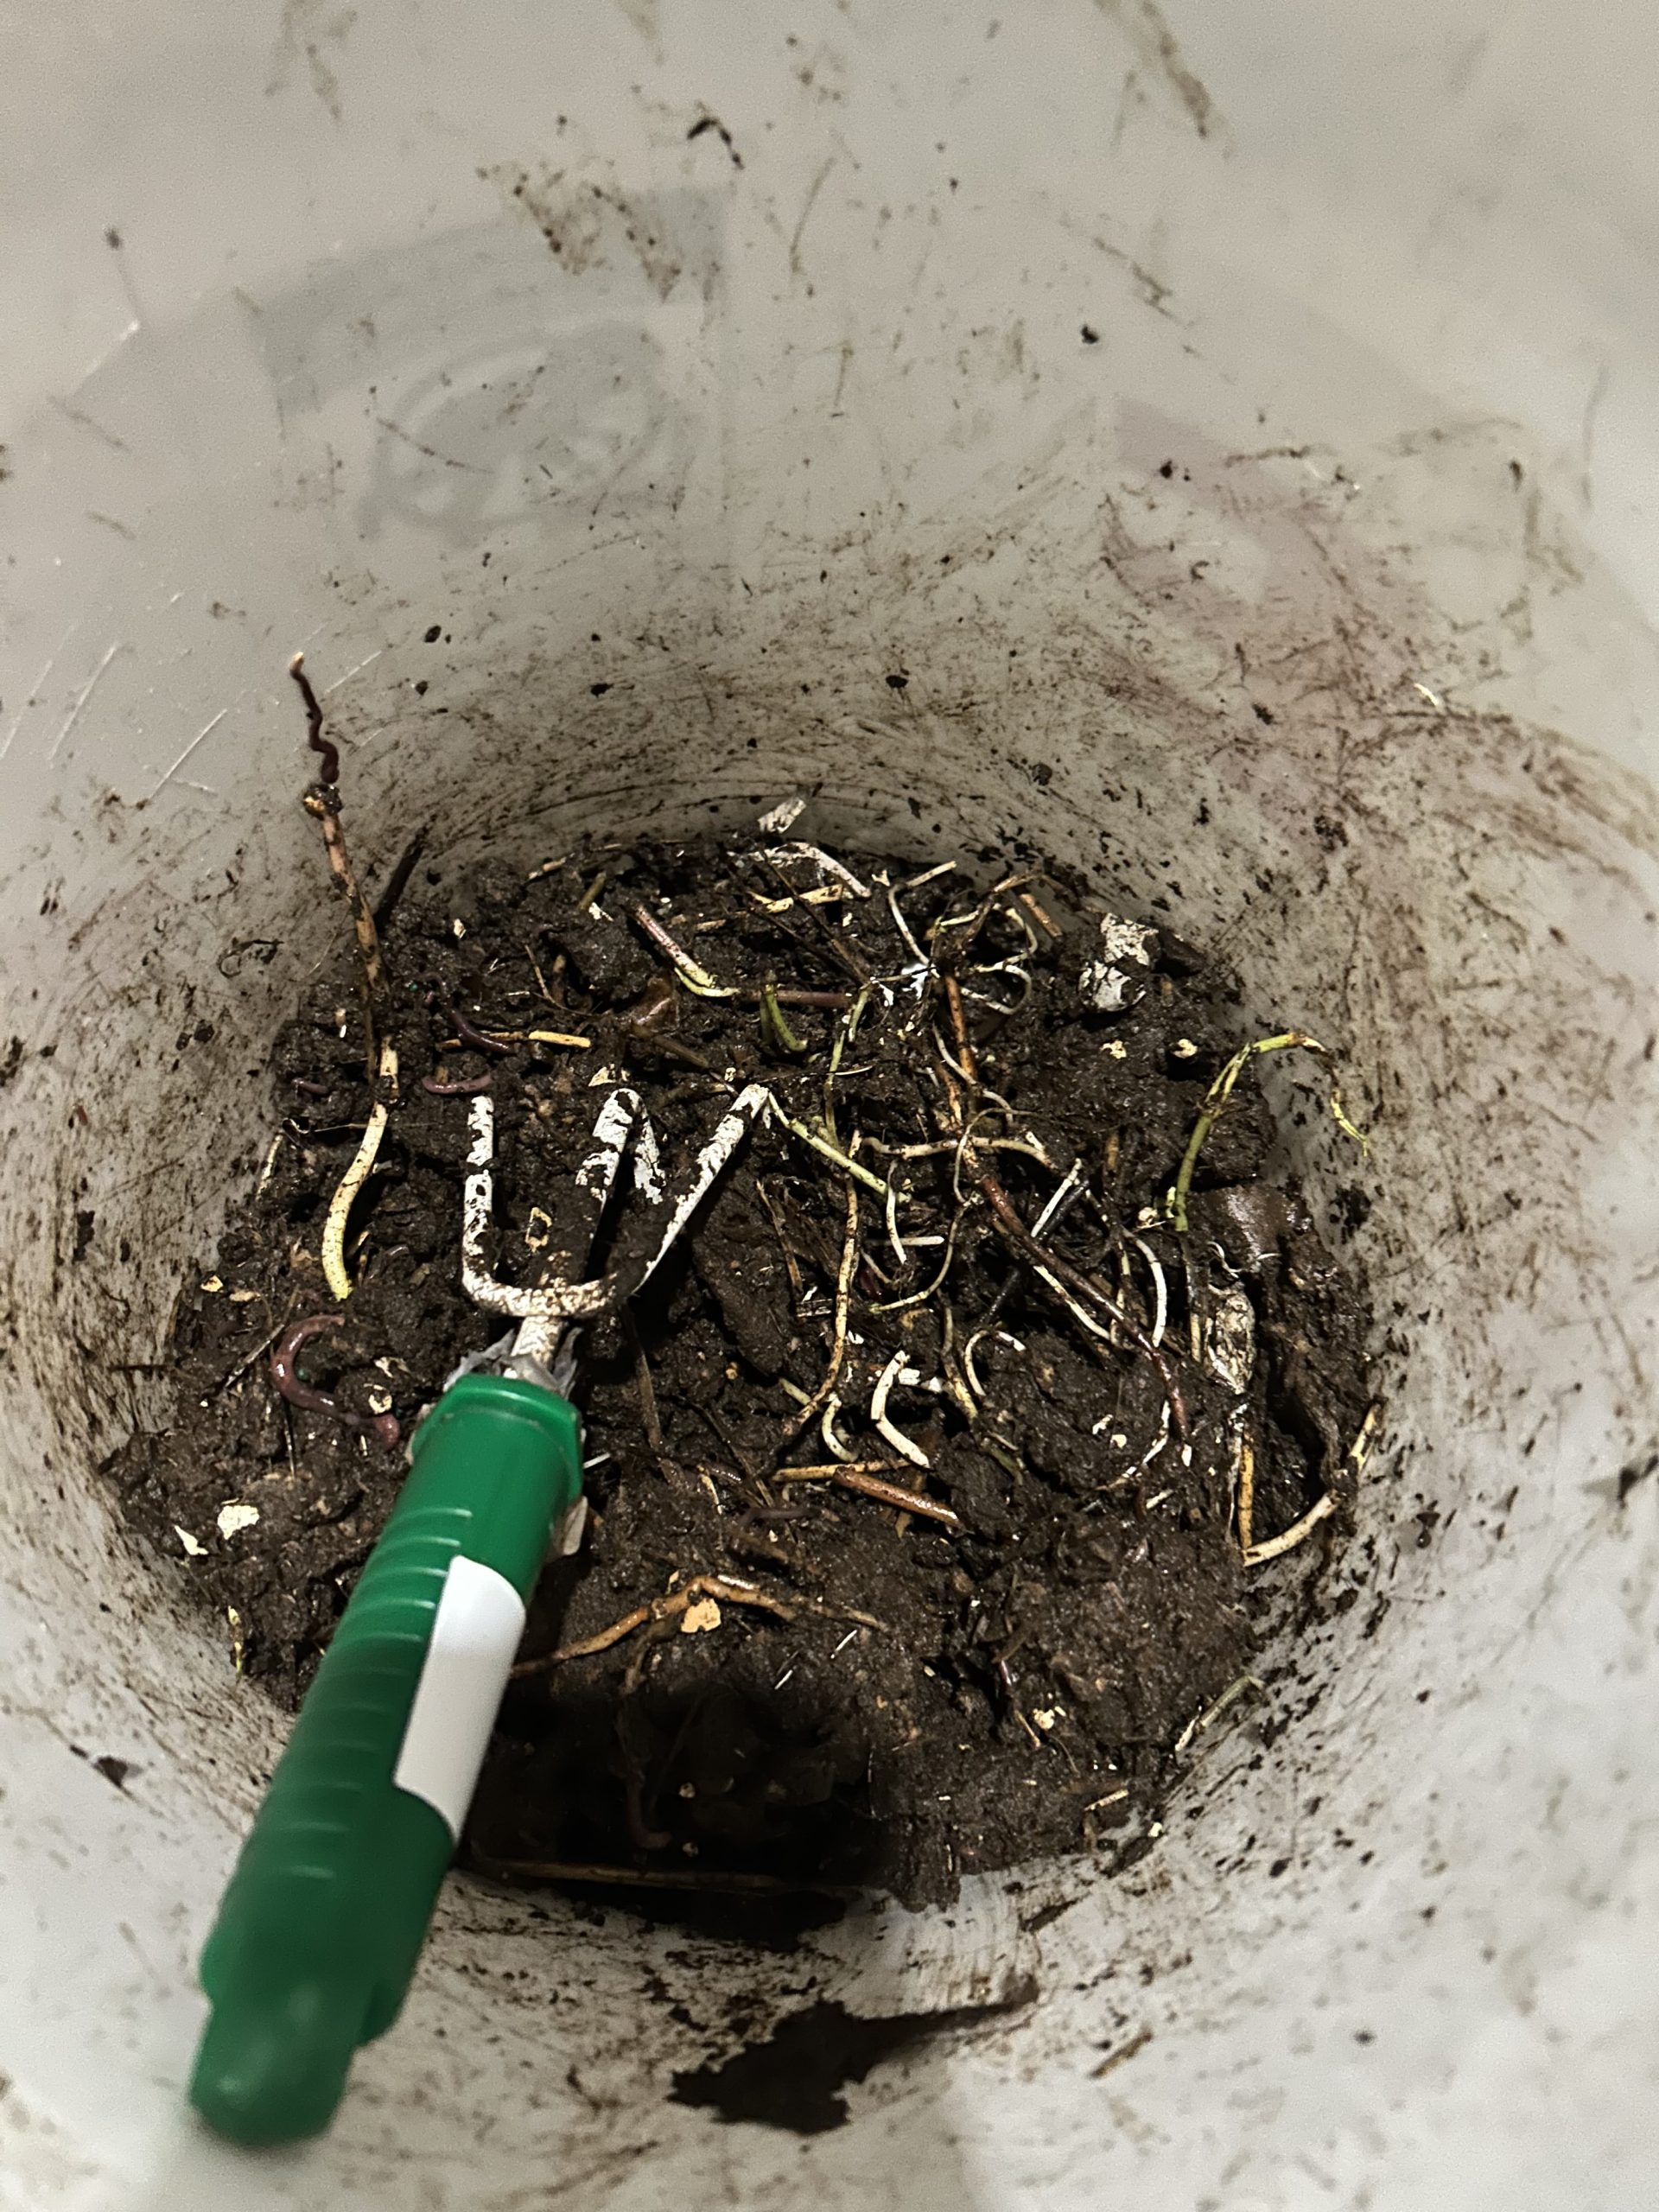
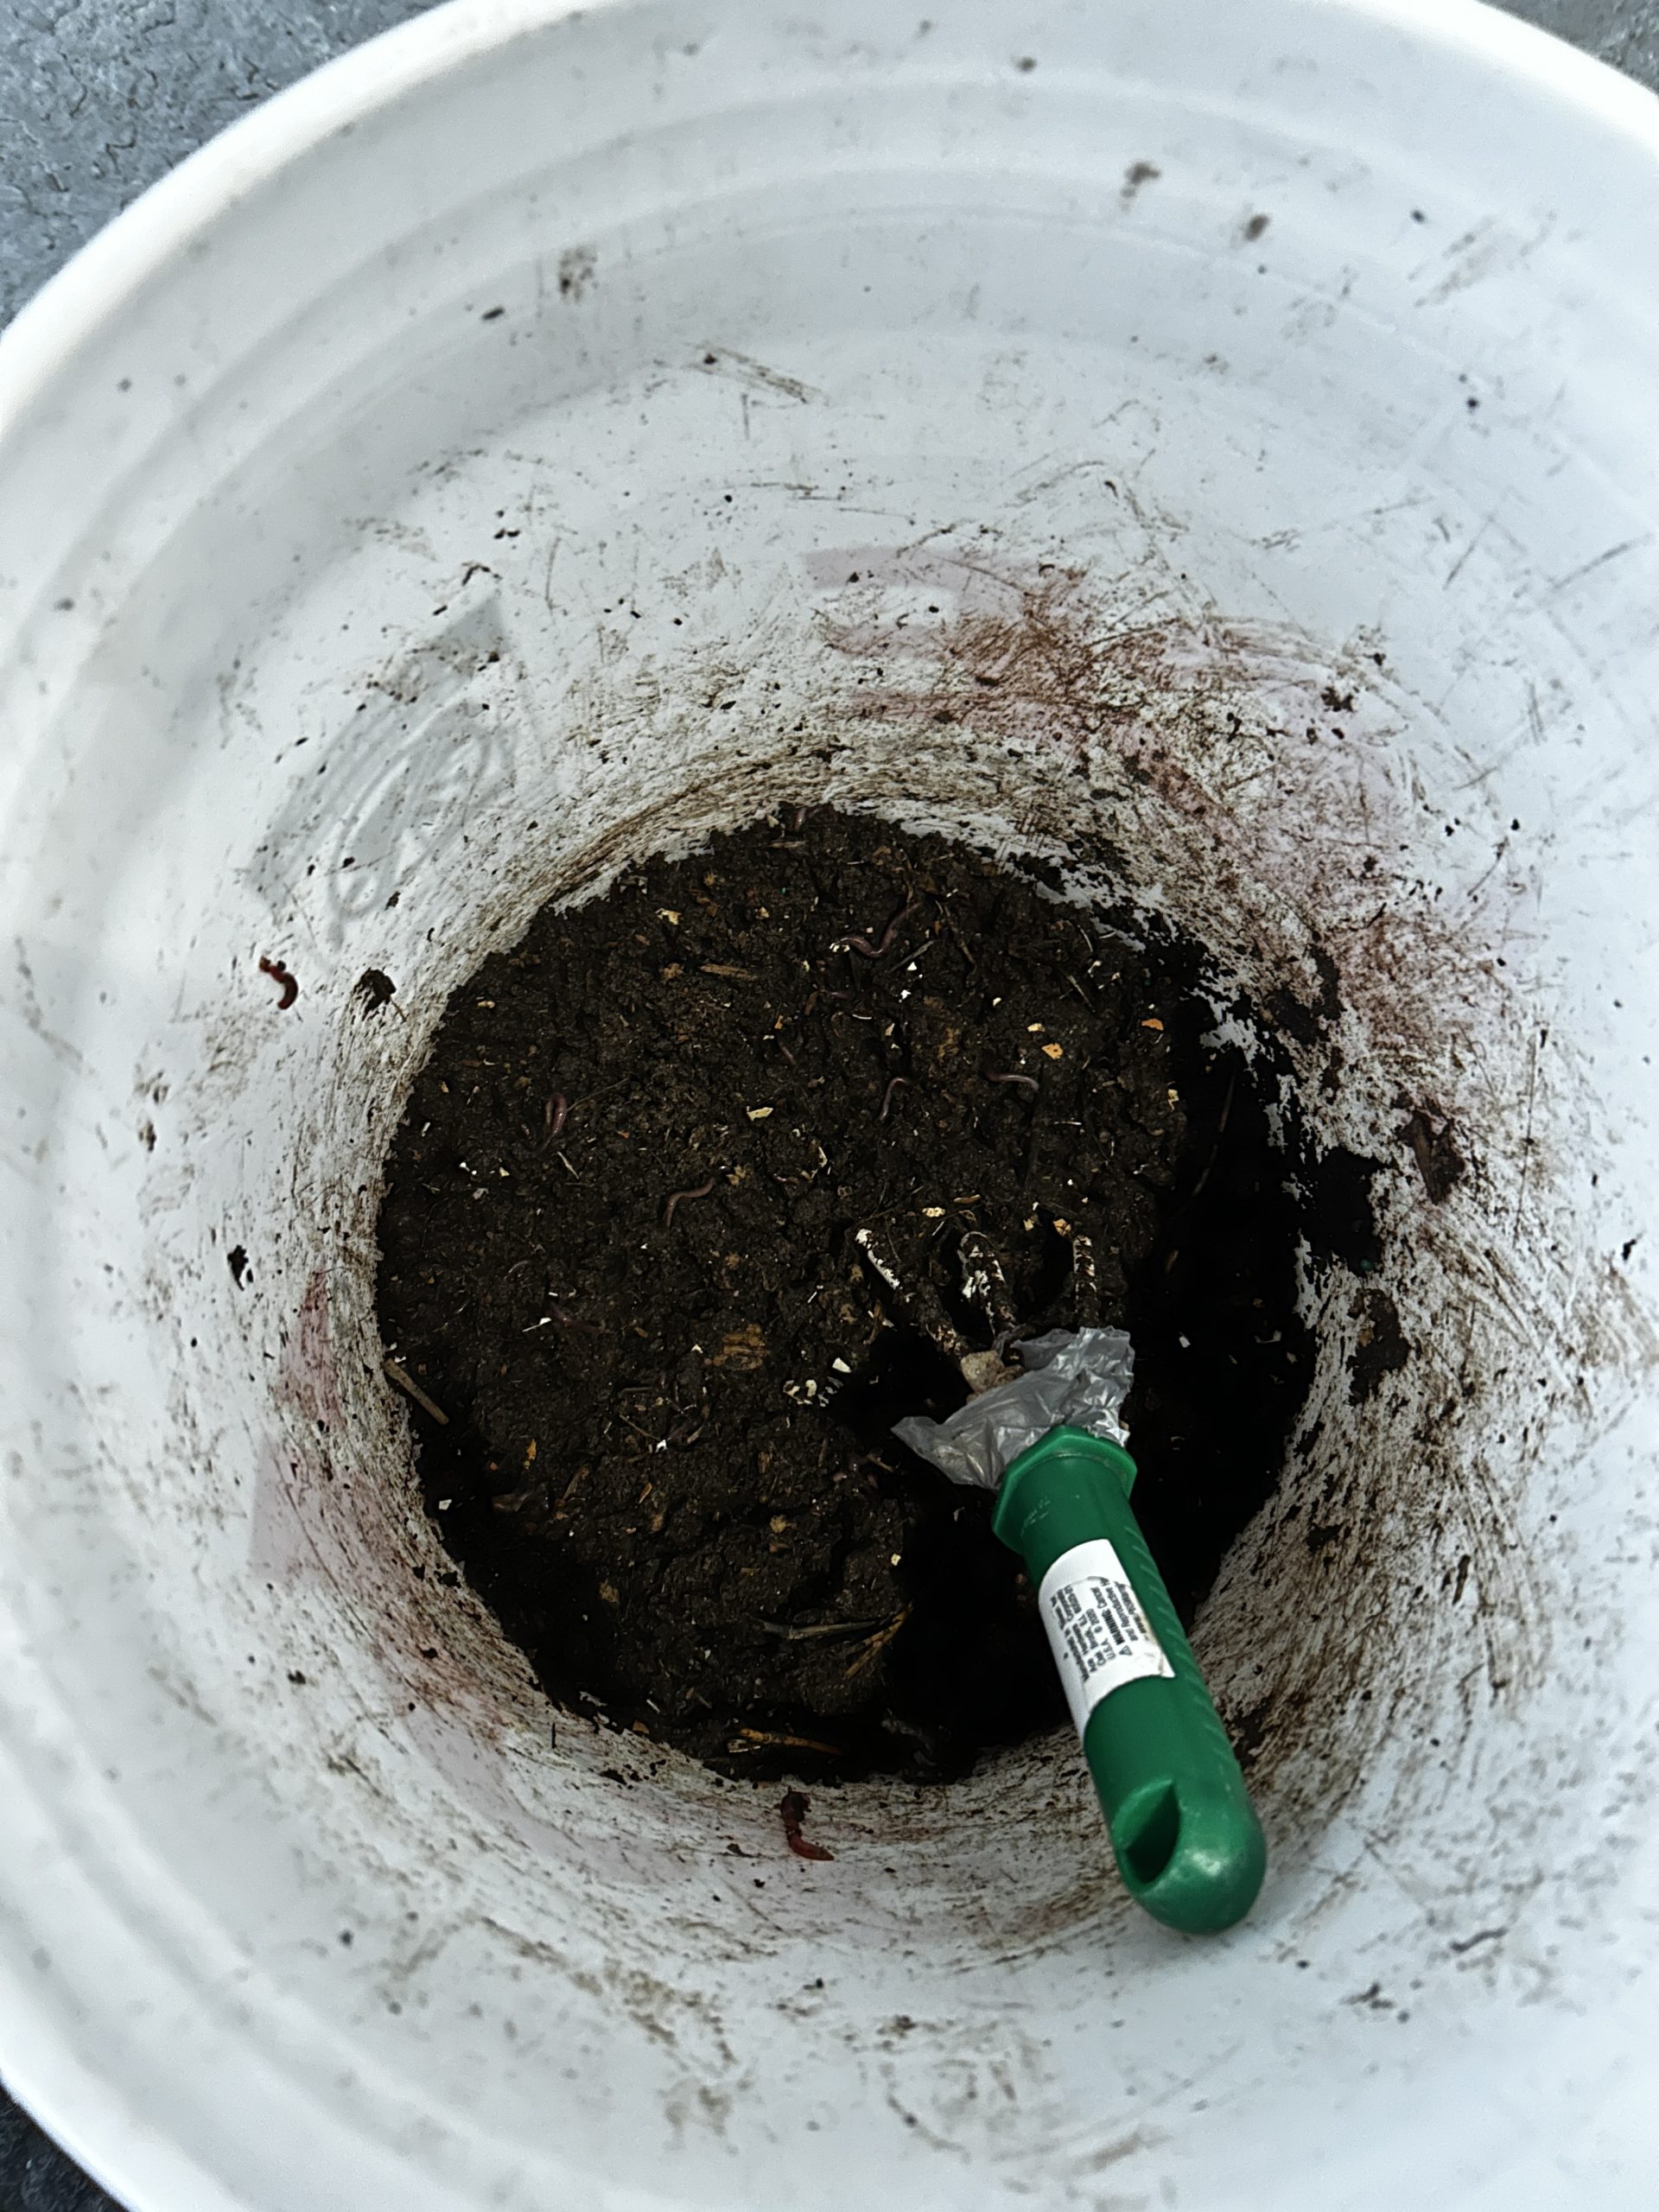
Before, During, and After Worm Composting Process
The composting worms successfully ate half a bucket filled with creeping dayflower and dollarweed in one month. Below are pictures from Day 1, Day 12, and Day 30 (Figures 5, 6, and 7). The bucket was mixed four times during the month by removing the top, stirring or “fluffing”, and replacing the cover.
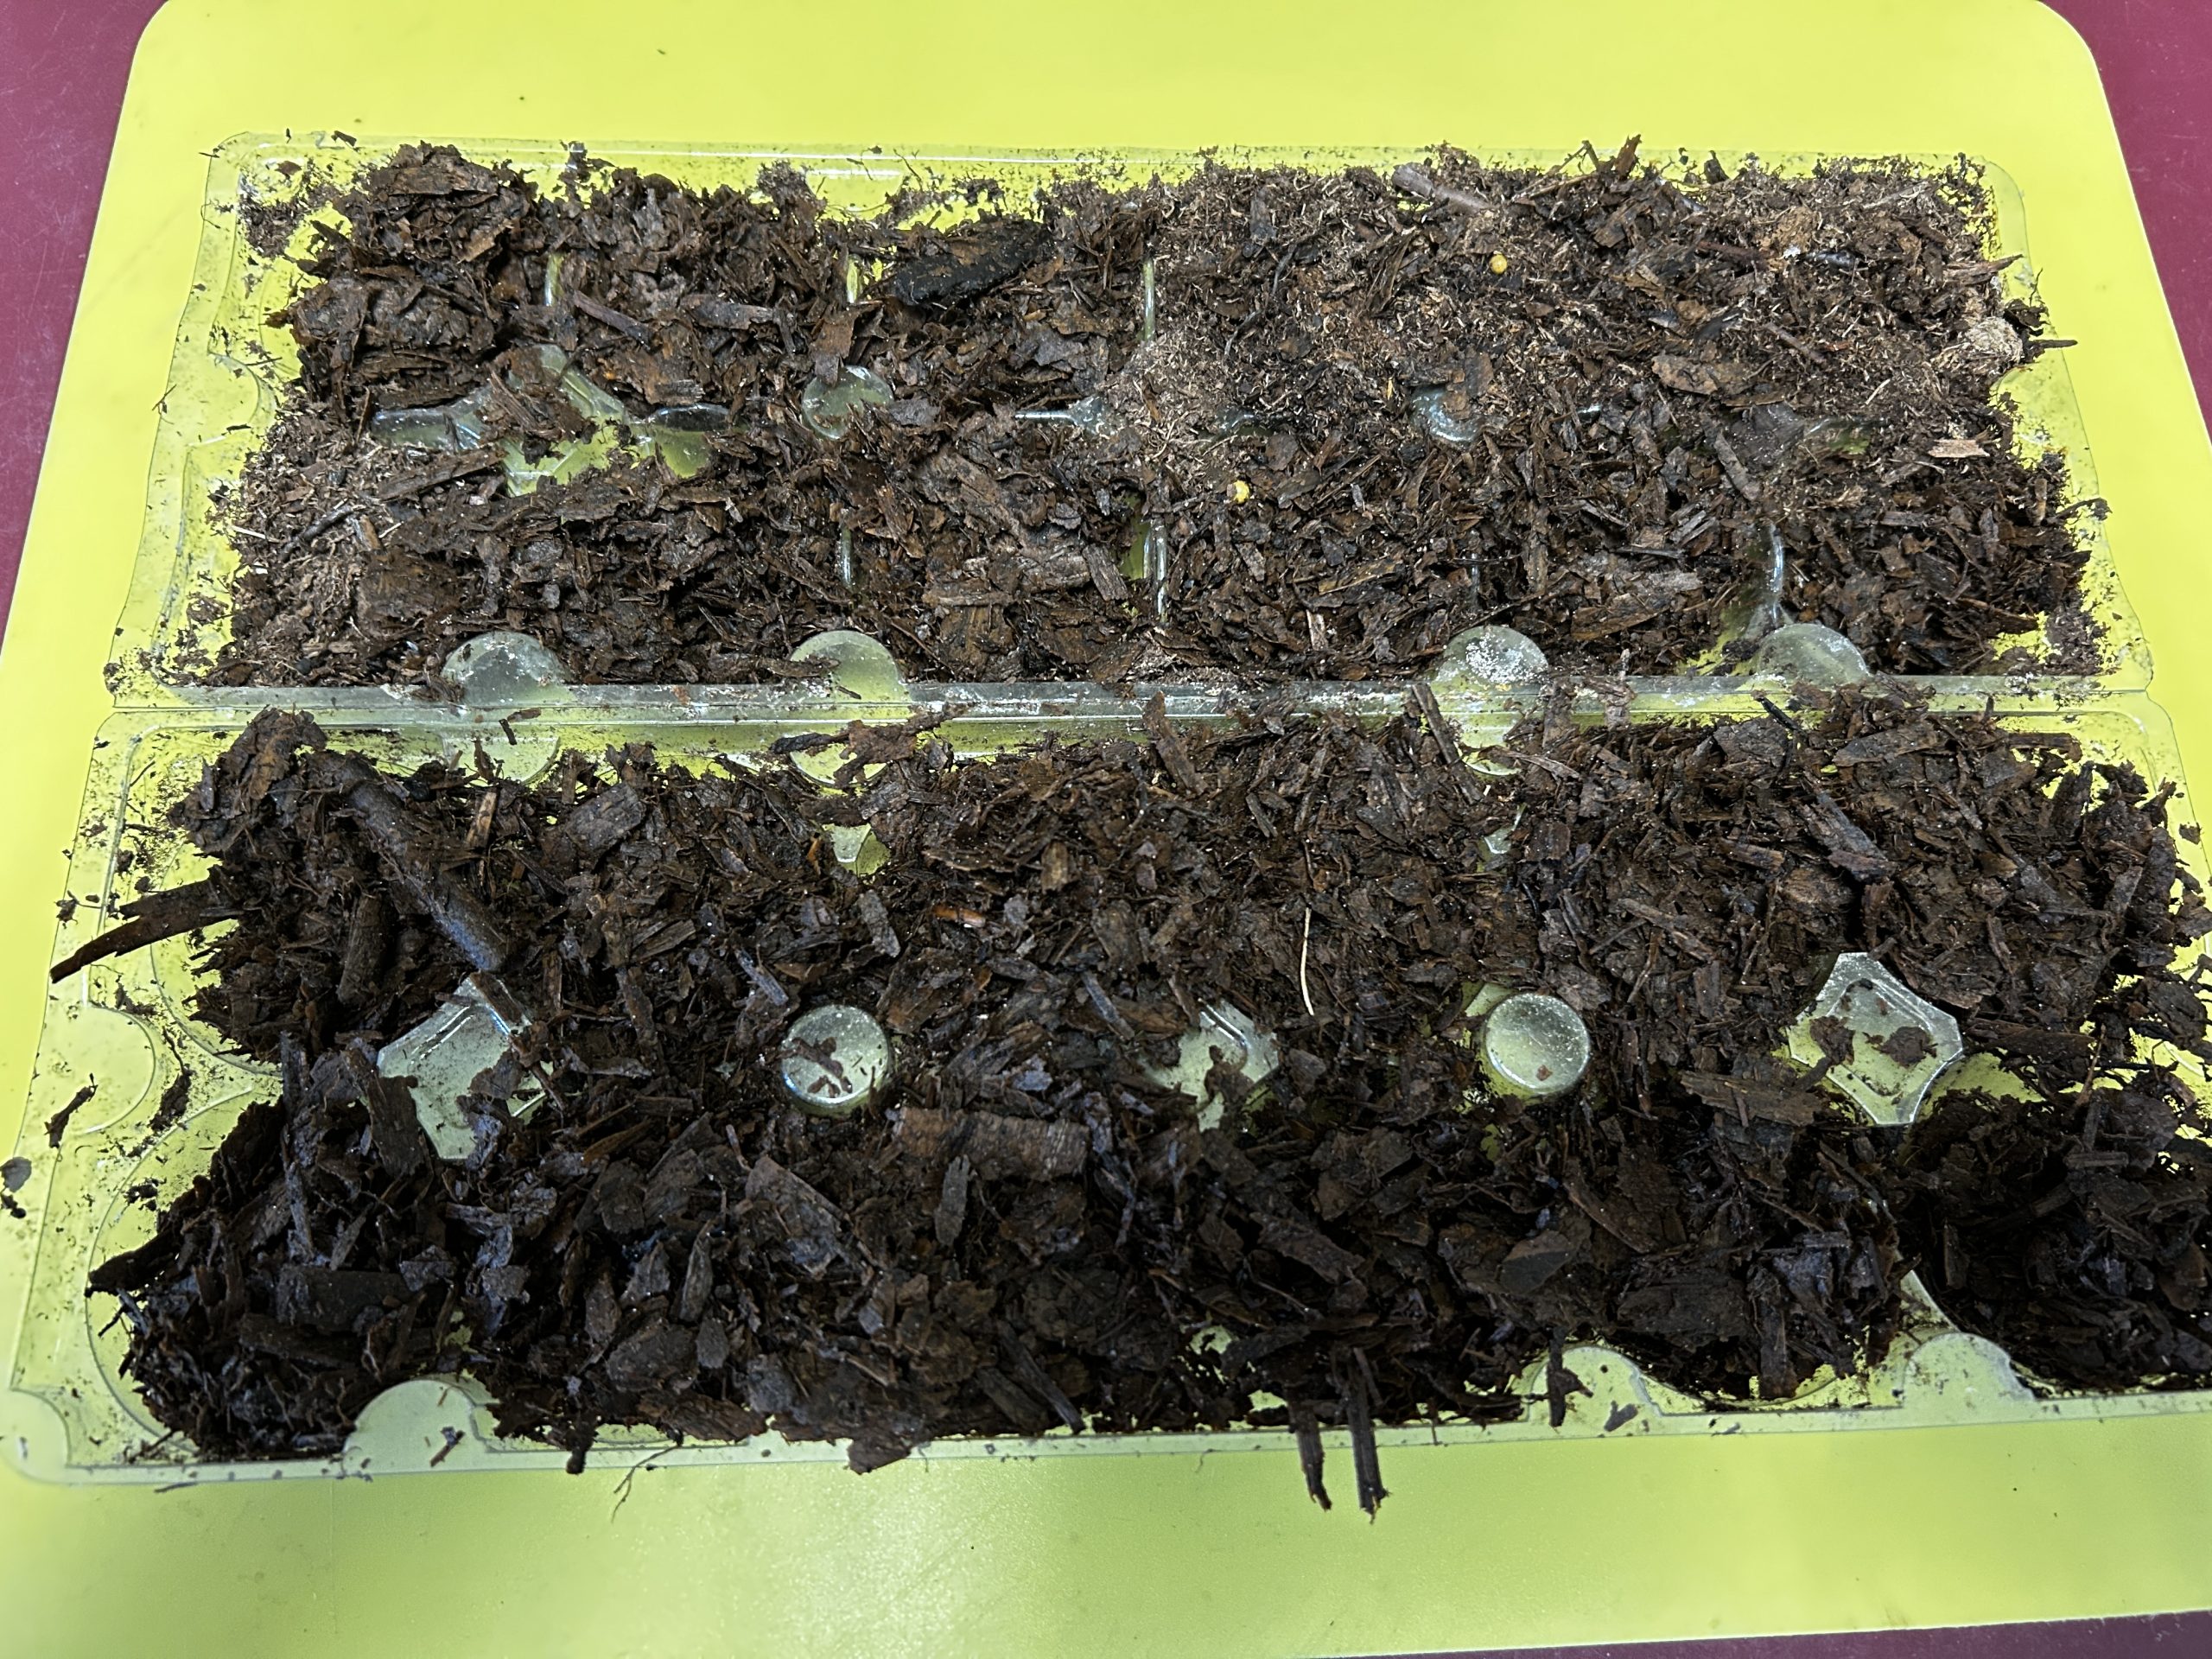
Testing and Sampling
Once the vermicompost shows no visual signs or remnants of the pulled weed, you may be in the clear. However, I recommend that you move the vermicompost to a Finishing Bin. Once the vermicompost is “cleaned” in the Finishing Bin, the worms can be extracted and removed. Finally, the “cleaned” vermicompost can be tested using a bioassay (Figure 8) followed by sending a sample to the UF/IFAS Livestock Waste Testing Laboratory.
Resources
Follow my composting playlist on YouTube for more composting videos.
 0
0
