The 4-H Youth Development program focuses on teaching critical life skills like communication, responsibility, leadership, citizenship, to name a few. Our motto is “Learn by Doing”, and we believe this approach truly helps youth master the skills they need to be productive members of society. However, more and more youth are moving into adulthood lacking some of the most critical, but often forgot about life skills. An article by successfulstudent.org listed home repair as a life skill not taught in school. So where exactly are youth and young adults supposed to learn these things?
After conducting a needs assessment with our 4-H youth, leaders, and volunteers, it became evident that we needed to offer programs that focus more on preparing youth for more than just college and career, but ultimately for life as a young adult. This meant that we would need to expand our programs to include more DIY (Do it yourself) type projects. As youth begin to move on to college or out of the house, they need to be prepared for how to manage everyday tasks like laundry, dishwashing, and basic home repairs. This has led us to develop the Building Life Skills through Life Hacks programs. This program is a series of workshops that will teach youth these exact basic life skills. We will develop a new session each month highlighting a new topic. Parents can also help teach some of these life skills by following some of the life hacks listed below to teach their children how easily update their home bathroom. Doing a project together can increase communication and strengthen family bonds.
Life Hack Project #1: The Bathroom
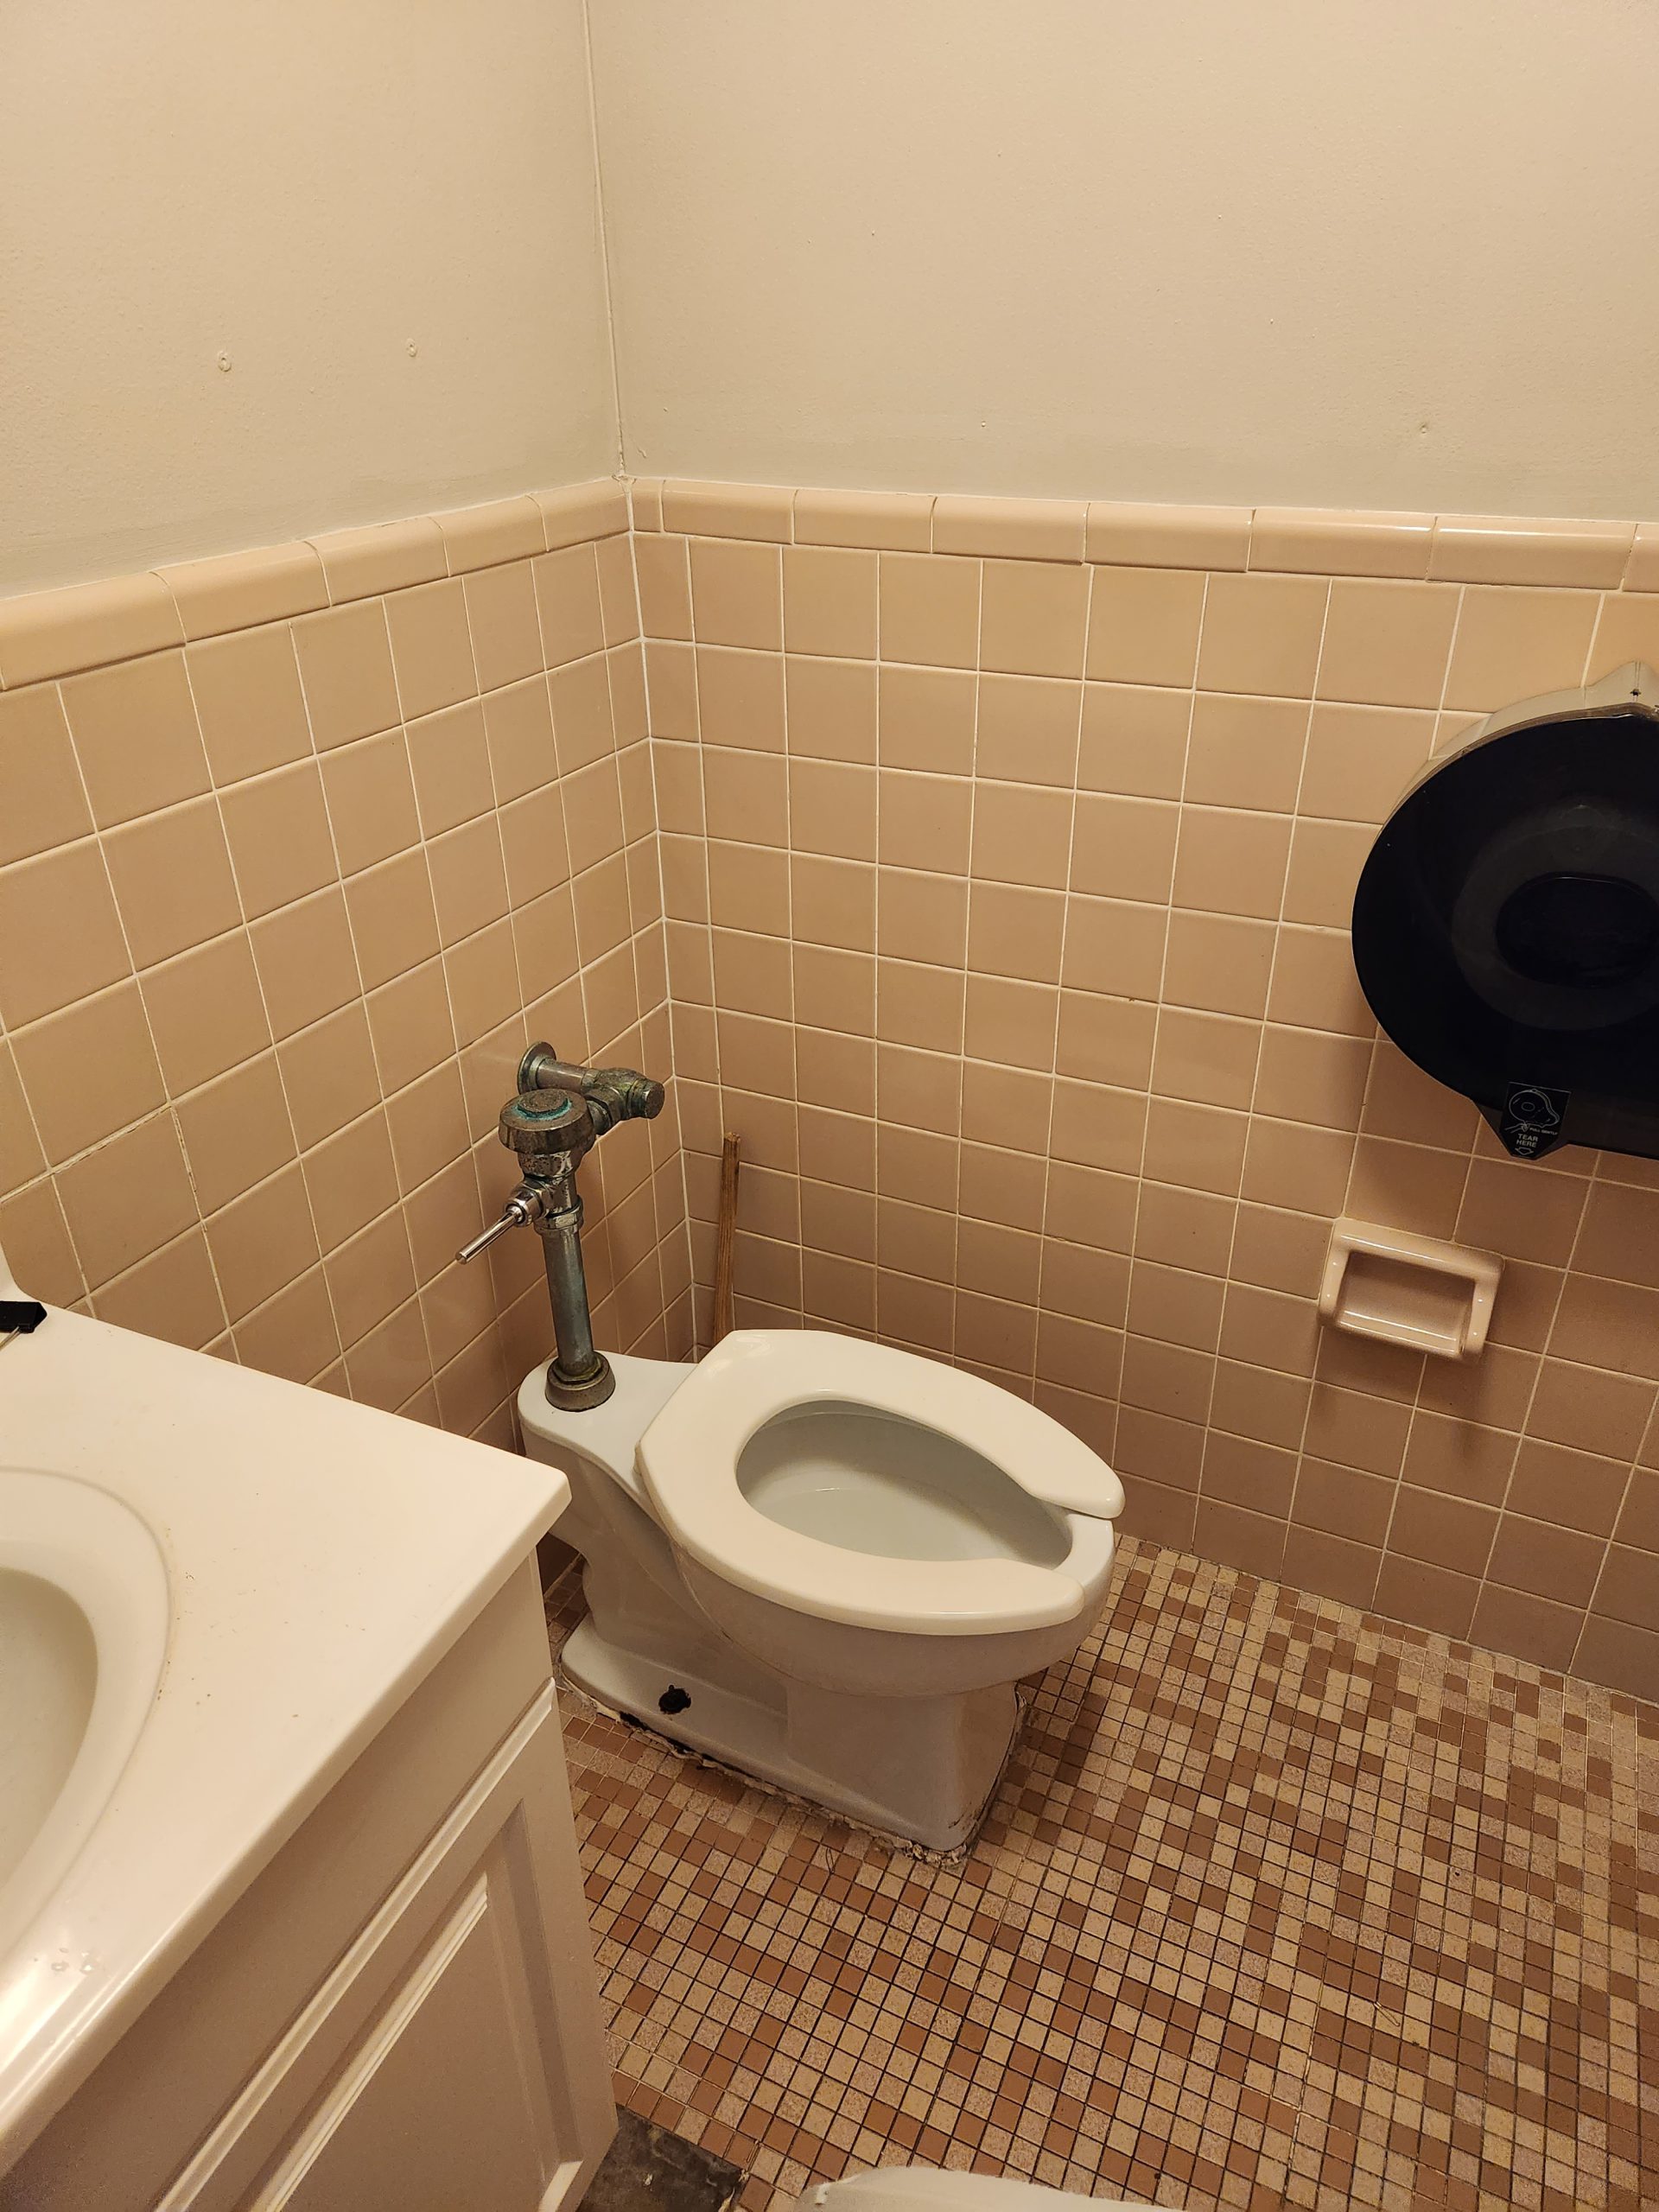
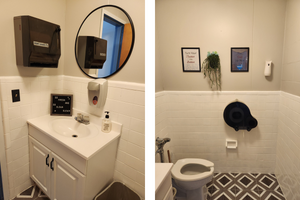
This month we taught youth how to easily refresh a bathroom without breaking their budget. As young adults begin to buy their first homes, it might not be what they dreamed of, however some simple hacks can turn their starter home into something to be proud of. Improvements to your home can not only be aesthetically pleasing but can also help to increase your property value. You can quickly refresh a bathroom with some elbow grease and making a few cosmetic changes.
Paint
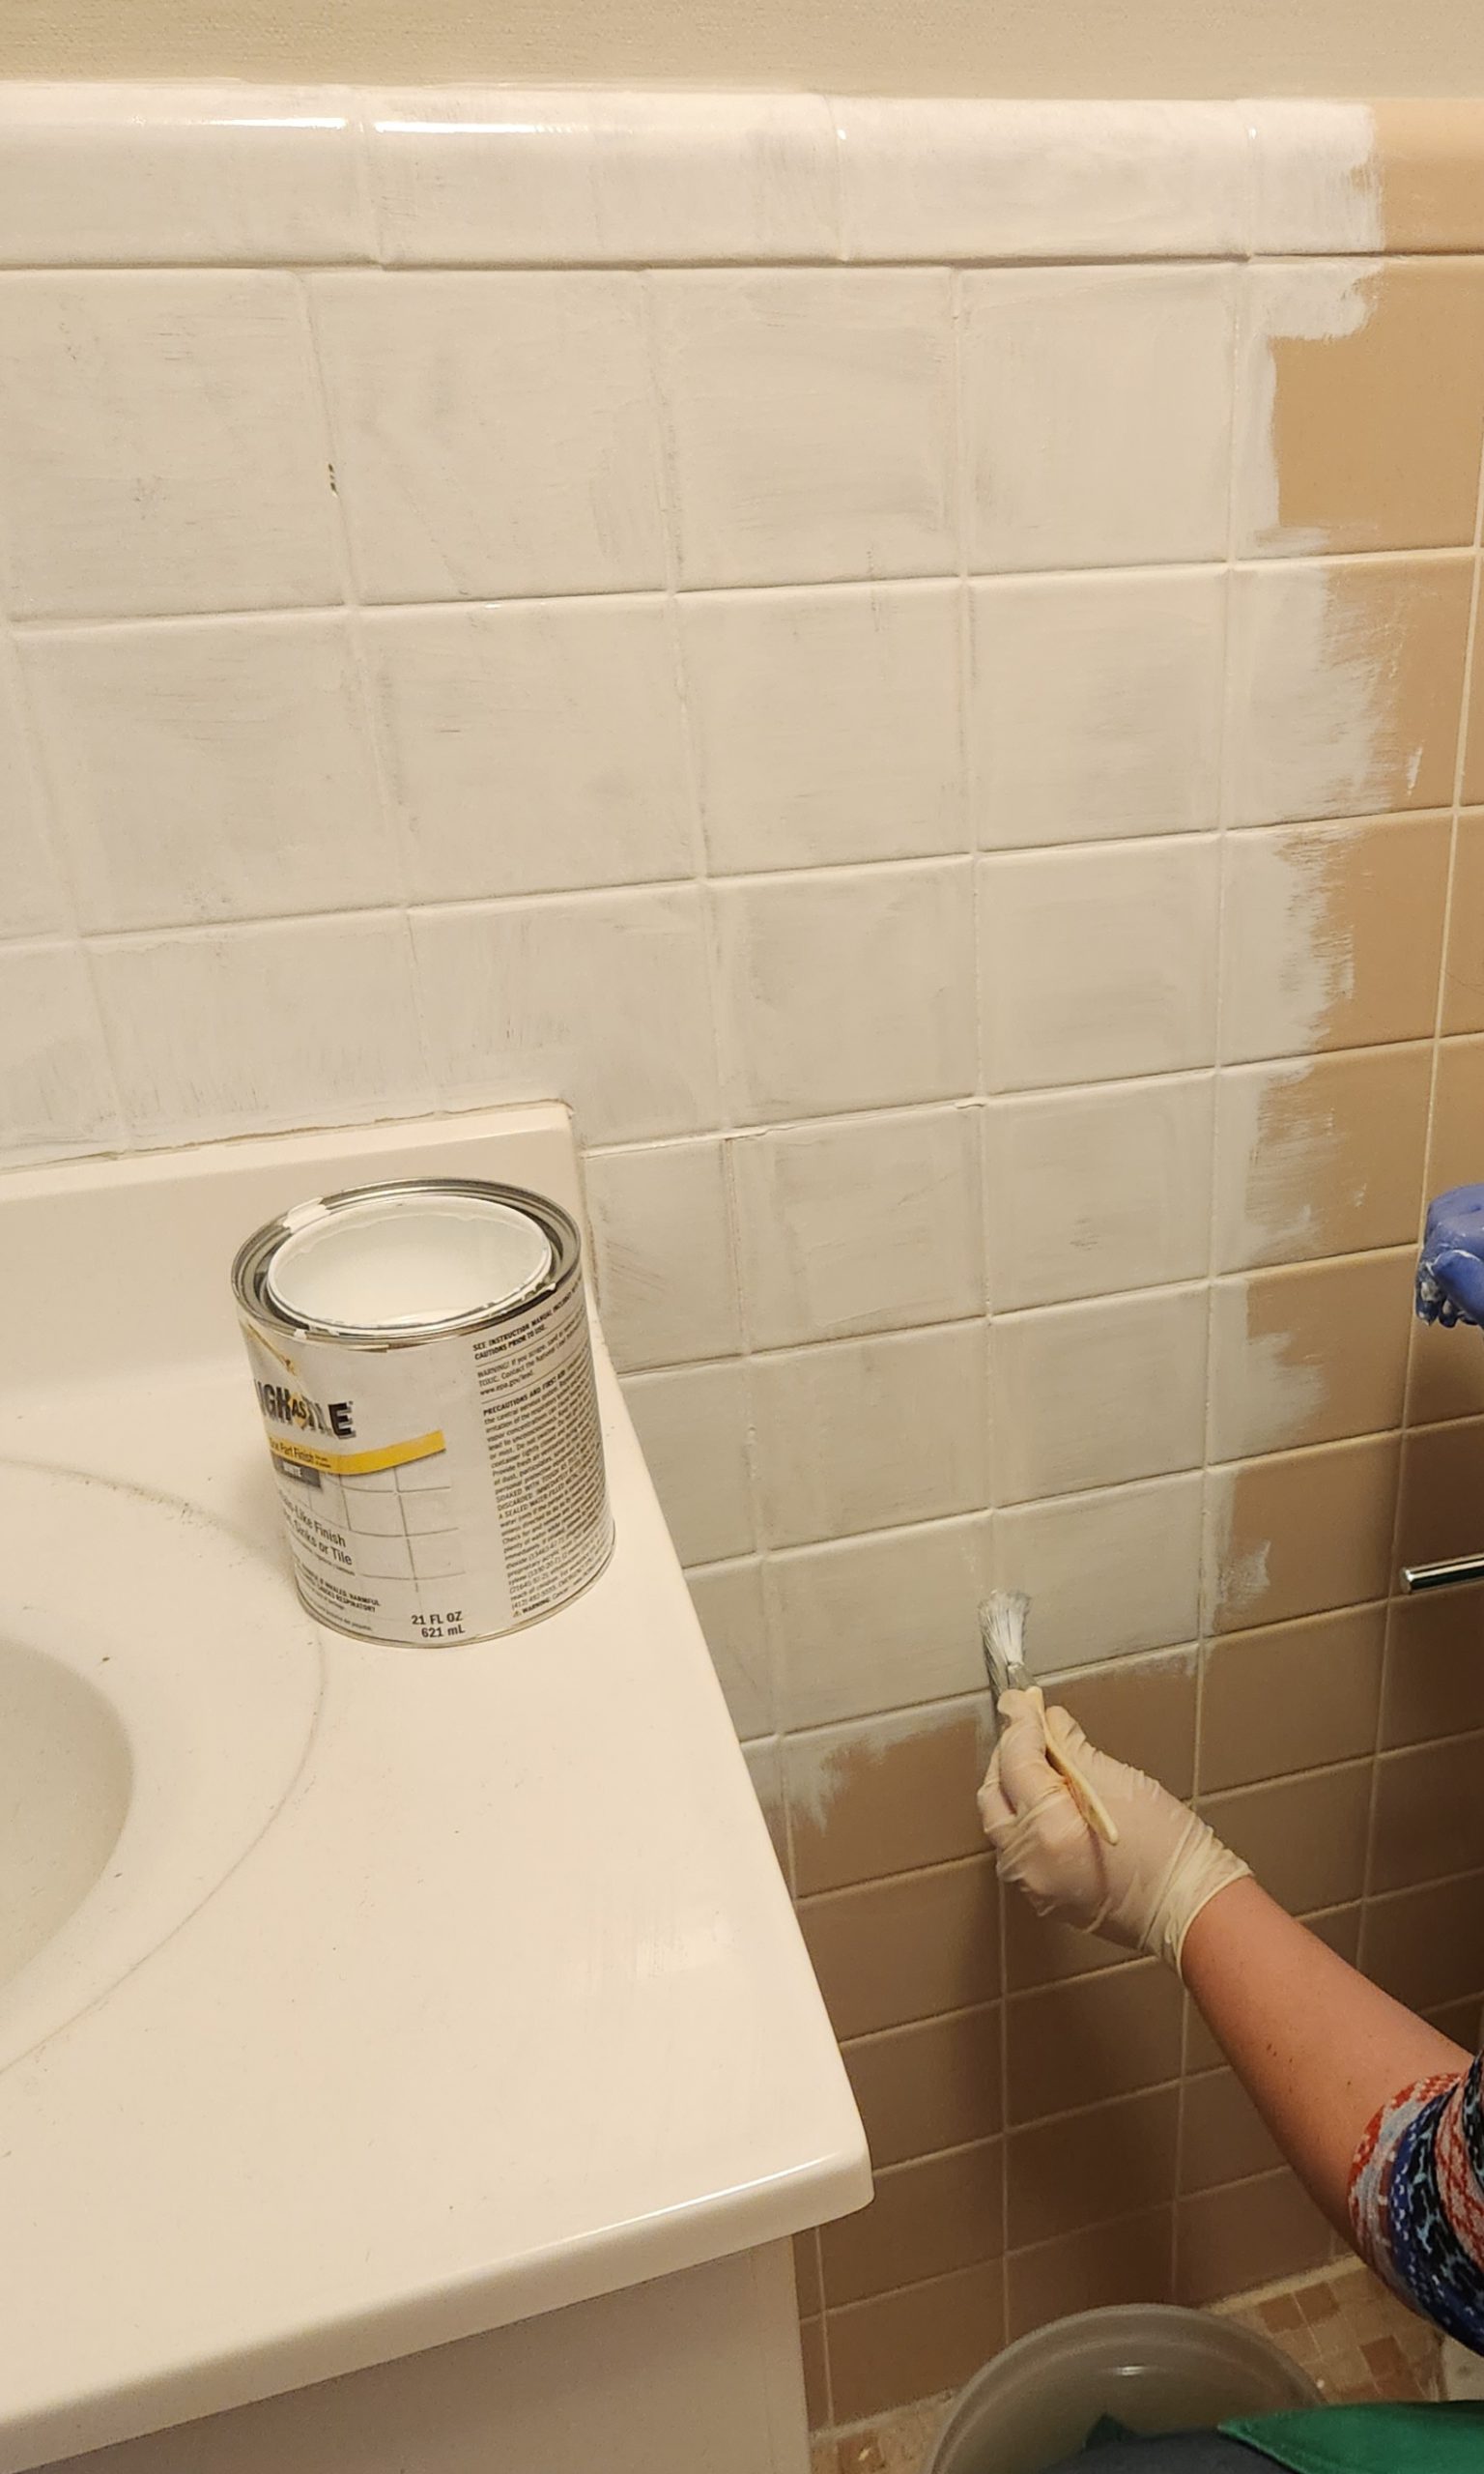
Giving your bathroom a new coat of paint can really freshen it up. A gallon of interior paint can run you anywhere from $15-$80 depending on the type of paint, the finish, and the brand. Wall tiles can also be painted over, though you should use a tile specific paint. Tile paint can cost about $40-$60 depending on whether you purchase a kit or just the paint and the brand you select. Depending on how much tile you need to paint, you may need more than one paint kit or can as they typically come in pint sizes. When selecting wall paint there are a few things that you need to keep in mind. First, you need to know what type of paint is on the wall already so that you can get the same type of paint (acrylic, latex, oil). Also be sure to keep in mind the size of your bathroom when selecting a color. You don’t want to pick too dark of a color as it will make the space appear smaller. If you have a smaller bathroom, stick to lighter colors that make the room seem larger. Once you’ve decided on a color, you’ll need to gather all of your supplies. You may already have them laying around the house or you may need to go purchase them. For painting you will need a roller, roller nap, rolling pan, paint brush, primer, and paint. If you’ve never painted before you should also consider using drop cloths and painter’s tape. You’ll want to do a primer coat first, followed by paint. If you are painting over a darker color, a second coat of primer may be needed. Be sure that you cut in first (paint the edges) then roll over top of the paint. This will help to ensure that your paint blends smoothly together and there are not any lines showing.
Flooring
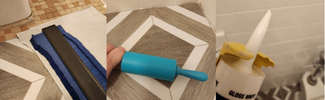
There are several affordable options for flooring that don’t require a lot of time or tools to install. Flooring costs are going to vary based on the square footage that you need to cover, the flooring style you select, and your supplies. You can quickly update the flooring in your bathroom by using vinyl planks, peel and stick floor tiles, or painting of the tile. Vinyl planks tend to work well by locking together in place and can cost anywhere from $40-$60 a box. For our project, we used one box of peel and stick tiles, a cutting knife, rolling pin, contour gauge, and caulk. A box of tiles can cost $12-40 depending on the brand. If you are using peel and stick floor tiles, depending on the surface when you begin, you may need to use an extra adhesive to ensure that it properly sticks. If you start with a smooth surface tile, you can easily put flooring over top of the existing flooring. If your tile is uneven or textured, you may need to rip it out to start with a bare surface. Many vinyl and peel and stick options come with a warranty. If you wish to paint over tile, be sure to use tile paint which is made specifically for this use. You will typically need a primer coat, base coat, and topcoat for protection. Whichever flooring route you choose to go, be sure to follow the manufacturer’s guidelines for surface preparation and application to ensure maximum durability and longevity.
Tubs & Showers
If you have an outdated tub or shower and do not have the money to replace them, there are a few options for making them look fresh and new. Just like you can paint tile, you can also paint over bathtubs and showers walls. Tub and tile paint can be purchased online or at most hardware stores, although the color selections are typically limited to white or cream colors. Please keep in mind that these paints have a very strong odor. You will need to ensure that you have the proper protective equipment (PPE) and are working in a well-ventilated area. Be sure to follow the manufacturer’s instructions to surface preparation, application, and curing time. It can take a week or two to complete this project between preparing the surface, painting, and allowing time for the paint to properly dry (cure). You should also consider purchasing a better roller and brush for a smoother finish. Cabinet brushes or glass brushes work much better for this type of project. The ones that typically come in the kits usually lose a lot of bristles and lint, which can mess up your finish. You can always consult with someone from the paint department if you are unsure of which one might work best for your project. Please be advised that if you go this route, there is no simple fix for an error. If your tub/shower does not cure properly, you will have to strip it down and start over. If done correctly this can make your tub/shower look brand new. If you don’t want to go to the trouble of painting, you can quickly change up your bathroom with a new shower curtain.
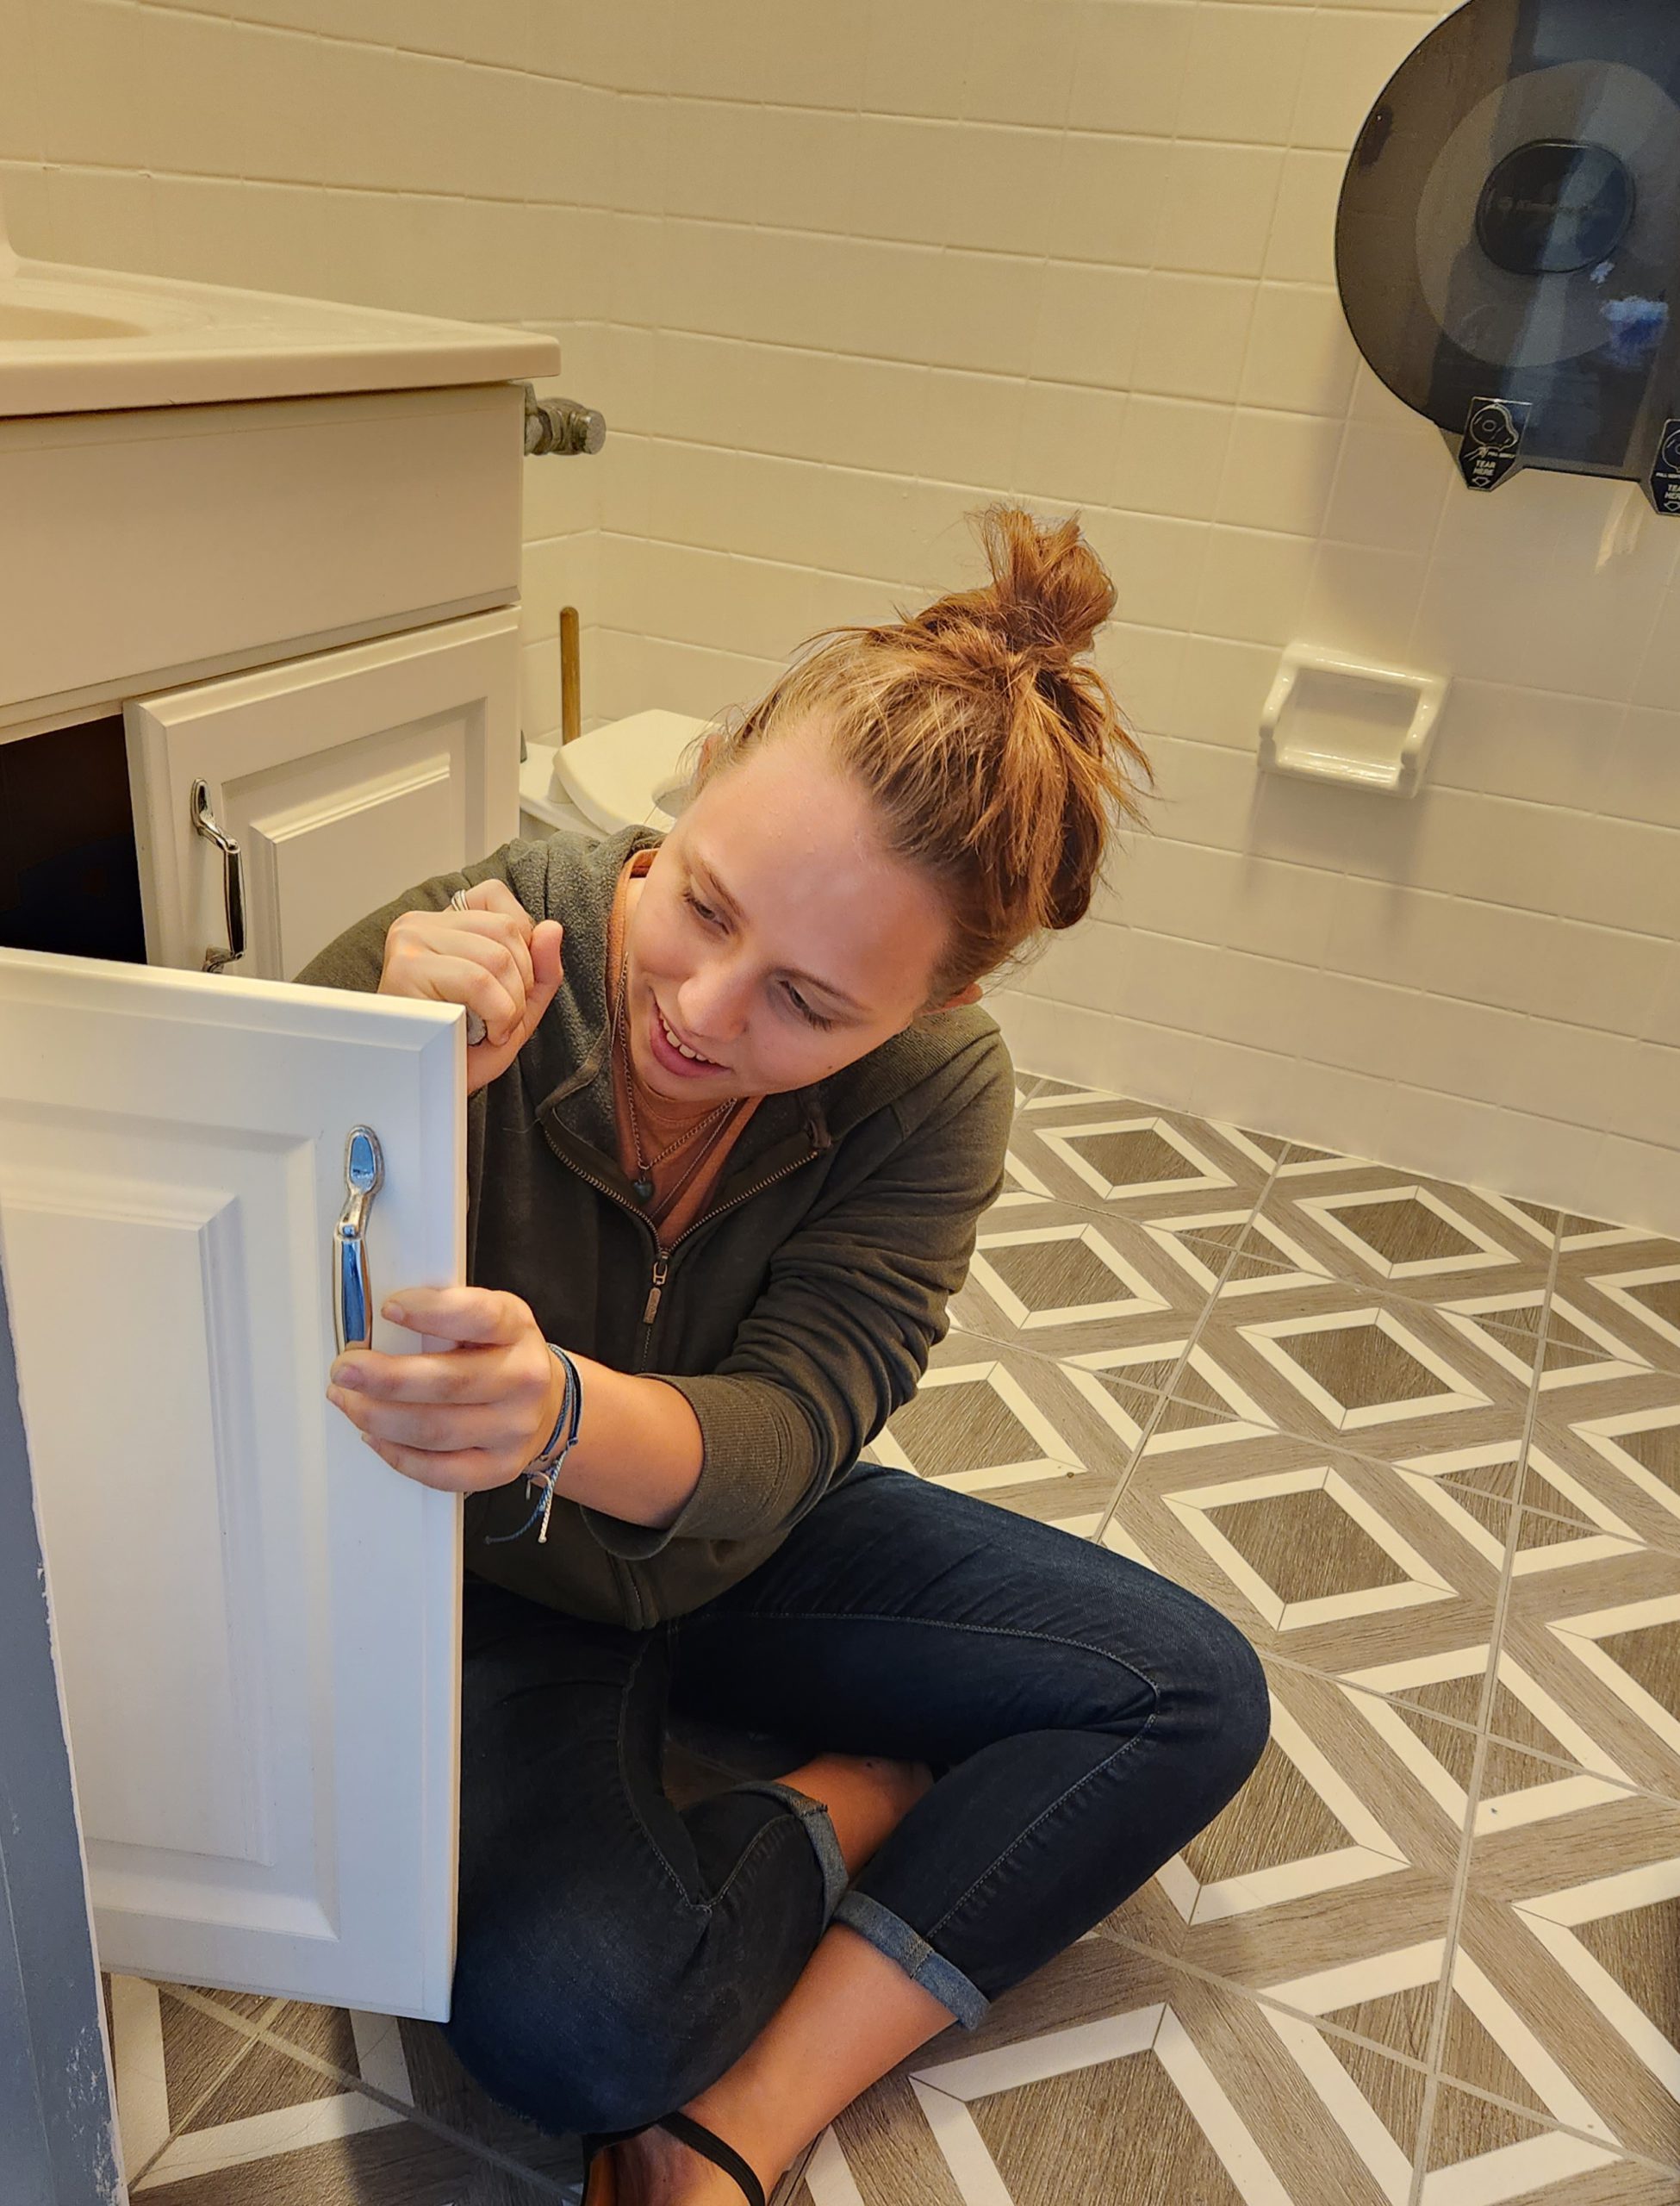
Hardware Changes
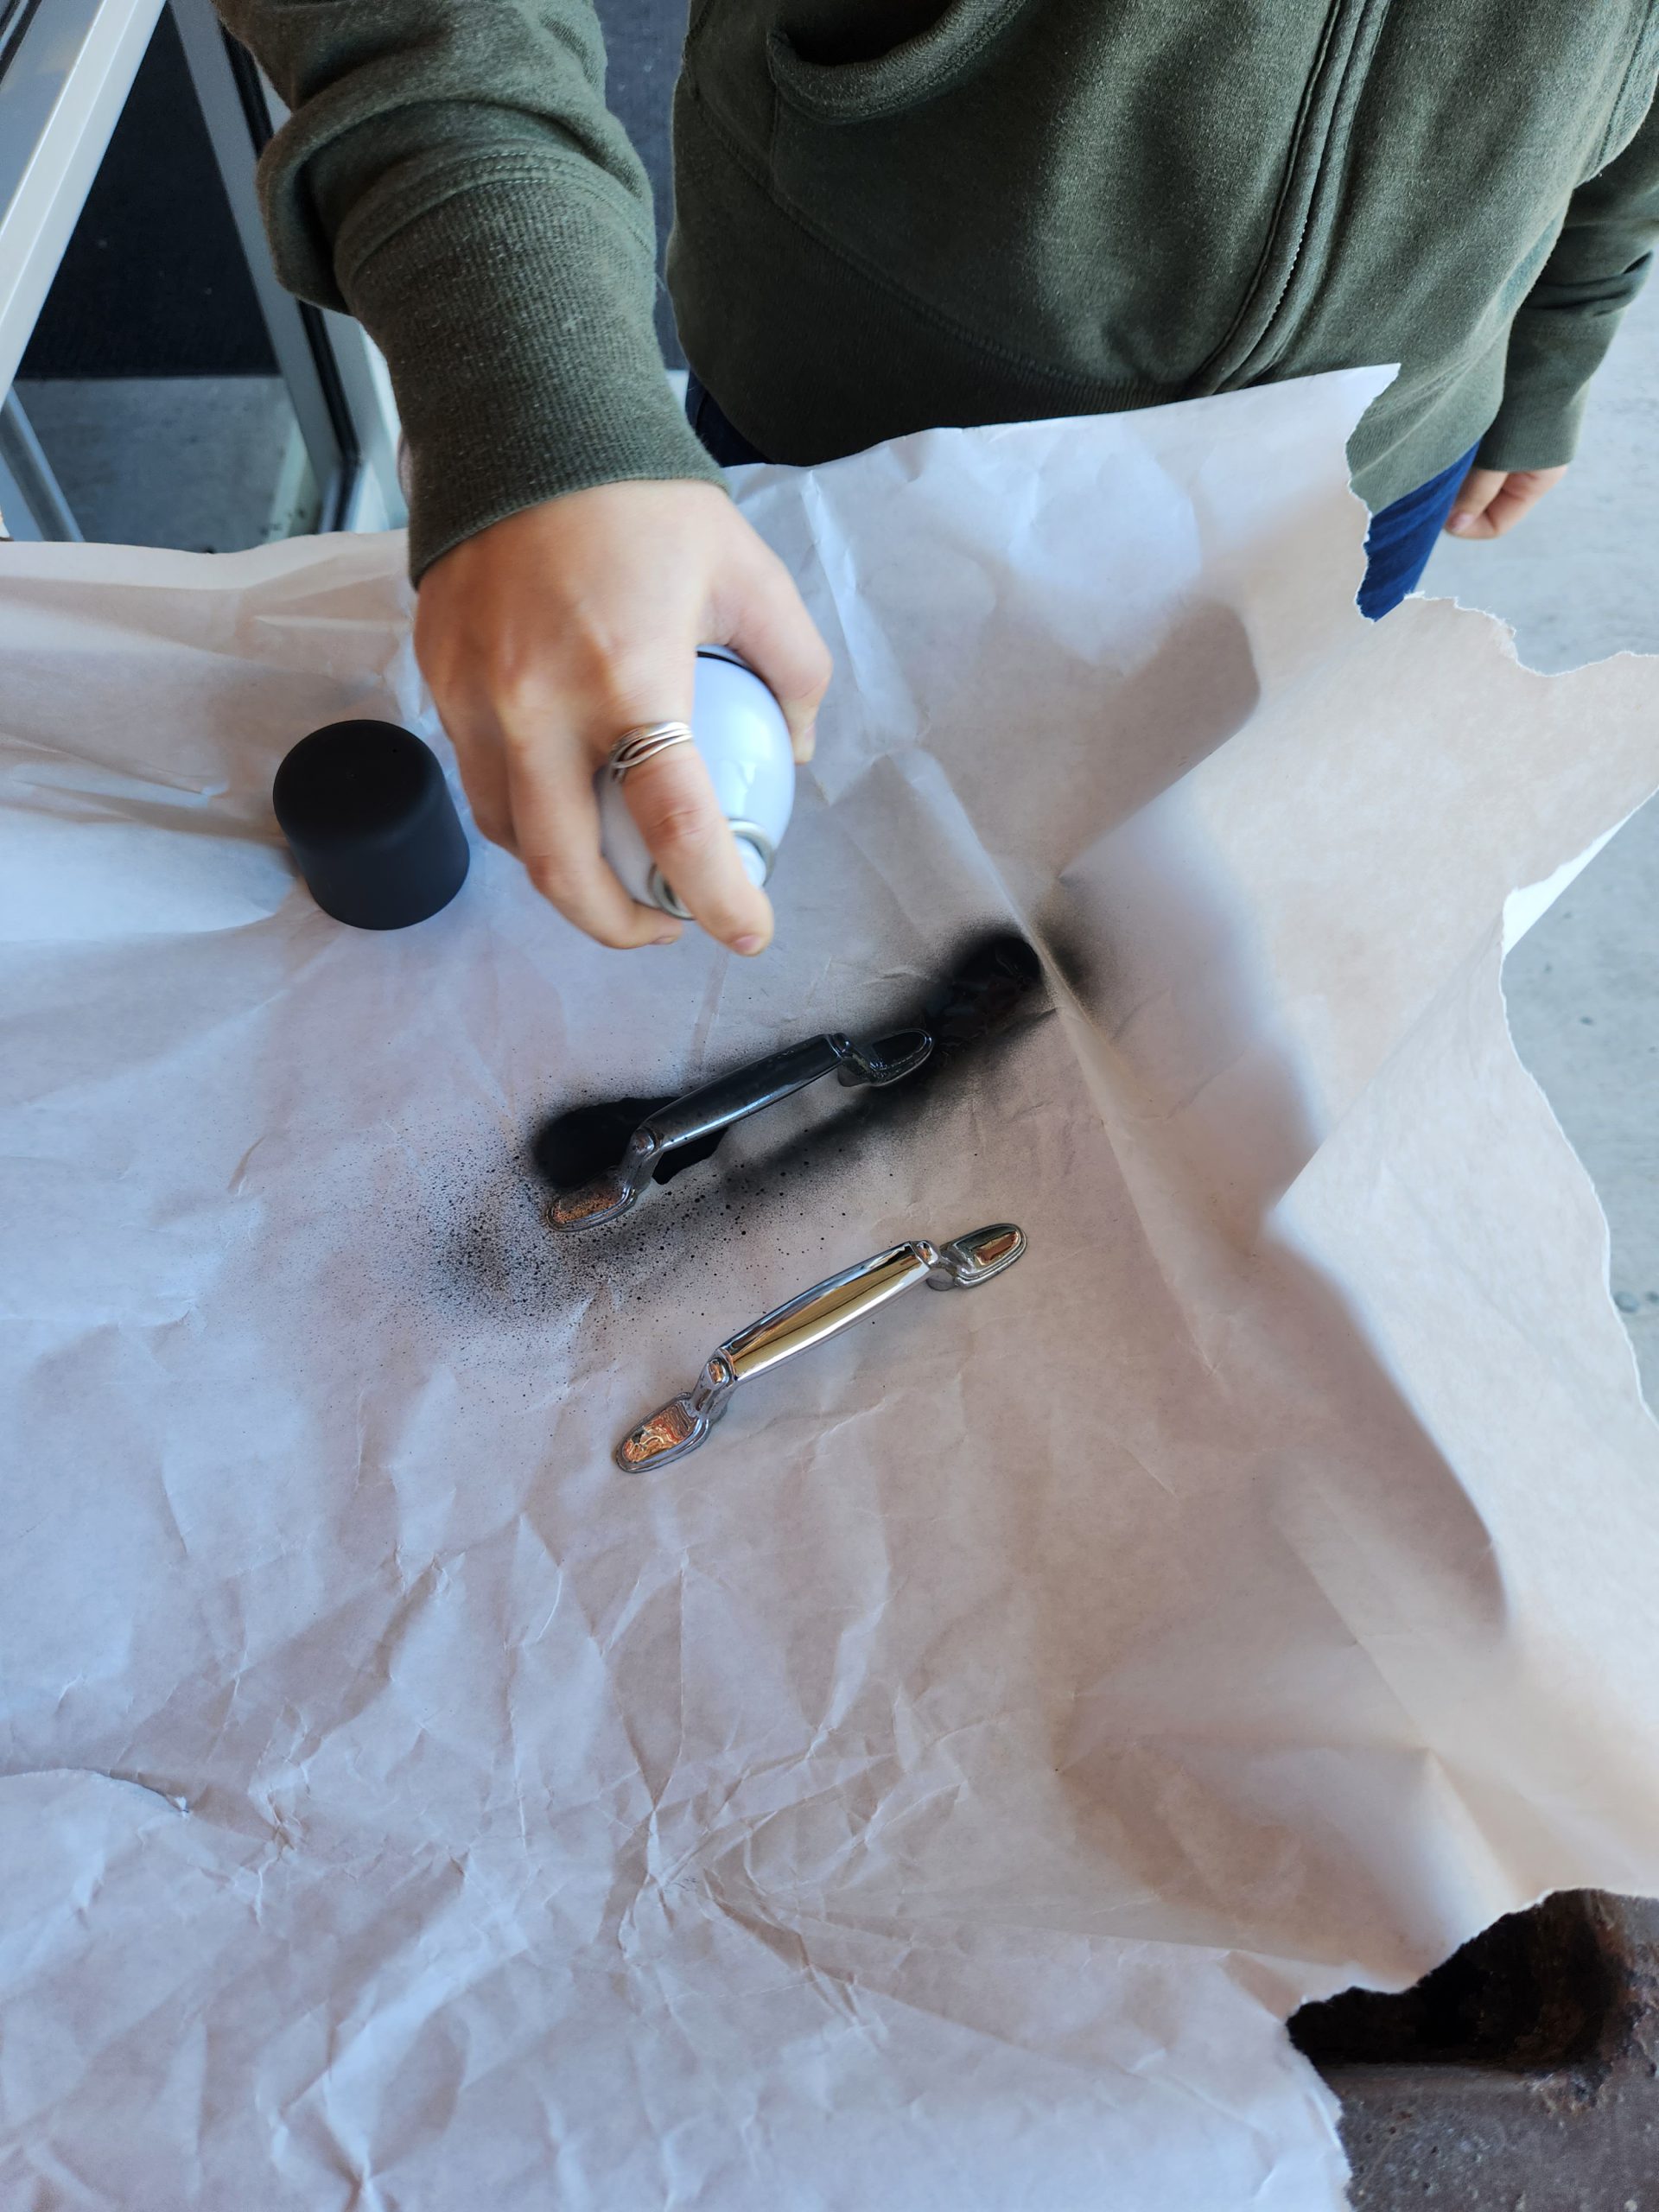
Changing hardware such as handles, outlet covers, or light switch plates can really make a difference in the overall look of your bathroom. If you don’t have money to spend on high-end hardware, you can simply spray paint your old hardware to give it new life. A can of spray paint can be picked up for about $5. You can even paint old lighting fixtures and faucets instead of buying new ones. You can replace an old medicine cabinet with a trendy or recycled mirror or add trim to an existing plate glass mirror for a more modern look.
Decor
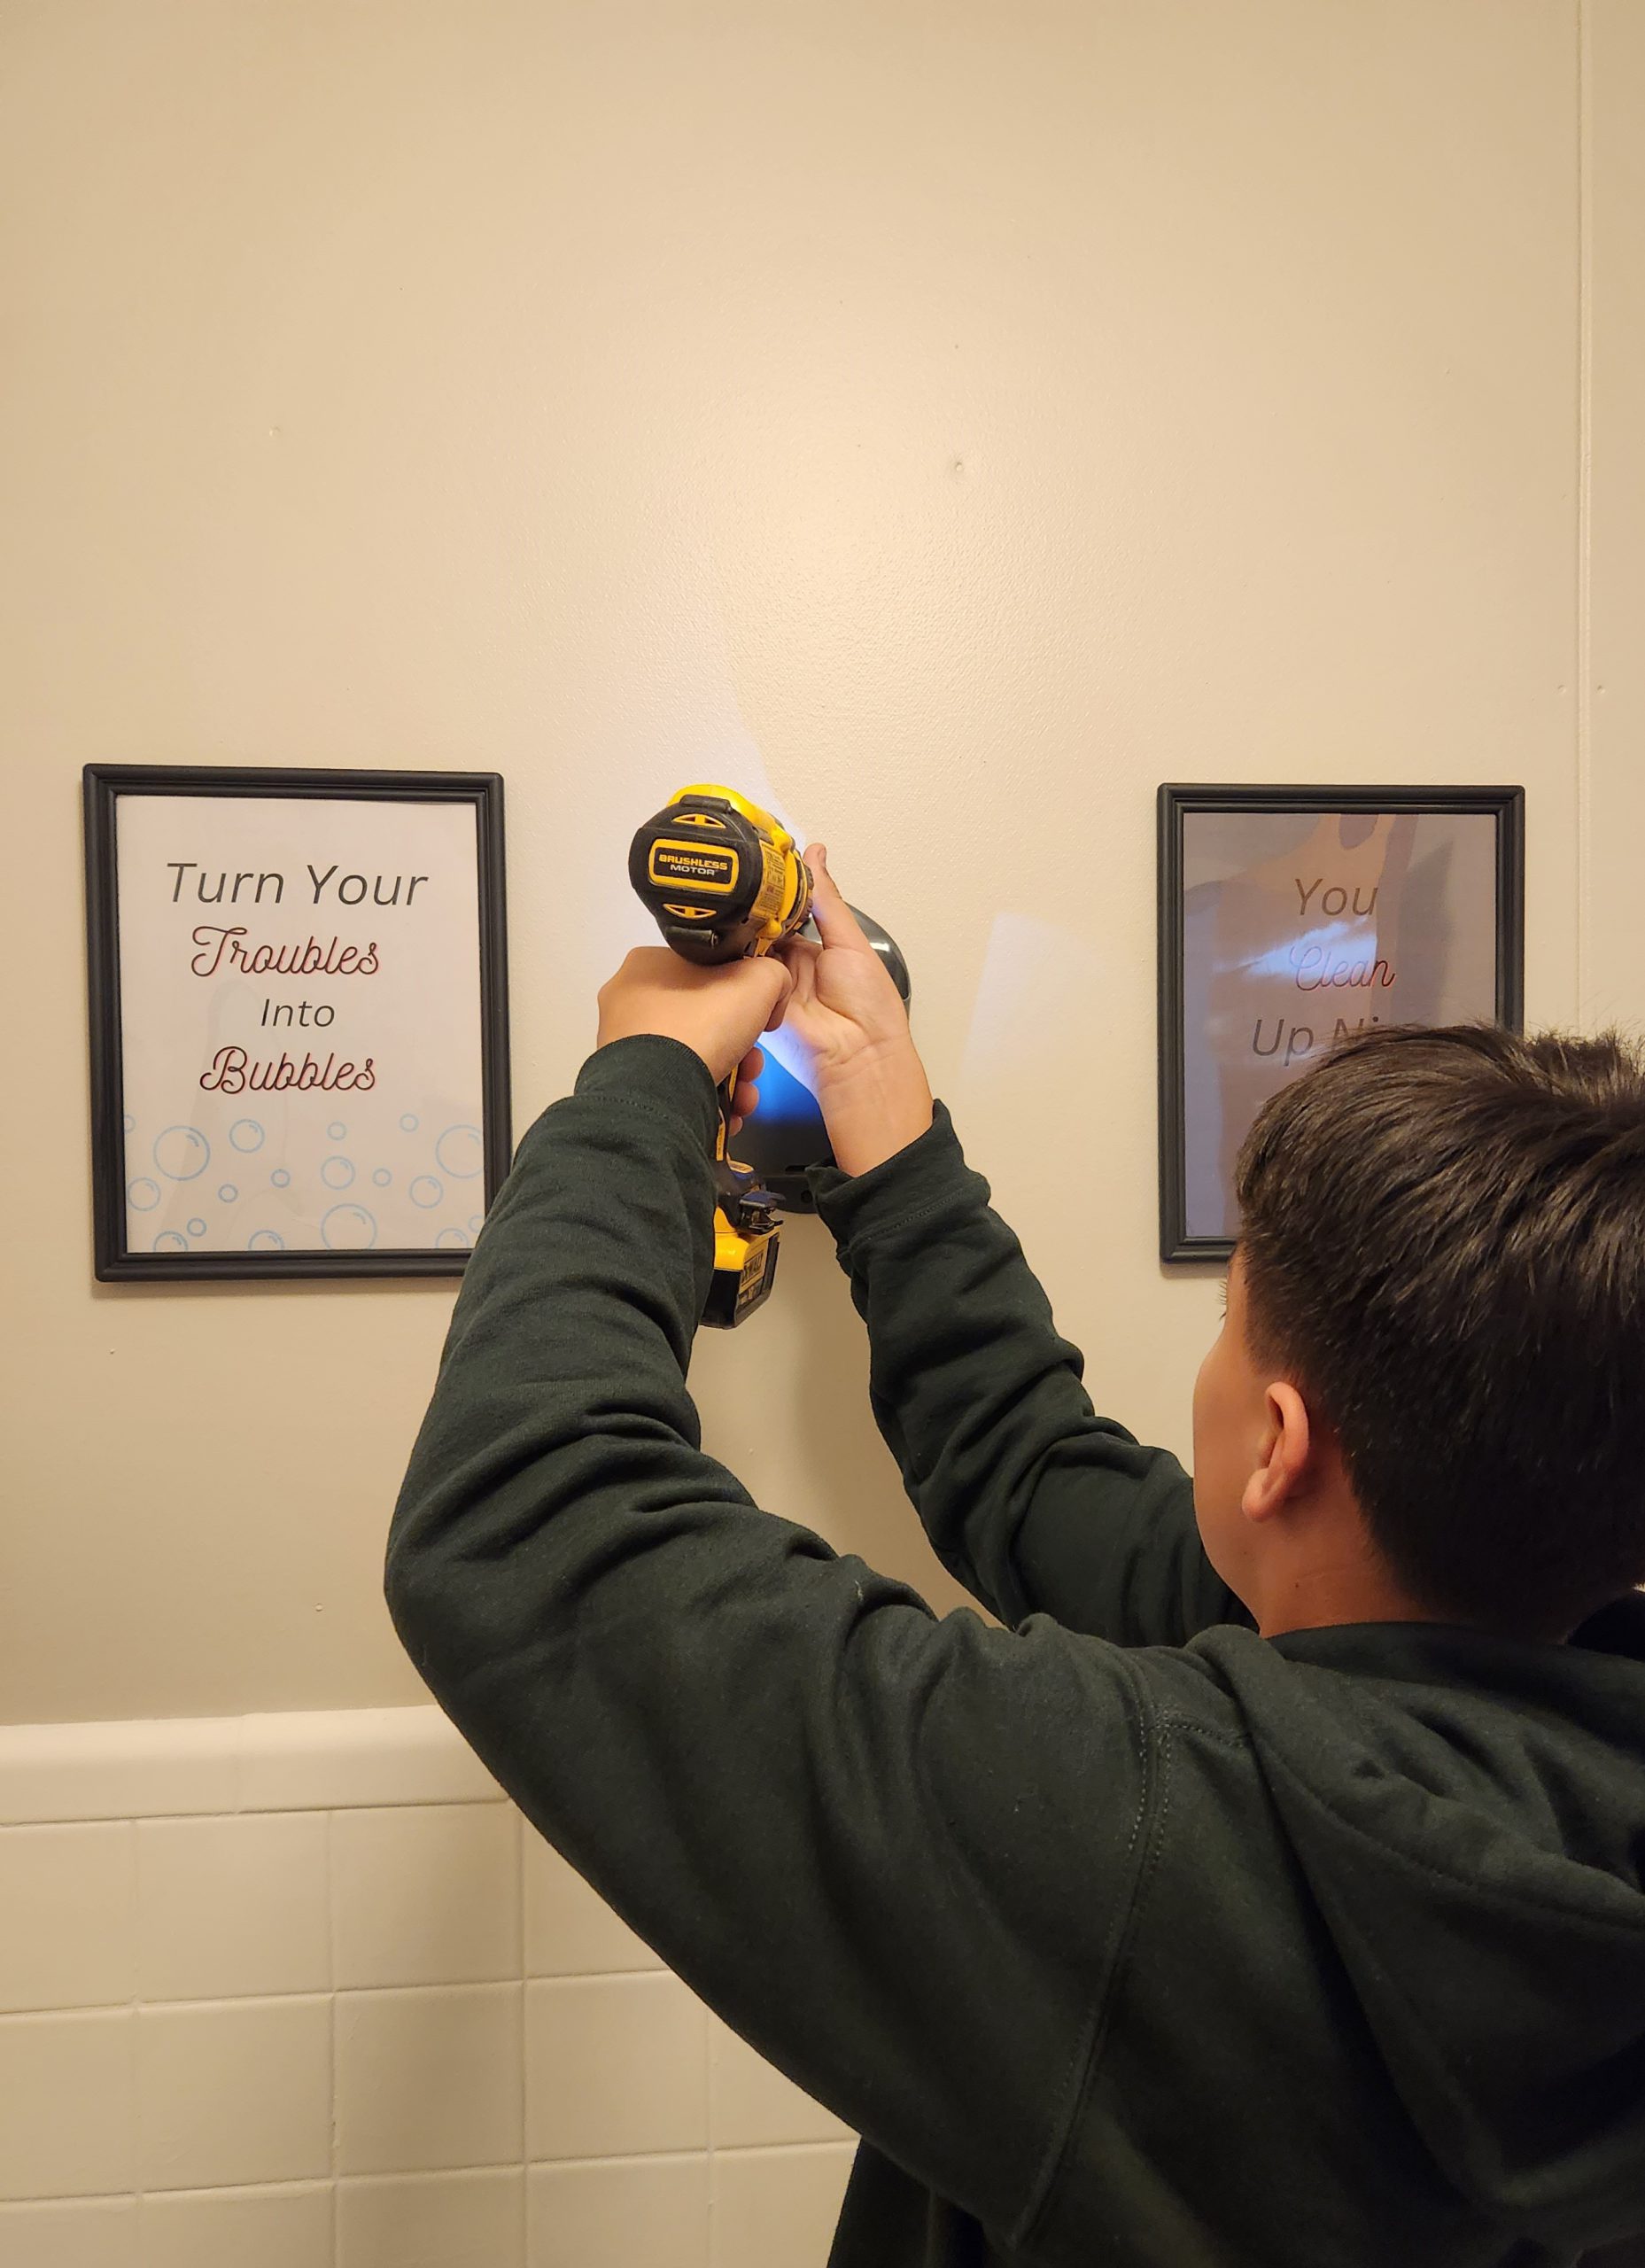
Once you have finished with the paint, flooring, fixtures, and finishes, it’s time to put the finishing touches on your bathroom update. Consider changing out your linens and adding new bathroom artwork. You can easily design and print signs for your bathroom with picture, quotes, or a design of your choice. You can add accents like plants, candles, or even books to bring your new look together. For our project, we had a 4-H member design our artwork and then used spray paint to give old frames a new finish. We also recycled other items like a marker holder to make a plant stand. Remember that bathrooms are typically smaller spaces, so you want to be careful not to clutter them.
Before You Start
There are plenty of resources out there to help you decide what types of updates would be most appropriate for your home. There are videos and DIY tutorials online to help you learn how to do just about anything. Be sure to look at before and after photos of other people’s projects to see if you like the outcome. Many of these will tell you tips to make the process go smoothly and mistakes that they may have made along the way. Big box hardware stores also host DIY workshops where you can learn how to make simple home repairs and updates. Be sure to check your local building codes and requirements to ensure that you are following any ordinances that may be in place anytime you plan to do work on you home. This type of project does take time, but when done properly can save you your dream bathroom while saving thousands of dollars and helping to increase your property value. Before you begin your project, be sure that you know your abilities and your limits. When in doubt, consult a professional.
Calling in a Professional
If you chose to go the professional route, be sure to select a licensed and insured contractor to do the work. Also be sure to do your research on the contractor/company to see reviews from people that have used them and photographs of their work. Be sure to thoroughly read through your contract before signing so you know what you are responsible for and what the contractor is responsible for. If you are having a complete bathroom remodel where you are going beyond cosmetic updates, you may need to obtain building permits. Most reputable contractors pull the appropriate permits and follow all building codes and guidelines. Your contract should specify if the contractor is going to be responsible for pulling the permit or if the homeowner is responsible.
 1
1
