When we turn the page into a new year, the motto is often “out with the old, in with the new.” But what if we actually kept the old and transformed it into something really useful?
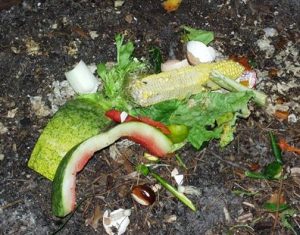
That’s exactly what happens with composting. Instead of raking up leaves, bagging them, and throwing them away, you can recycle them in a compost bin. The same goes for food waste—instead of throwing it in the trash, a significant percentage of our groceries can be repurposed. These in-house materials can produce your own high-quality potting soil and mulch, for free.
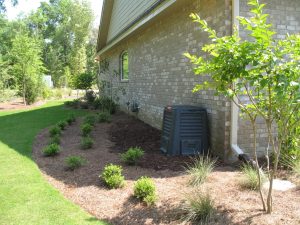
So, where to start? Logistics are important. If a compost bin is inconvenient, you won’t use it. Locate bins in a regularly traversed part of your yard, so it’s easier to make dropping the kitchen waste into a bin part of your routine. If you’ve got space, you can use a counter-top compost container or just a second trash can to hold material until it goes outside. Compost bins should be fairly close to a water source in case you need to moisten the material.
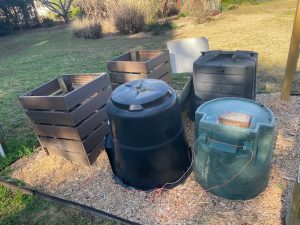
There are numerous types of bins, ranging from open-topped 3-sided wooden or concrete block piles, to hand-built bins with adjustable slats, or prefabricated plastic and metal bins and turners. If you have a lot of space, the open holding areas might work fine. But, in a neighborhood you may want a neater, more contained and covered bin.
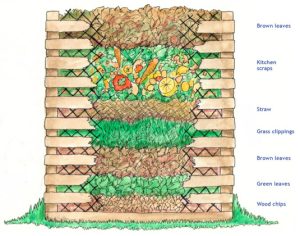
The ingredients for compost are simple—you need “greens” and “browns”. “Greens” include fresh vegetables, fruit, eggshells, coffee grounds, lawn clippings, and other materials that contain nitrogen. These should be raw waste—if they’ve been cooked in oil or butter, they can go rancid in the pile, causing an odor and attracting unwanted wildlife. “Browns“ are carbon-rich materials that include dry leaves, straw, pine needles, and shredded uncolored paper. Besides oils, you’ll want to avoid meat and dairy products, dog/cat waste, and plants full of weedy seeds or recently treated with pesticides.
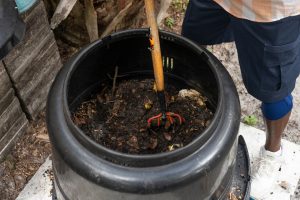
This mix of green and brown materials provides a balance of carbon and nitrogen. You’ll layer the materials, green/brown/green/brown and add a bit of water. Once the compost starts “cooking,” microorganisms from the surrounding soil will start further breaking down the larger materials. These are the critters who put the decomposition in compost. Worms will often make their way in, adding their efforts to the material breakdown. There is a much more specific process of vermiculture (aka worm farming) if your primary interest is producing worms. Compost can take as long as you want it to—in the hot, humid Florida summers, with regular mixing you can produce compost from raw materials in as little as 2 months. In cooler weather or in passive composting, where you just dump it and leave it alone—it will take longer. Properly managed compost will not smell bad, so if there is an odor, add more “browns” or mix it. Ideas for troubleshooting compost bins can be found in Table 3 of the UF publication, “Compost Tips for the Home Gardener.”
For more information and great detail on both composting and vermiculture, check out the recorded webinar on YouTube our horticulture team hosted in October.
 11
11
