By Sarah Bostick and Carol Wyatt-Evens
Gardening in Florida can be incredibly rewarding and incredibly frustrating at the same time. If you are new to the region, you soon learn that gardening in the sunshine state can quickly become a full-time job. Our subtropical climate is perfect for growing an abundance of different vegetables, fruits, and herbs, but the challenges can sometimes be a bit overwhelming.
This is where we can help! Agents from UF/IFAS Extension Sarasota County have partnered to offer a weekly, 30-minute workshop on Zoom to help answer your gardening questions. The first 10 minutes offers an educational component relevant to the urban gardener. The remainder of the time is dedicated to question and answer – any question you have! The series runs through March 2021 with the exception of holidays. You must register for the series on Eventbrite to receive the link to the series. You only need to register once to get access to the entire series:
Every week, the agents will post a question from the webinar that we are sure will be helpful for our community gardeners at large.
This week’s Question of the Week:
How do I take pictures of insects and plant issues that are good enough for experts to use for identification and diagnosis?
We love helping you succeed in gardening! The best way to help you is often by looking at pictures of what you are trying to figure out. Sounds simple, right?
Well…turns out that taking really good pictures of tiny insects, spots on leaves, or odd coloration on stems is harder than it sounds. In fact, most of the pictures that people send us aren’t quite up to par.
It is time to change that by teaching you what does make a really good picture.
Useable pictures must be:
In focus
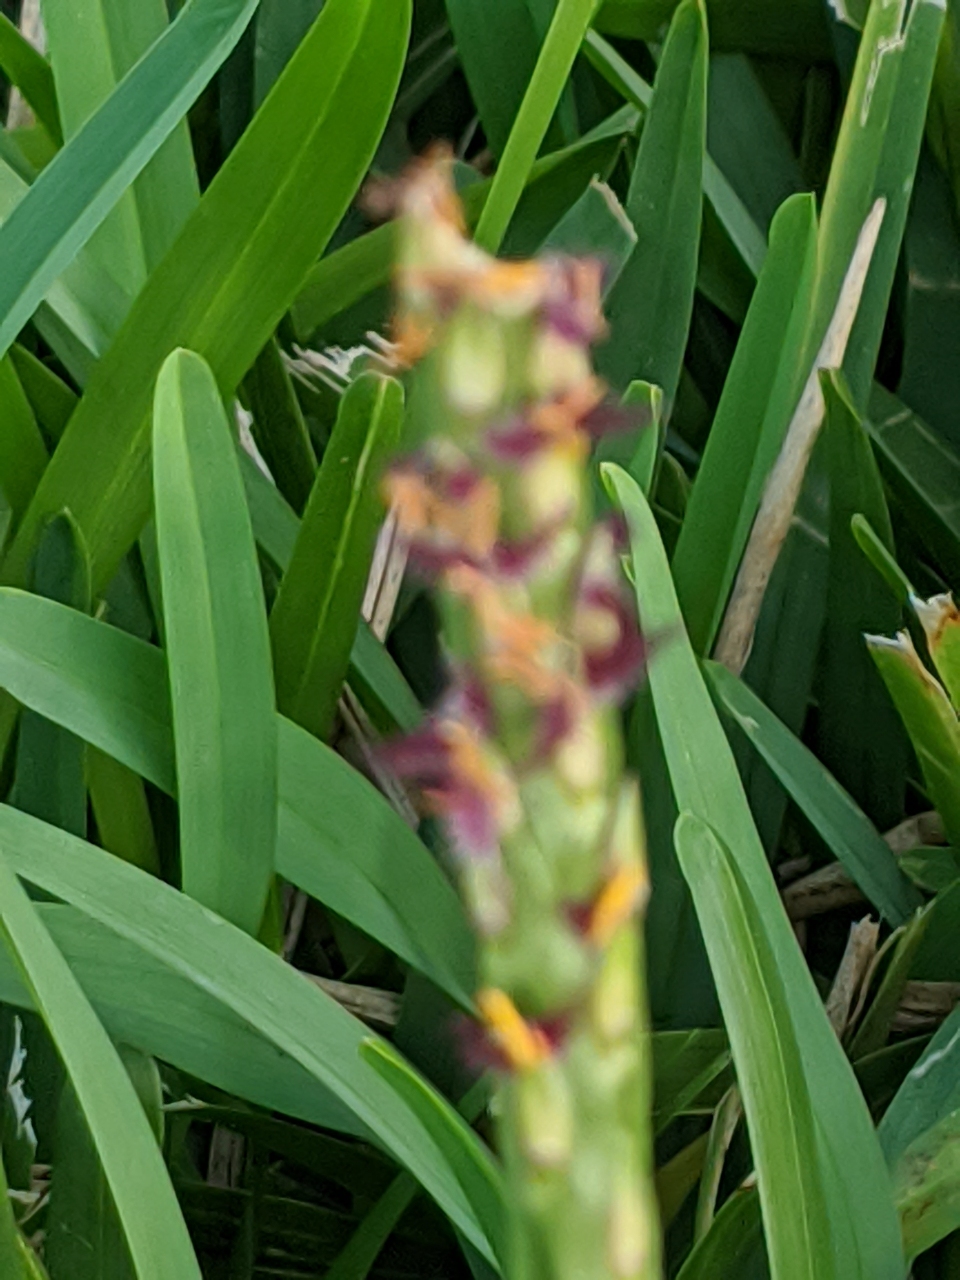
This sounds obvious, but it is actually much harder to achieve than it sounds. Most people take pictures with their phones and most phones have very good cameras. One thing that cameras are not good at, however, is figuring out what you are trying to focus on. If you are using your phone’s camera, tap on the part of the image you want your camera to focus on before taking the picture.
After taking pictures, make sure that the images you captured are focusing on the right thing. If you are having trouble getting your camera to focus on the right thing, try putting a blank piece of paper behind the object.
If you have a computer, look at your pictures on your computer screen. Is the object you are trying to capture still in focus? Sometimes an image will look good on a small cellphone screen but not on a larger screen.
Why does this matter so much? Most of the details that we will be looking for in your pictures are things that are so small we almost need to put them under a microscope to fully see them. Imagine trying to see a thin stripe of color on a gnat’s back leg – that’s the level of detail we need to see!
High resolution
Digital pictures are made of thousands and thousands of tiny little dots of color, called pixels. The higher the “resolution” of your photos, the more dots of color, and therefore the sharper the image will be. High resolution means that we can zoom in on a tiny detail in your picture and still see a lot of detail.
Most of the pictures that my cell phone takes are around 4MP. That means the pictures my cell phone takes are composed of around 4 million tiny dots of color! That is an adequate level of resolution for most of our diagnostic photo needs.
When you send us pictures, make sure you are sending the pictures in their original size. If you are emailing pictures directly from your phone, your phone gives you the option of sending pictures in different sizes. You may see options like “small size”, “medium size”, “large size”, “original size”, or “share as a link”. If you choose small or medium, your phone will first decrease the resolution of the pictures, which means that those excellent pictures you just took will arrive in our email inboxes looking grainy and missing the level of detail we need. It is very important to choose an option that doesn’t change the quality of your photos.
Photographing the right things
This doesn’t sound like rocket science but knowing what to take pictures of does in fact require some science! Once you learn what we need to see to give you an accurate diagnosis, you will also learn to see the plants and insects in your garden differently.
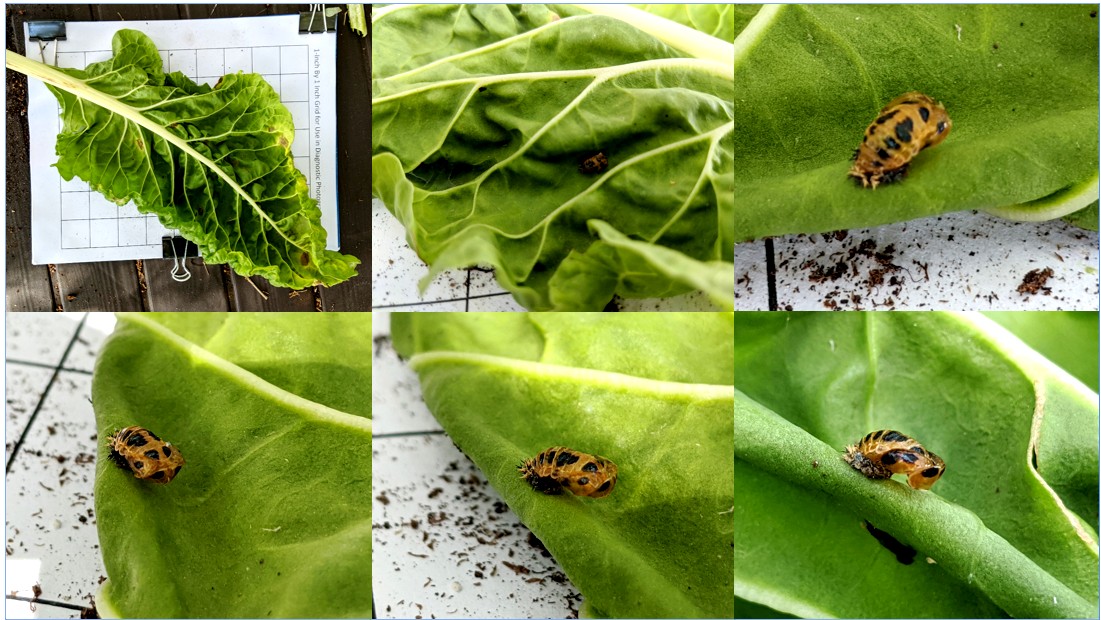
Photographing the right parts of plants:
- We usually need a minimum of five pictures:
- A picture of the context that your plant is growing in. For example: a picture of your whole garden and the tree that shades it or your potted plant sitting on the deck next to your grill.
- A picture of the whole plant that is having issues.
- A close-up picture of the front side of at least one leaf AND
- A close-up picture of the back side of the same leaves
- At least one detailed picture of any other part of the plant that is affected.
Photographing the right parts of insects:
- We usually need a minimum of four pictures:
- A picture of the context you see the insect in. For example: a picture of your garden bed that shows everything growing in it or the crack in the side of your house
- The insect from as many angles as you can get! Especially helpful parts to get good photos of are: legs, wings, eyes, mouth parts, stingers, and hairs.
- This can be challenging to achieve if the insect is alive. If the insect is already dead, place it gently on a piece of blank paper and photograph it from many angles. If the insect is alive you can put it in the freezer for 24-hours before photographing.
Show size
Being able to see the size of what we are trying to diagnose is extremely helpful. There are many things you can use to show size. Putting a ruler or a piece of graph paper in your picture are the best options for showing the size of what you are photographing – just remember to tell us what scale your graph paper is! You can also put a pen, a coin, or some other standard sized item in your picture. If all else fails, your hand will do the trick! If you are using your hand to show size, write us a note to give us an idea of how big your hands are.
A written description
Pictures are worth a thousand words, but in the case of diagnostic photos, your words will help us understand the context of your pictures. When you send your pictures, write us at least a few sentences about what you need help with, how long you have been having this issue or seeing that insect, how widespread is the issue or insect in your garden, does it seem to only be affecting one type of plant? Tell us about your garden care practices – how often and how much do you water, fertilize, use pesticides or herbicides? As much detail as you can provide us, the better we can serve you.
And last but not least:
Have fun with taking pictures! When you learn how to take high quality pictures of insects and plants, you will start to see the world through new eyes. The almost-microscopic world around us is truly inspiring.
The Edible Gardening Series and blog series is a partnership between the following UF/IFAS agents and Sarasota County staff:
- Sarah Bostick, Sustainable Agriculture Agent
- Carol Wyatt-Evens, Chemicals in the Environment Agent
- Mindy Hanak, Community & School Gardens Educator
- Kevin O’Horan, Communications Associate
 0
0
